Why settle for static mockups for your WordPress site when you can bring your designs to life with Divi’s powerful website building capabilities? Imagine being able to iterate on your WordPress design effortlessly, collaborate with clients and stakeholders in real-time, and launch websites that not only look incredible but also deliver exceptional UX. Figma enables all this and more. No wonder, converting Figma to WordPress has become a game-changer for WordPress developers and designers, and it is going to get better with Figma to Divi.
There are some benefits to the process that you just cannot overlook!
Count in:
- The effortless design iteration from Figma to Divi
- Opportunities for real-time collaboration with web and graphic designers and content team
- Diverse and absolutely dynamic website-building capabilities of Figma and Divi combined
Figma to Divi conversion is surprisingly straightforward too. You can do it even with zero coding skills.
Let’s explore all the possibilities!
Contents
TogglePrerequisites for Converting Figma to Divi
Before we jump into the exciting world of transforming designs from Figma to Divi, there are a few things you will need to have in place:
Installing and Setting up Figma:
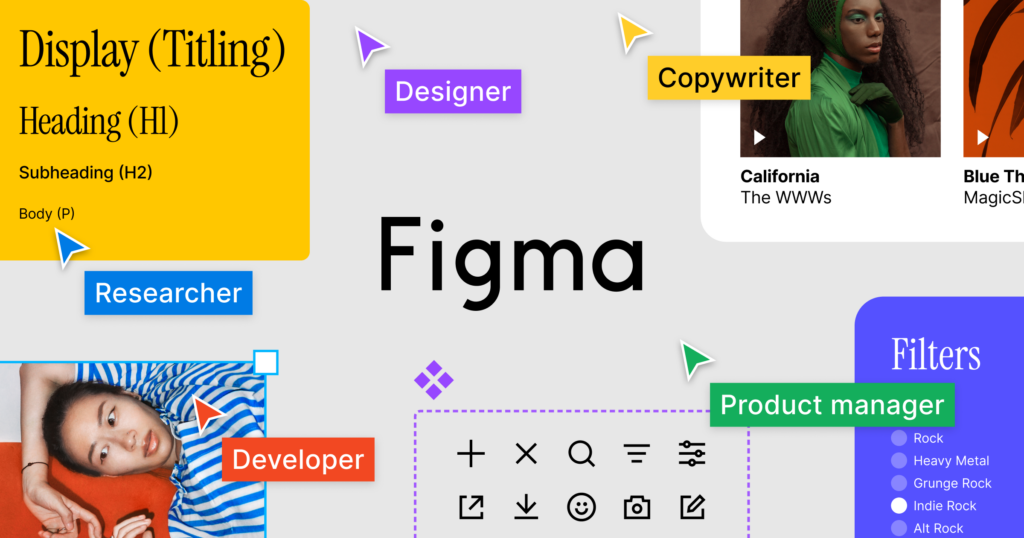
Head over to the Figma website. Proceed with:
- Signing up for an account. It is free and super easy!
- Install the Figma desktop app. Keep following the prompts.
Installing and Activating the Divi Theme:
Now, let’s switch gears and talk about Divi. First things first, you will need WordPress installed on your website. Once WordPress is up and running, do the following:
- Download and install the Divi theme from here. Do not worry; it is just as simple as installing any other WordPress theme.
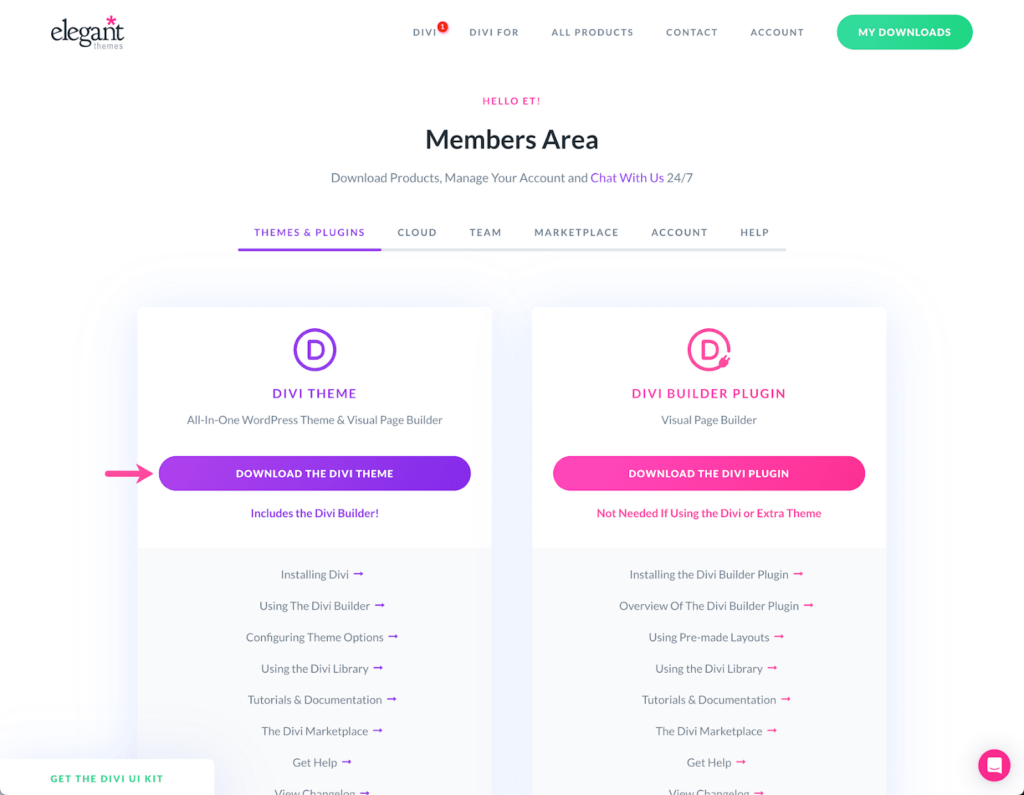
- Activate the Divi theme, and you are ready to start building your dream website!
Keep Reading: Divi Theme Review: Should You Try it?
Understanding the Divi Builder Interface:
Familiarize yourself with the Divi Builder interface. You will find it’s intuitive and easy to navigate. Explore the different modules and elements available in the Divi Builder:
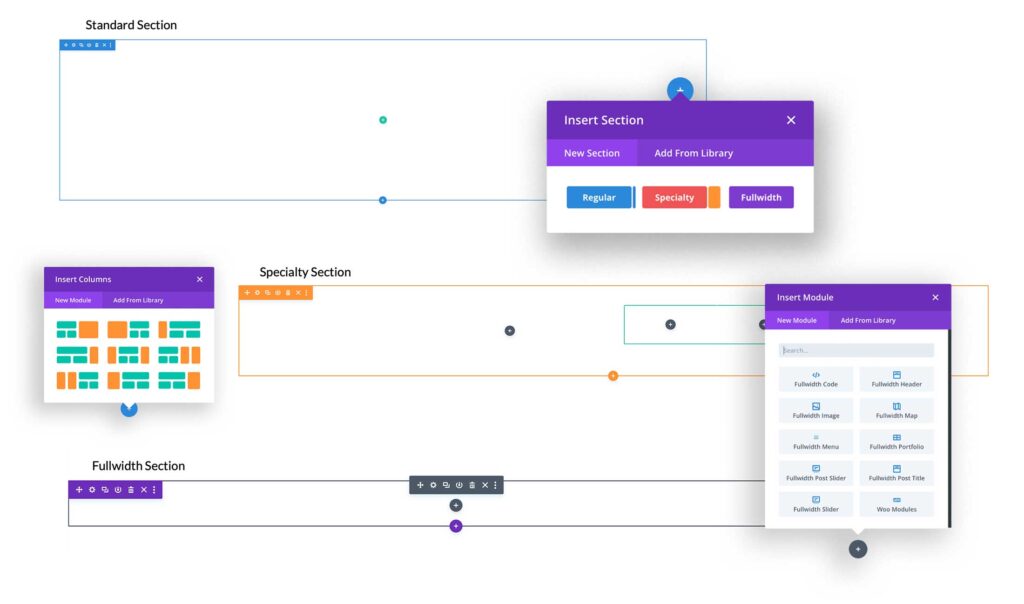
- Text boxes
- Image galleries
- Sliders
- Buttons
- Columns
- Video players
- Pricing tables
- Counters, etc.
Can You Transfer the Figma Advantage to Your WordPress Website?
We can help you convert! Get stunning Figma-based designs to deck up your WordPress site for just $499.
How to Set Up Divi? Building the Foundation for Your Site
Divi empowers you to create custom websites with its intuitive Visual Builder, providing real-time previews as you make changes, eliminating the need for complex web development knowledge.
Get started:
Creating a new Divi layout: Divi’s intuitive interface makes it a breeze to start fresh. Simply navigate to the WordPress dashboard, select Divi from the menu, and click Add New Project. Voila! You’ve got a blank canvas ready for your creativity.
Tip: Kickstart your project with Divi’s pre-built layouts and industry-specific packs.
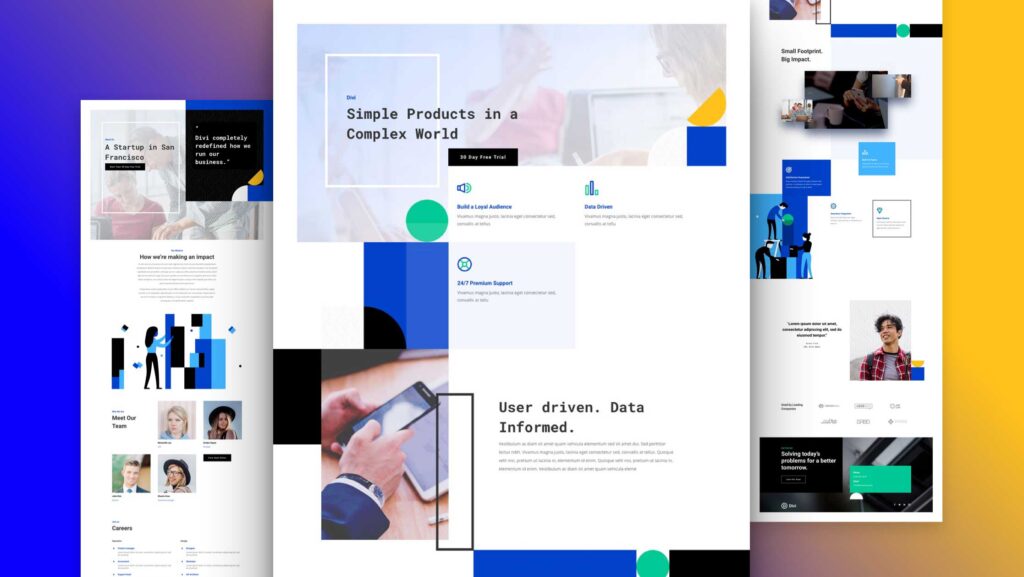
Importing assets into the Divi Library: Upload images, icons, and other media assets to the Divi Library with just a few clicks. This centralized hub ensures your assets are readily available throughout the development process.
Did You Know? Divi’s Library also supports uploading custom code snippets, saving you time and effort when reusing common design elements across multiple pages.
Configuring global styles and typography: Consistency is key to delivering a polished user experience. Divi empowers you to define global fonts for typography, colors, and other design elements.
Tip: Spend some time fine-tuning your global styles upfront. This attention to detail will pay dividends down the line, saving you from tedious manual updates.
Read a Comparison: Divi Vs. Elementor: Full Comparison
Convert Figma Design to Divi, No Coding Required!
With Divi’s powerful yet accessible tools, converting Figma to Divi has never been more streamlined.
Let’s go step-wise:
Step 1: Export Figma Designs
The Figma to Divi journey begins with exporting your meticulously crafted Figma designs. Figma offers various export options, including PNG, JPG, and the versatile SVG format. For designs that demand pristine quality at any scale, exporting as SVG is highly recommended. Simply select the layers or objects you wish to export and click the export option – it is really that easy.
Exportation ensures that you:
- Retain design integrity with SVG exports
- Ensure pixel-perfect renderings
- Streamline the conversion process
Step 2: Create a New Page in Divi
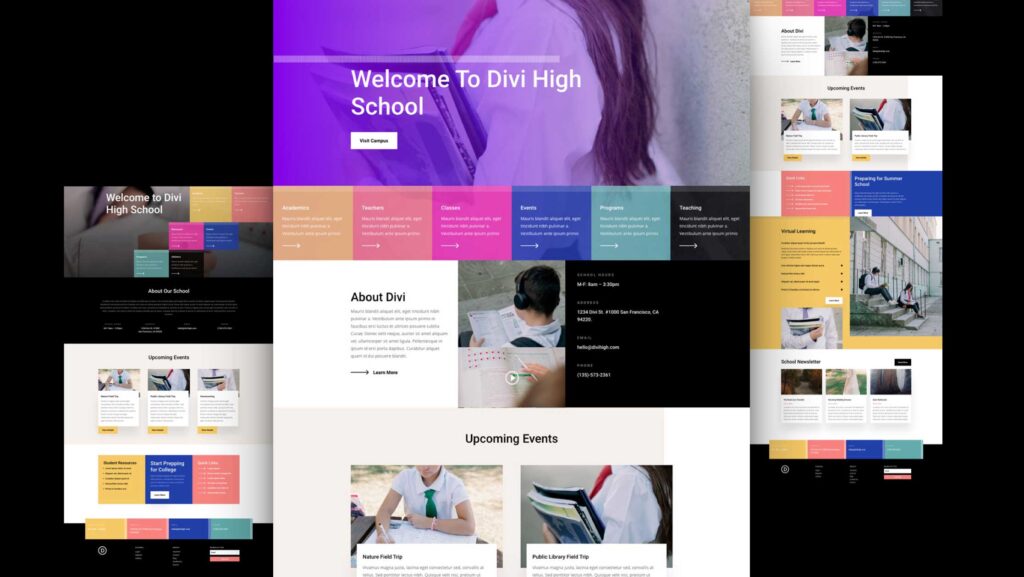
With your designs at the ready, it is time to set the stage in Divi. Divi has an extensive collection of pre-built templates to pick from, or, you can opt for a blank canvas – the choice is yours. The intuitive drag-and-drop interface here enables you to completely bypass any coding!
Things to do at this stage:
- Explore Divi’s template library
- Seamlessly add elements with drag-and-drop
- Unleash your creativity, no coding required
Also Check: How to Convert Figma to HTML Website (3 Simple Methods)
Step 3: Add Sections and Rows
Divi’s true power lies in its modular approach. Craft your page layout by adding sections and rows that mirror your Figma design. The pre-built options provide a solid starting point, ensuring you can replicate your envisioned layout with ease.
Go on to:
- Construct your layout block by block
- Leverage pre-built sections and rows
- Maintain design fidelity effortlessly
Another Figma Guide: Figma to Gutenberg: Comprehensive WordPress Conversion
Step 4: Add Modules
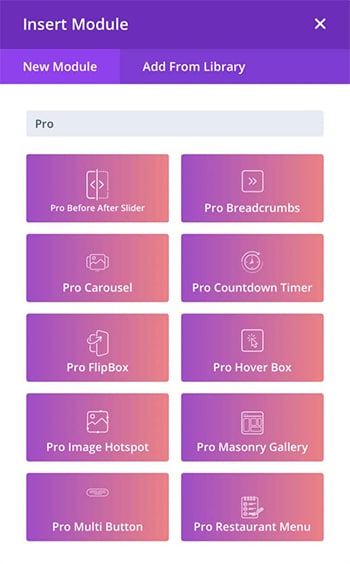
With the foundational structure for Figma to Divi conversion in place, it’s time to breathe life into your design. Divi’s extensive module library offers a range of cool options – from text and image elements to buttons and more. Simply drag and drop the desired modules into your sections and rows, instantly transforming your vision into a tangible reality.
Read More: 10 Reasons Why You Should Choose Figma
Step 5: Customize the Design
Now, time to add those personal touches that truly make your website stand out. Divi’s comprehensive customization options empower you to fine-tune every aspect of your design, from font sizes and color schemes to spacing and beyond. Tailor each element to match your Figma masterpiece with precision.
The pluses:
- Granular control over typography, colors, and spacing
- Pixel-perfect alignment with your Figma design
Further Reading – Figma Comparative Guides:
Step 6: Add Interactivity
Here comes a stroke of brilliance in the Figma to Divi journey – injecting your website with captivating interactivity to elevate your design from static to truly engaging.
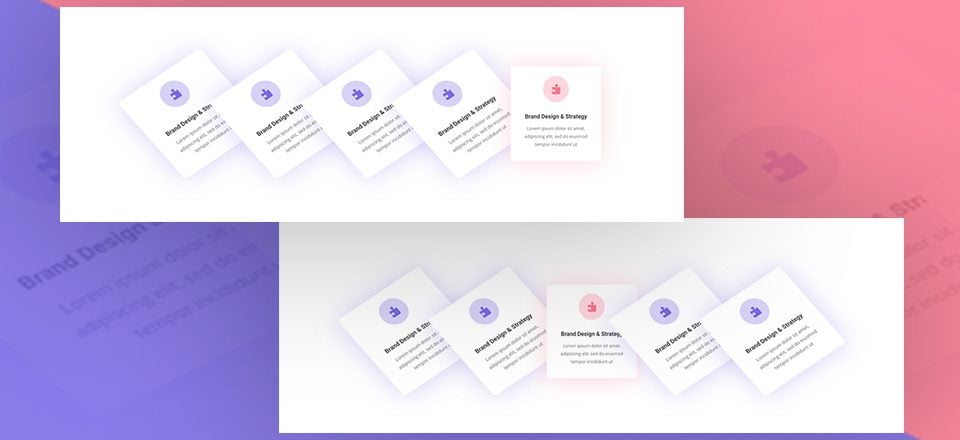
Must do:
- Trigger animations on scroll, hover, or click
- Create dynamic content sliders and carousels
- Endless possibilities for unique animations
More on WordPress: How to Develop a Custom WordPress Website (5 Simple Steps)
Want Custom WordPress Website to Express Your Business Value?
Get a team dedicated to your unique project! We help businesses get ahead with pixel-perfect, bug-free, and SEO-friendly WordPress websites for just $59/per development hour.
Advanced Techniques to Convert Figma to Divi

The initial steps aside, you can try taking your website to new heights of engagement and polish with some advanced effort –
Create Custom CSS for Unique Design Elements
While Divi offers extensive customization options, some design elements may require a more tailored approach. Leverage the power of custom CSS to fine-tune every aspect of your website, ensuring a truly one-of-a-kind experience.
With custom CSS:
- You gain granular control over styling and layout, allowing you to make precise adjustments to fonts, colors, grids, spacing, and more, ensuring your website perfectly aligns with your Figma design vision.
- You can achieve pixel-perfect alignment with your Figma design, ensuring every element is positioned exactly as intended, down to the last pixel, creating a cohesive and polished experience for your visitors.
- You can implement advanced design techniques and animations that may not be possible with Divi’s standard tools, unlocking new creative possibilities.
- You can future-proof your website by writing custom CSS that can adapt and evolve as your design requirements change, ensuring your website always stays fresh and up-to-date.
Also Learn: How To Convert Your Design Prototype To WordPress In 6 …
Integrate Third-party Plugins and Functionality

Extend the capabilities in your Figma to Divi converted website by tapping into the vast ecosystem of third-party plugins and integrations. From e-commerce solutions to advanced forms and beyond, these powerful tools seamlessly integrate with Divi, empowering you to create a fully-featured website tailored to your specific needs.
Here are some popular plugin categories and examples that can enhance your Divi website:
| Type | Plugins |
| E-Commerce | WooCommerce, Easy Digital Downloads |
| Forms & Surveys | Gravity Forms, Caldera Forms, Formidable Forms |
| Social Media | Smash Balloon (for Instagram, Facebook, etc.), Revive Old Posts |
| SEO & Analytics | AIOSEO, Rank Math, MonsterInsights |
| Security & Backup | Wordfence Security, BackupBuddy, UpdraftPlus |
| Media & Galleries | NextGEN Gallery, Envira Gallery, Lightroom |
| Membership & LMS | LearnDash, LifterLMS, MemberPress |
| Lead Generation | OptinMonster |
| Page Builders | Beaver Builder, Elementor, Brizy |
| Performance | WP Rocket, W3 Total Cache, Autoptimize |
Discover More: Best Figma to WordPress Conversion Service and Top Figma Plugins
Testing and Optimization
Testing your website after Figma to Divi conversion is not just a box to check. It is how you can create a flawless user experience. This is the surefire way to catch bugs, optimize performance, and ensure your site runs like a dream on every platform.

Cross-browser Compatibility Testing
Divi’s built-in testing tools and responsive design features make cross-browser compatibility testing a breeze.
- Preview your website on multiple devices and browsers
- Identify and resolve compatibility issues
- Deliver a consistent experience to all users
Learn More: How To Test Your Website On Different Sizes Online?
Performance Optimization
A fast-loading website is essential for providing an exceptional user experience and maintaining a competitive edge in search engine rankings. After converting designs from Figma to Divi, everage Divi’s performance optimization features, including image compression and caching, to ensure your website loads lightning-fast.
- Optimize images for faster load times
- Implement caching for improved performance
- Monitor and optimize page speed continuously
Learn More: How To Speed Up WordPress Page Loading Time?
Accessibility Considerations
Inclusivity should be at the forefront of every website design. Divi’s accessibility features ensure your website is accessible to users with varying abilities, adhering to industry standards and best practices.
- Optimize for screen readers and assistive technologies
- Enhance keyboard navigation and focus management
- Provide an inclusive experience for all users
Read More: Best WordPress Accessibility Plugins for 2024 (Free and Premium)
Troubleshooting

Even with the most meticulous Figma to Divi conversion planning, there may be challenges in the process. Here are some you may experience:
Loss of Design Integrity
Issue: The design may not translate perfectly into Divi, leading to discrepancies in layout, typography, or spacing.
Solution: Prioritize essential design elements, establish clear communication between designers and developers, and iterate on the design based on testing and feedback.
Unsupported Features
Issue: Divi may not support all features or elements available in Figma, such as advanced animations or complex vector graphics.
Solution: Use Divi’s built-in modules creatively, explore customization options, and find suitable alternatives for unsupported features.
Responsive Design Challenges
Issue: Ensuring the design remains responsive across different screen sizes and devices can be challenging.
Solution: Test the design thoroughly across various devices, prioritize responsive design, and adjust elements as needed to maintain consistency.
Custom Fonts and Icons
Issue: Custom fonts or icons used in Figma may not be readily available in Divi.
Solution: Upload custom font files if necessary, find alternative icon libraries compatible with Divi, and optimize assets for web use.
Complex Interactions
Issue: Interactive elements or micro interactions designed in Figma may require custom coding or plugins in Divi.
Solution: Leverage Divi’s features and customization options, prioritize essential interactions, and explore plugins or custom coding solutions if needed.
Need extra help with Divi? Seahawk offers tailored support from expert WordPress agencies, providing ongoing, consistent assistance and top-notch advice for actionable solutions to your website.
Parting Words
If you are frustrated with the back-and-forth between designers and developers to turn designs into working websites, Figma to Divi can change everything. This powerful combination makes it easy to go from design to a functional site, smoothing out your workflow and bringing your ideas to life effortlessly. Give it a try!


