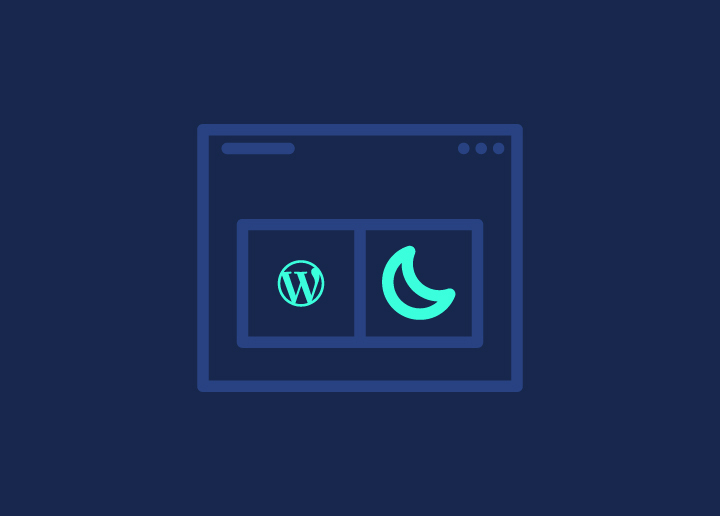
WordPress Dark Mode is incredibly essential for website development with themes because it’s easier on your eyes, especially when you’re spending a lot of time staring at screens. More and more people love it because it reduces eye strain and makes things look sleek.
Adding WordPress dark mode to your site is easy and makes everyone happy—visitors can pick what they like, and admins get a break from constant WordPress maintenance, too. It’s a win-win! Plus, it keeps your site looking cool and up-to-date with the latest design trends, making it easier for everyone to use. And when you have a WordPress custom design, integrating Dark Mode seamlessly is even simpler!
What Is Dark Mode Used For?
 79")
Add WordPress Dark Mode in 4 Easy Steps
Quickly enhance your website’s user experience by following four simple steps to add WordPress dark mode —
Step 1: Install WordPress Dark Mode Plugin
Many night modes for WordPress plugins exist, but we will use Dark Mode in WP for a quick and easy installation.
Go to Plugins > Add New from your admin dashboard, search for “WP Dark Mode,” then click Install Now and Activate to access its settings page.
 80")
This freemium plugin swiftly generates a dark website version without coding hassle. Simply find and install it via the WordPress Plugin Directory.
 81")
Go to Plugins > Add New from your admin dashboard, search for “WP Dark Mode,” then click Install Now and Activate to access its settings page.
Step 2: Turn WordPress Dark Mode On
You can switch night mode on or off in the General Settings tab. Upon installation, you’ll
notice that Enable Frontend Dark Mode and Enable OS Aware Dark Mode are activated by default and are easily configurable with regular maintenance for WordPress.
 82")
Enabling Frontend Dark Mode empowers your WordPress site with a visually soothing dark color scheme, allowing users to seamlessly transition to a darker theme for improved readability and reduced eye strain. Meanwhile, activating OS Aware Dark Mode ensures a dynamic experience attuned to user intent. It automatically adjusts to visitors’ device settings, presenting them with your site’s dark version if their device is set to dark mode.
Additionally, you can set dark mode as the default setting from the menu, allowing you to evaluate its impact on your site’s aesthetics and usability. Remember that visitors can toggle dark mode on or off using the switcher button, ensuring accessibility and personalized browsing experiences.
Need Your WordPress Site to Be More Attuned to Viewer Comfort?
We have an experienced team of website developers and creative designers who know how to build your site perfectly on user terms.
Step 3: Enable WordPress Dark Mode Floating Switch
You can activate the Show Floating Switch feature in the General Settings section. Enabling this places a button on your website’s front end, allowing users to switch between dark and light modes conveniently.
 83")
Here’s an illustration of how the dark mode button appears, typically in the bottom right corner. You can adjust the Display Settings tab settings to customize the button’s appearance and placement.
However, the free version of the plugin offers somewhat limited customization options. You can choose whether to include text on the button and determine its positioning on the page.
Read More: Top RTL WordPress Themes for Your Brand
Step 4: Customize WordPress Dark Mode Colors
Lastly, you might want to explore various color schemes for dark mode. You can find these options in the Style Settings tab.
 84")
This interface allows you to choose colors that align with your website’s branding. However, the free version of the night mode WordPress plugin offers limited choices.
By upgrading, you unlock access to preset color palettes or the option to craft your unique color scheme tailored to your site’s aesthetic.
Also Check: 10 Best Technology & Gadget WordPress Website Themes
Install WordPress Dark Mode On the Admin Dashboard
 85")
Installing WordPress Dark Mode on the admin dashboard enhances user experience by reducing eye strain during prolonged usage. It provides a sleek interface, improves readability, and promotes productivity, especially in low-light environments.
This feature aligns with evolving design trends and enhances overall usability, benefiting administrators and visitors alike. A straightforward four-step installation process allows you to discover the benefits of WordPress Dark Mode on the admin dashboard.
Step 1: Install the WP Dark Mode Plugin
WP Dark Mode extends its features to your website’s backend, providing customization options. If not installed, locate it in the WordPress Plugin Directory. After installation and activation, you’ll be directed to the General Settings screen to tailor your preferences.
Read More: Designed for Success: How Product UI/UX Enhances Customer Engagement
Step 2: Enable Backend Dark Mode
Afterwards, activate the backend dark mode by accessing Settings > WP Dark Mode > General Settings. Toggle on “Enable Backend Dark Mode” and remember to save your settings by scrolling down and clicking “Save Settings” to apply the changes.
 86")
Step 3: Toggle Your Admin Dashboard From Light to Dark
A new toggle will appear at the top of the screen, granting you access to activate a dark theme for your WordPress admin interface.
 87")
This adjustment aims to enhance your comfort while navigating the backend. For sites with multiple users, each can independently enable or disable dark mode according to their preference.
Also Check: How To White Label Your WordPress Admin Dashboard?
Step 4: Adjust Your Admin Color Scheme to Match Dark Mode
With dark mode activated, consider customizing your admin color scheme for a personalized experience. Simply go to Users > Profile to access the options. Explore and select the palette that suits your preference and enhances your workflow.
 88")
After selecting your preferred colors, save your changes by scrolling down and clicking the “Update Profile” button. This action will apply your updated settings to your profile.
Read More: 20+ Actionable Ways To Speed Up WordPress Admin
Conclusion
In summary, implementing WordPress Dark Mode is a straightforward process that can significantly enhance your website’s user experience. By following the four easy steps outlined in this article – installing the WP Dark Mode plugin, enabling frontend and backend dark mode, enabling the floating switch, and customizing colors – you can provide visitors and administrators a visually appealing and eye-friendly experience.
Remember to use the customization options available, such as adjusting color schemes and admin profiles, to create a seamless, branded experience that aligns with your site’s aesthetic. Embrace the latest design trends and prioritize accessibility by incorporating WordPress Dark Mode into your website today.


