Adobe Illustrator is a big deal for designers. It’s the go-to tool for creating logos, icons, and graphics that make websites pop. But here’s the thing – knowing how to convert your Illustrator designs into WordPress widens the horizon of creativity and design prospects for your website. Many designers struggle with converting designs from Illustrator to WordPress, but it’s a skill that can set you apart.
Think about it. You’ve spent hours perfecting your design in Illustrator. Wouldn’t it be great to see it come to life as a fully functional website?
In this guide, we’ll walk you through integrating your Illustrator workflow with your WordPress development processes. We’ll keep things simple and clear – no fancy jargon here. Just straightforward steps to help you bridge the gap between WordPress design and development.
Ready to take your design skills to the next level? Let’s dive in and learn how to turn your Illustrator creations into WordPress wonders.
Contents
ToggleStep-by-step Guide to Transferring Illustrator Files to WordPress
Start on a seamless journey from stunning Illustrator designs to a dynamic WordPress website with the steps as follows:
Step 1: Prepare Your Illustrator Design
Before converting your design, ensure your Illustrator file is well-prepared for a smooth transition to WordPress.
Open Your Illustrator Design File
Start by launching Adobe Illustrator and opening your design file. Ensure you are working with the latest version to avoid inconsistencies.

Organize and Label All Layers Properly
Group related elements like navigation items, headers, and footers to keep your workspace tidy. Use clear, descriptive names for each layer to reflect its content or purpose. Arrange layers in a logical order that mirrors your website’s structure, placing top-level elements at the top of the stack.
Ensure the Design is Pixel-Perfect and Ready for Export
Check the alignment of all elements using Illustrator’s alignment tools to ensure precision. Verify that custom fonts are consistent and correctly sized, maintaining a uniform look. Inspect colors for accuracy and consistency, using web-safe colors if necessary. Ensure images and graphics are at the correct resolution and size for web use to prevent quality loss during export.
Not Sure How to Adapt Your Illustrator Design for Your WordPress Website?
We will find a way! At just $999, get stunning visuals created according to your design briefing, ready to adapt for a fresh look on your cherished WordPress site.
Step 2: Export Assets from Illustrator
Properly exporting your design assets from Illustrator is crucial for maintaining quality and integrity when transferring to a WordPress website. You can also achieve the same by converting designs from Adobe XD to WordPress.
Export Images and Icons as PNG or SVG Files
Identify and export all images and icons, such as logos, buttons, and backgrounds. Use PNG for raster images requiring transparency and high quality. For vector graphics like icons and logos, use SVG for scalability without quality loss. Ensure PNGs are set to 72 dpi for web use and export at different sizes (1x, 2x, 3x) for various screen resolutions. Optimize images using tools like TinyPNG or ImageOptim. In Illustrator, select the asset, go to File > Export > Export As…, choose PNG or SVG, and set your preferences.
Export Any Text or Font Styles Separately if Needed
Review your design for unique text elements or font styles. Ensure the fonts are available as web fonts, using resources like Google Fonts and Adobe Fonts, and specify fallback fonts in your CSS. Note specific text styles for headings, paragraphs, and buttons, and replicate them in your CSS file. If needed, export font files (OTF or TTF) and integrate them with the @font-face rule in your CSS.
Read Another Design Conversion Guide: From Design to Document: Figma to PDF Made Easy
Step 3: Set Up Your WordPress Environment
Setting up your WordPress environment is the foundation for your website. Here’s how to get started:
Choose a Hosting Provider and Domain Name
Select a reliable hosting provider that offers good performance, security, and customer support. Popular options include Bluehost, DreamHost, and WP Engine. Choose a domain name that reflects your brand and is easy to remember.
Install WordPress on Your Chosen Hosting Provider

Most hosting providers offer a one-click WordPress installation process. Follow the instructions provided by your hosting provider to install WordPress. Once installed, log in to your WordPress dashboard using the credentials provided.
Select a Suitable WordPress Theme to Start With
Choose a WordPress theme that aligns with your design and functionality requirements. There are many free and premium themes available. Install and activate the theme through the WordPress dashboard under Appearance > Themes.
Also Check: Figma to WordPress
Step 4: Create a Child Theme
Creating a child theme allows you to customize your site without altering the original theme, ensuring updates won’t overwrite your changes.
Create a Child Theme to Customize Without Altering the Original Theme
In your WordPress installation directory, navigate to the wp-content/themes folder. Create a new folder for your child theme, naming it appropriately (e.g., yourtheme-child).
Set Up a Stylesheet (style.css) and Functions File (functions.php) for the Child Theme
In the child theme folder, create a style.css file. Add the necessary header information at the top of the file:
/* Theme Name: Your Theme Child Template: yourtheme */
Next, create a functions.php file. Add the following code to enqueue the parent theme’s styles:
<?php function my_theme_enqueue_styles() { $parent_style = ‘parent-style’; wp_enqueue_style($parent_style, get_template_directory_uri() . ‘/style.css’); wp_enqueue_style(‘child-style’, get_stylesheet_directory_uri() . ‘/style.css’, array($parent_style)); } add_action(‘wp_enqueue_scripts’, ‘my_theme_enqueue_styles’);
Step 5: Convert Illustrator Design to HTML/CSS
Now, it’s time to convert your Illustrator design into code.
Use HTML to Structure Your Website’s Content Based on the Illustrator Design
Create an HTML file for each page of your website. Structure the content using semantic HTML elements like <header>, <nav>, <section>, and <footer> to reflect the design layout.
Style the HTML Using CSS to Match the Design Exactly
Write CSS to style your HTML elements, ensuring they match the Illustrator design. Pay attention to details like typography, colors, spacing, and alignment. Use classes and IDs to target specific elements.
Important Read: Accessible Websites for All: ADA-Compliant Website Design Solutions
Step 6: Integrate HTML/CSS into WordPress
Integrate your static HTML/CSS into WordPress to create dynamic pages.
Break Down the HTML into WordPress Template Files (header.php, footer.php, index.php, etc.)
Split your HTML into parts that correspond to WordPress template files. For example, move the header section into header.php, the footer section into footer.php, and the main content into index.php or other template files.
Use WordPress Functions and Loops to Dynamically Display Content
Replace static content with WordPress functions and loops. Use the_title(), the_content(), and other functions to display dynamic content. Implement the WordPress Loop to display posts and pages dynamically.
Step 7: Add JavaScript and jQuery
Enhance your site with interactive elements using JavaScript and jQuery.
Implement Any Interactive Elements Using JavaScript or jQuery
Add interactivity to your site by implementing features like sliders, modals, and form validations using JavaScript or jQuery. Write custom scripts to achieve the desired functionality.
Ensure All Scripts Are Properly Enqueued in WordPress
In your child theme’s functions.php file, enqueue your JavaScript files to ensure they load correctly:
function my_theme_enqueue_scripts() { wp_enqueue_script(‘custom-script’, get_stylesheet_directory_uri() . ‘/js/custom-script.js’, array(‘jquery’), null, true); } add_action(‘wp_enqueue_scripts’, ‘my_theme_enqueue_scripts’);
Also Check: Guide to Creating Your Website Design RFP
Step 8: Install and Configure Necessary Plugins
Enhance your site’s functionality with plugins.
Install Plugins for Additional Functionality
Install necessary plugins through the WordPress dashboard under Plugins > Add New. Popular plugins include Contact Form 7 for forms and AIOSEO for search engine optimization.
Configure Each Plugin to Match the Needs of Your Website
After installing, configure each plugin according to your website’s requirements. Refer to the plugin documentation for detailed setup instructions.
Also Important: Reasons Why Schema Markup is Important for SEO
Step 9: Test Your Website
Ensure your website works perfectly on all devices and browsers.
Check the Website on Different Devices and Browsers to Ensure Responsiveness
Test your site on various devices (desktop, tablet, mobile) and browsers (Chrome, Firefox, Safari, Edge) to ensure it looks and functions correctly.
Test All Links, Forms, and Interactive Elements
Click through to detect broken links, submit forms, and interact with all elements to ensure they work as intended. Fix any issues that arise.
More Resources: Top Must-Have Form Plugins for WordPress
Step 10: Optimize for Performance
Improve your website’s load times and overall performance.
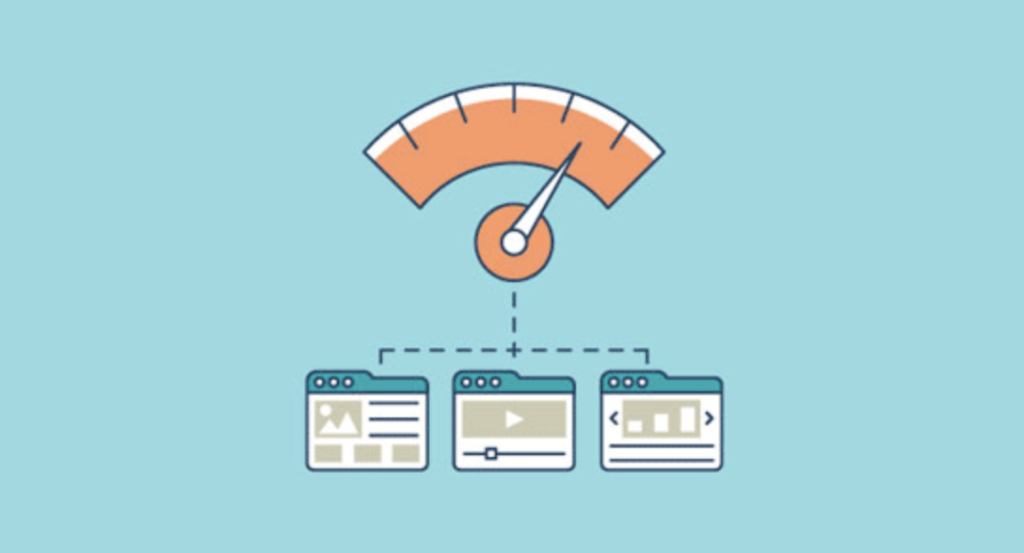
Optimize Images and Other Media Files
Compress and optimize images using tools like TinyPNG or ImageOptim to reduce file sizes without sacrificing quality.
Use Caching and Minification Plugins to Improve Load Times
Install caching plugins like W3 Total Cache and minification plugins like Autoptimize to enhance site performance. Configure these plugins to optimize load times.
Find More: How To Speed Up WordPress Page Loading Time?
Need Maximum Speed for Your Website?
We bring it up with tactics like minifying CSS, defer Javascript parsing, code optimization, image compression and more. Try it for your website, starting at just $499!
Step 11: Launch Your Website
Prepare for the public launch of your website.
Double-Check All Content and Functionality
Review all content, ensuring there are no typos or errors. Verify that all functionality works correctly and smoothly.
Set Up Google Analytics and Other Tracking Tools
Install Google Analytics and other tracking tools to monitor your website’s performance and user behavior.
Publish the Website and Announce the Launch
Make your website live by pointing your domain to the hosting server. Announce the launch through your social media channels, email newsletters, and other marketing platforms.
Read More: How To Execute Content Marketing With Link Building?
In Parting: Maintain and Update Your Website
You’ve done it! Your Illustrator design is now a live WordPress site. But the work doesn’t stop here. Think of your website as a living thing – it needs care to stay healthy and grow.
Keep WordPress, your themes, and plugins fresh. It’s like updating apps on your phone. New versions fix bugs and keep hackers out. Set a regular schedule to check for updates. This simple habit can save you from big headaches down the road.
Watch how your site’s doing. Tools like Google Analytics show you who’s visiting and what they’re up to. If something looks off, fix it fast. Is a page loading slowly? Are people leaving quickly? These clues help you make your site better. Pay attention to what your visitors are telling you through their actions.
Want to keep people coming back? Add new stuff! Maybe a blog post, a cool feature, or even a small redesign. Your site should grow with you and your ideas. Fresh content gives people a reason to return. It also helps your site show up in search results.
Remember, a good website is never really “finished.” It’s always changing, just like your business. So keep tinkering, testing, and improving. Your visitors will notice and appreciate the effort. A well-maintained site builds trust and keeps people coming back for more.

