WordPress advanced fields are helpful for site owners as they allow storing extra data and power up the functionality in plugins and themes. Advanced custom fields let you add unique information. For example, a WooCommerce plugin uses fields for product details like price and color. An events plugin uses fields for event location and time. Custom fields give you the flexibility to store relevant data.
The WordPress custom fields allow users to include, store, and exhibit extra content-related data. Functioning as metadata containers, they power various functionalities in plugins and themes. Moreover, users can create custom fields tailored to their specific requirements, facilitating personalized data management within WordPress.
In this blog, we’ll explore how to incorporate advanced custom fields in WordPress design at various stages of WordPress development.
Contents
ToggleWhy Do You Need Custom Fields in WordPress?

Whether managing an eCommerce store with WooCommerce or scheduling events with a calendar plugin, custom fields offer a versatile solution to tailor your website according to your unique needs. They allow you to store additional data beyond the standard post or page fields, empowering you to create more dynamic and visually appealing content layouts.
Also Read: 40+ Best WooCommerce Plugins
Key benefits of using custom fields include:
Metadata Storage: Store relevant metadata for posts, pages, or custom post types.
Enhanced Content Display: Present content in an organized and aesthetically pleasing manner.
Plugin Integration: Seamlessly integrate with popular plugins for SEO, e-commerce, caching, events, security, WordPress search and more.
Customized User Experience: Tailor UX for your small business website by displaying specific content based on custom fields.
Future-Proof Flexibility: Easily adapt to changing content requirements without modifying the core WordPress structure.
Have a Cluttered-looking WordPress Site that’s Driving Your Business Away?
Our experienced designers can revamp your site design with advanced custom fields for WordPress
What are WordPress Built-in Custom Fields?
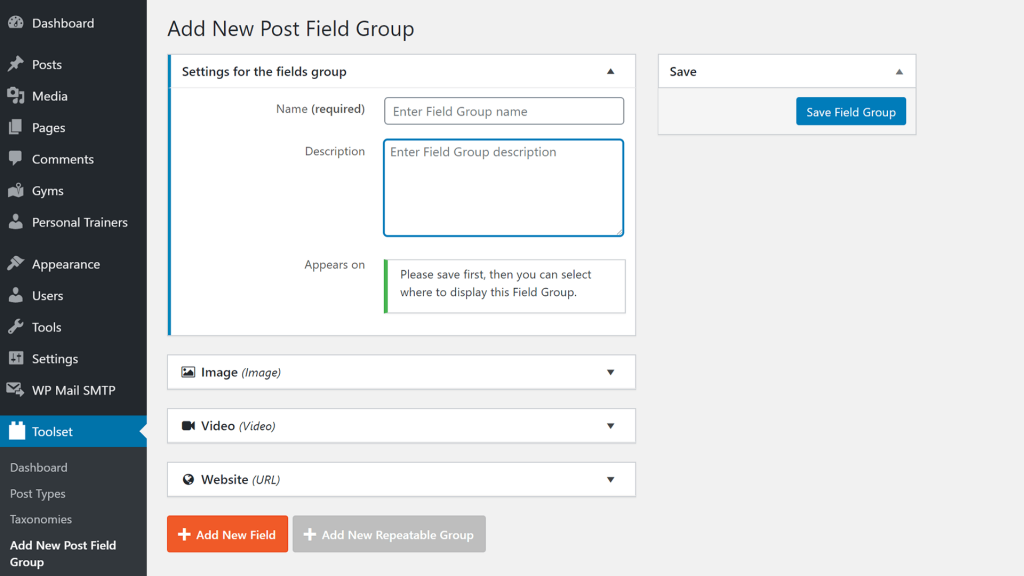
Adding custom fields in WordPress is a simple and efficient process, enhancing content organization and functionality. With options available in classic and block editors, enabling built-in custom fields in WordPress is straightforward, allowing seamless input of key/value pairs for enhanced customization.
Here is how you should do it:
Classic Editor Setup: Access Screen Options and enable custom fields for the classic editor interface.
Learn More: WordPress 6.2: Revamped Site Editor, Distraction-Free Writing Mode, & Updated Block Inserter
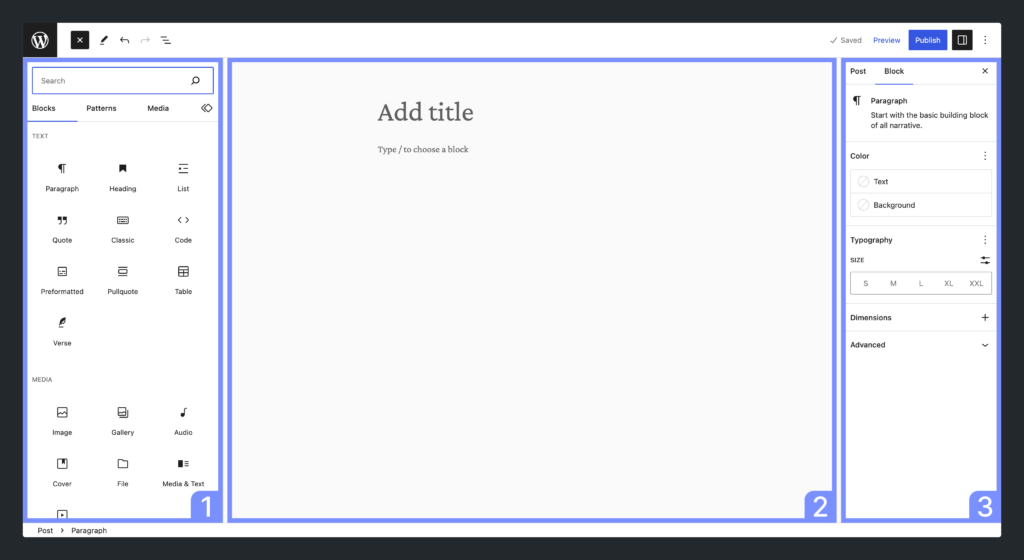
Block Editor Setup: Navigate to the Options area and activate custom fields for the block editor.
Access Custom Fields: Locate the custom fields section below your content once enabled.
Enter Data: Input your custom field information using key/value pairs.
Built-in Functionality: While functional, the native method may lack user-friendliness. Check to optimize,
Consider Plugins: Many opt for the Advanced Custom Fields plugin for a more intuitive experience.
Adding Your Fields on Advanced Custom Fields: Step-by-Step Guide
Advanced Custom Fields (ACF) offers an accessible and affordable premium version. The free version covers most basic needs with various field types and user-friendly features.
However, the Pro version introduces handy features like repeater fields for handling multiple data instances per post, ACF blocks for Gutenberg, flexible content fields for custom layouts, and gallery fields for uploading multiple images. ACF PRO starts at $49 annually for single-site use, providing flexibility to upgrade as needed.
Whether you are using the free or the pro version, adding your fields will follow this method –
Create a New Group of Fields
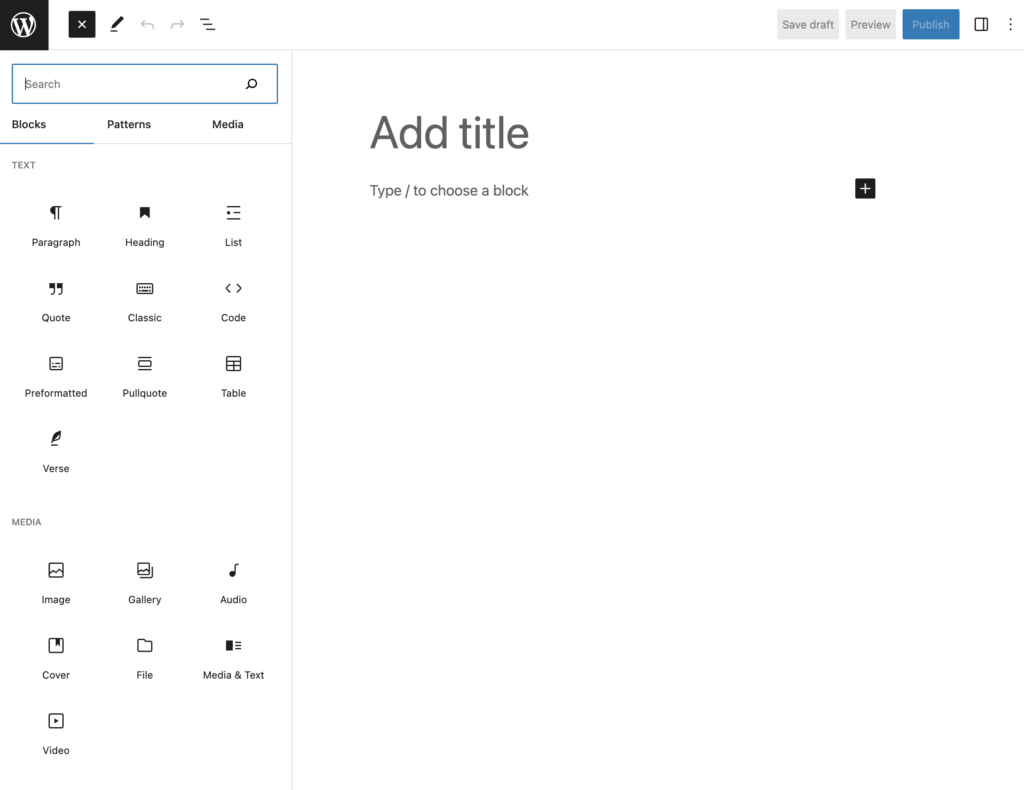
After installing and activating the accessible version of Advanced Custom Fields from WordPress.org, head to Custom Fields > Add New to create your first Field Group.
A “Field Group” is a bunch of custom fields shown together in your WordPress dashboard.
In this example, we’ll make a field group with five custom fields.
Name your field group and pick where it should show up. For blog posts, keep it as the default Post. But if you want it somewhere else, like with a custom post type, you can change it. You can also add rules to show your fields in different places.
Read More: How to Develop a Custom WordPress Website?
Add Custom Fields
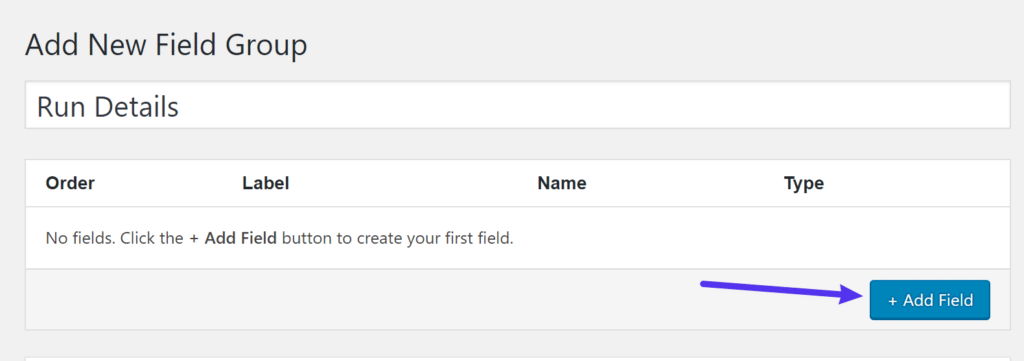
To proceed, select the + Add Field button to incorporate your initial custom field. While a plethora of options will be presented, it’s optional to complete every field.
The two primary selections are:
Field Label: This is the name visible in the editor and serves as the basis for the Field Name used in code. Altering the field name is optional.
Field Type: Choose the data type you wish to gather, such as Number for numerical data or Email for email addresses.
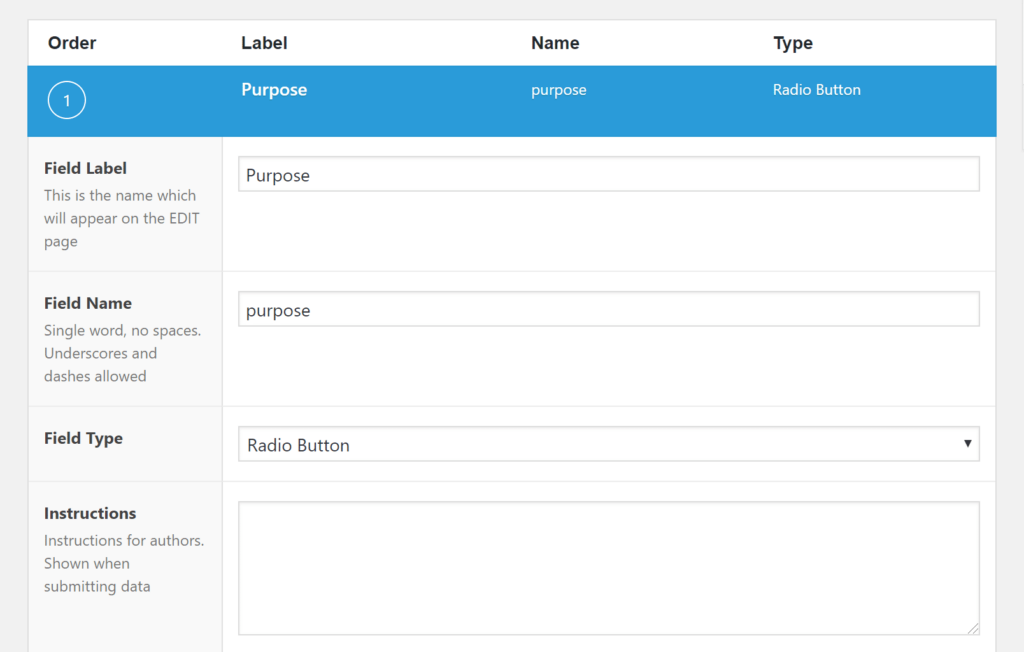
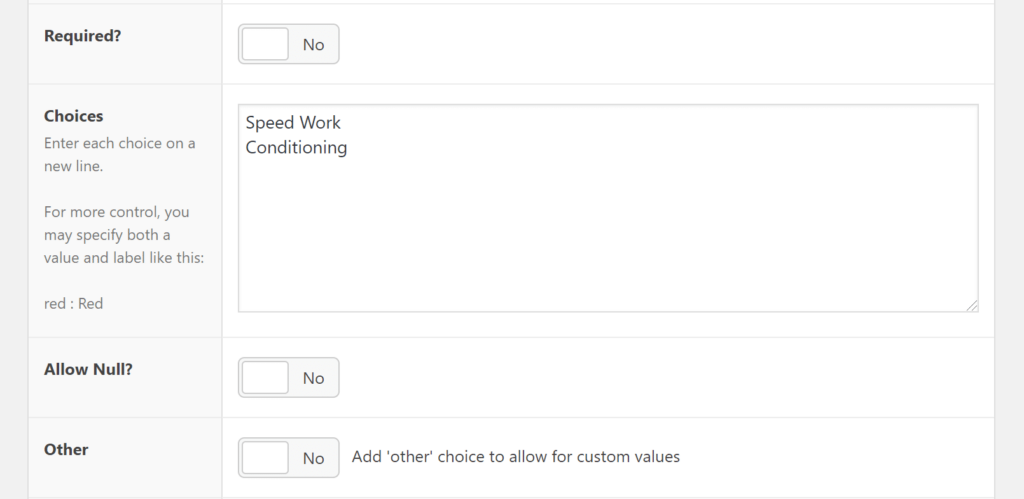
For the first field, opt for the Radio Button field type. Below, enter the available options for radio button selection in the Choices box. Additionally, adjust settings such as field requirement and default value as desired.
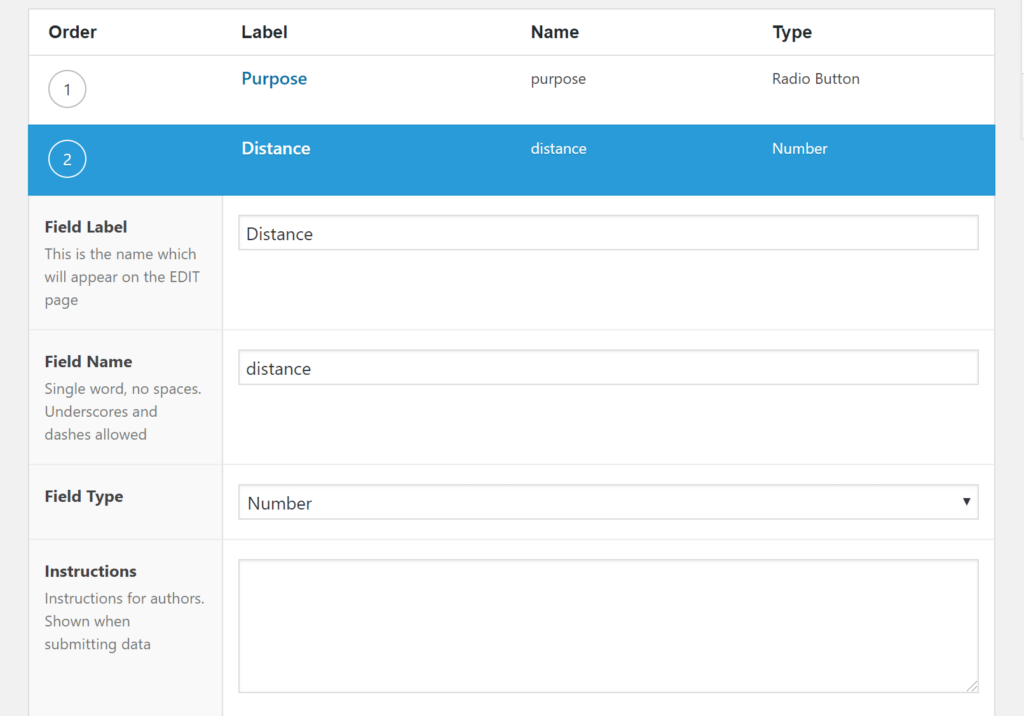
For another scenario, consider a custom field to capture the distance of a run. In this instance, select the Number field type. You may include the distance unit for user-friendliness and set minimum and maximum values for validation purposes.
Repeat these steps for any additional custom fields you wish to include. Once completed, your configuration should resemble the provided example.
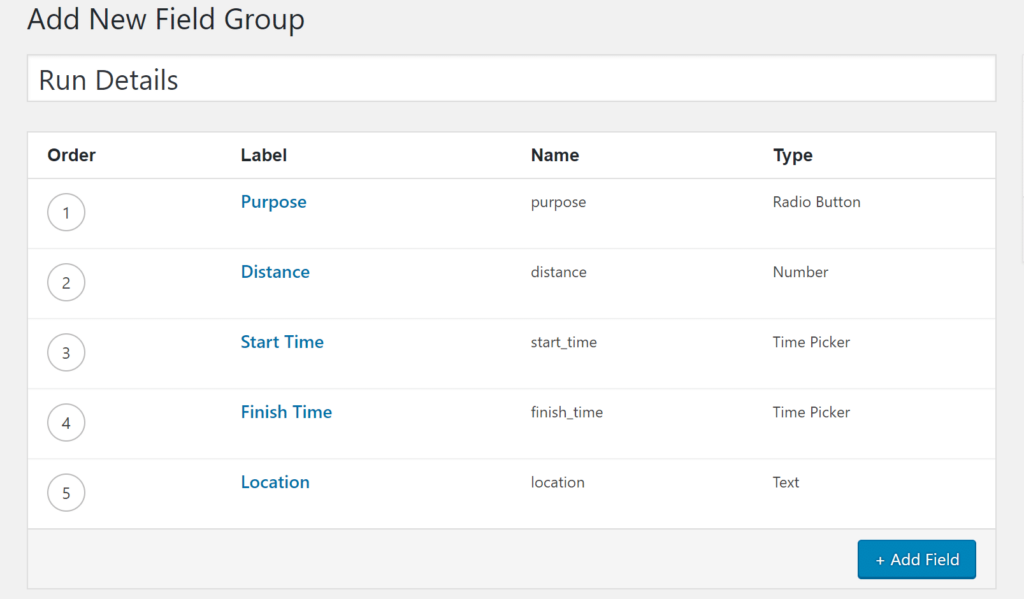
Configure and Publish
To complete the process, scroll down to the Settings box. Here, you can adjust how your fields appear in the WordPress editor.
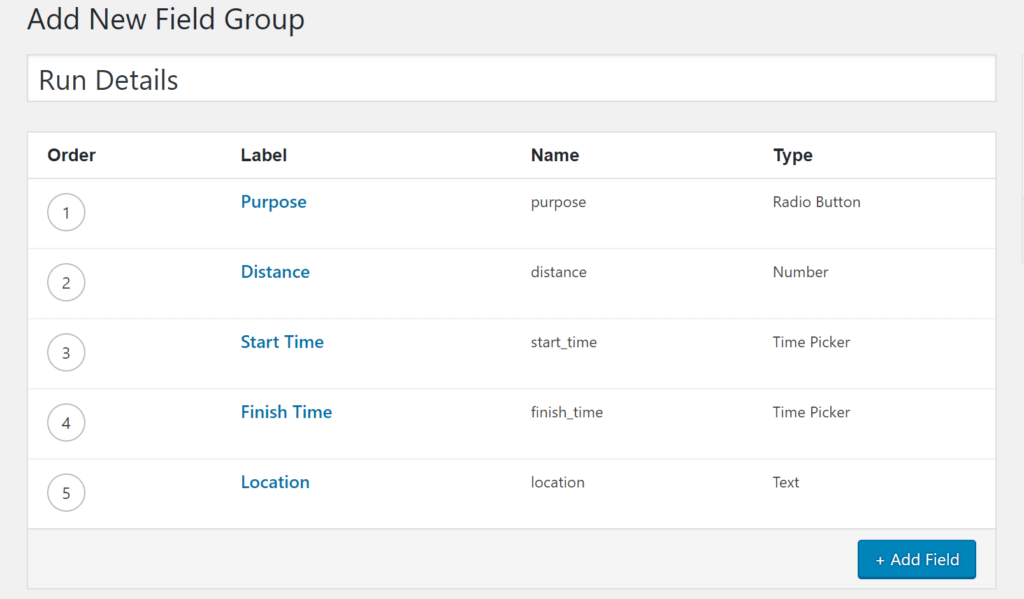
Usually, you can stick with the defaults, but feel free to customize if needed. For instance, you can show your custom fields above the regular WordPress editor. Once you’re satisfied with your settings, hit Publish to activate your field group.
Also Read: Fix WordPress “Publishing Failed. The Response Is Not A Valid JSON Response.” Issue
Expand Information in the WordPress Editor

After publishing your field group, your custom fields will be readily available when creating a new post. They’ll seamlessly integrate below the editor in both the classic TinyMCE editor and the new block editor.
Advanced Custom Fields on the Front End
Congratulations! You’re halfway through your Advanced Custom Fields journey. Now, let’s tackle a crucial step: showcasing your custom field data on the front end of your website.
Despite adding custom fields to your blog posts, they still appear like regular front end posts.
Let’s change that!
Here are three methods to display your Advanced Custom Fields data:
Theme’s Template Files: Best for those comfortable with technical aspects and working within template files. You can also consult AI templates for the same.
Shortcode: Simple and suitable for inserting field data on specific posts but requires manual effort.
Elementor Pro: A premium option that eliminates PHP work, ideal if you prefer a visual editor.
Choose the method that suits your needs or explore them all—it’s up to you!
Also Read: Gutenberg Vs. Elementor: Who Wins In 2024?
Advanced Custom Fields with Themes Template
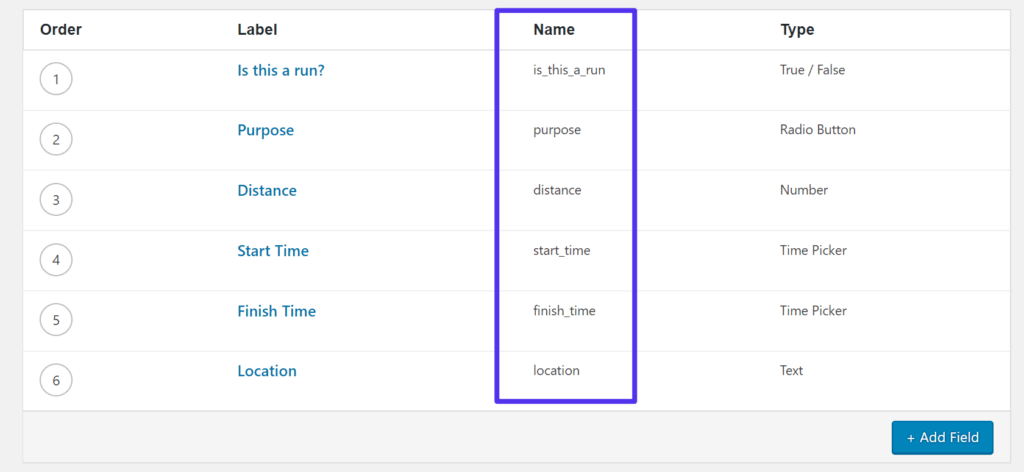
The first method to showcase your custom field info involves adding Advanced Custom Fields’ PHP functions directly to your child theme’s template files. While a bit advanced, it ensures a consistent display of custom fields.
Locate and edit the single template file for your post type (e.g., single.php or content-single.php for the TwentyNineteen theme).
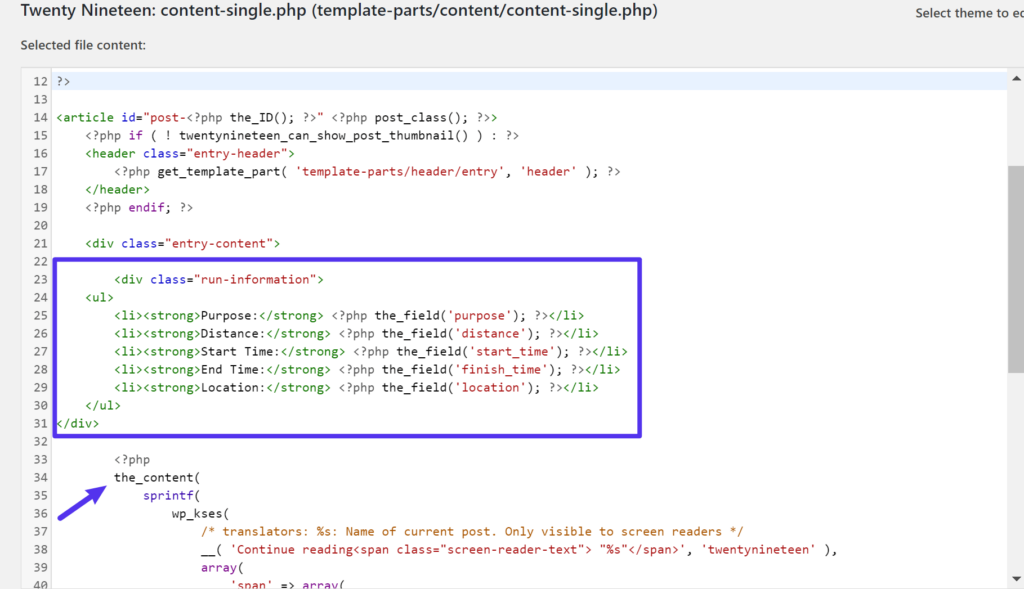
Use the_field() function to display field info, combining HTML markup with PHP.
Place this above the regular post content in your theme template file, and voila! Your custom field data will appear seamlessly above the WordPress content.
Read More: How to Convert HTML to WordPress Theme?
Advanced Custom Fields with a Shortcode
Looking for an easier way to showcase your custom field data? Consider using shortcodes. Simply insert the shortcode whenever you want to display a custom field. While convenient, it does require manual effort with no automation.
Here’s an example shortcode:

Inserting this in the WordPress editor will produce the same frontend appearance as the theme template method.

Conclusion
Mastering Advanced Custom Fields unlocks endless possibilities for enhancing your WordPress website’s functionality and content presentation. Whether you’re an eCommerce store owner, event organizer, or anyone seeking to personalize their site, custom fields empower you to store and display unique data seamlessly.
By leveraging the plugin’s intuitive interface, field types, and integration options, you can craft visually appealing layouts, streamline content management, and deliver tailored user experiences. Custom fields provide the flexibility to adapt as your website evolves without overhauling the core structure. Embrace the power of Advanced Custom Fields, and unlock a world of customization that elevates your WordPress site to new heights of professionalism and sophistication.


