Ever wonder how to integrate your amazing designs from Figma to WP Bakery to enhance WordPress development? Figma has rapidly become a go-to tool for designers, empowering them to craft beautiful and interactive designs with ease. Its intuitive interface, real-time collaboration, and powerful prototyping capability have made it a favorite among design teams worldwide.
With Figma, you can:
- Bring your creative visions to life with precision and flexibility
- Ensure a seamless design process from start to finish
- Collaborate with team members in real-time
Once your designs are polished and ready for implementation, WP Bakery (formerly known as Visual Composer) offers a seamless solution for translating those concepts into fully functional WordPress pages. As a popular and versatile page builder, WP Bakery provides a user-friendly drag-and-drop interface, allowing you to construct intricate layouts and populate them with a wide range of customizable elements.
Its key features include:
- Extensive library of pre-built components
- Advanced styling options
- Responsive design tools
Making it a powerful ally for both designers and developers alike.
In this ancillary guide for WordPress custom design, we will walk you through the step-by-step process of converting your carefully crafted pages converted from Figma to WordPress using the intuitive WP Bakery page builder. Let’s begin!
Contents
ToggleStep 1: Preparing Your Design in Figma
Before we dive into the nitty-gritty, make sure your Figma design is ready for conversion. After all, a well-organized design is half the battle won!
Here is how:
- Create multiple frames or artboards to represent different pages or sections of your website. This will help you organize your design and make it easier to convert later.
- Organize your layers and components in a logical hierarchy. Use descriptive names for layers and components, and group related elements together. This will make it easier to navigate your design and identify specific elements during the conversion process.
- Consider using Figma’s auto-layout feature, also useful to convert Figma to WordPress, to create responsive designs that can adapt to different screen sizes.
Finding Figma Design Conversions Too time-consuming?
We can cut it short! Trust our skilled designers to create stunning Figma-produced web layouts and convert them for your WordPress page-builder tool, for just $999!
Now, let’s optimize the design for conversion.
- Use consistent styles and naming conventions across your design. Define global styles for typography, colors, and other design elements to ensure consistency. Use clear and descriptive names for your styles, making it easier to apply them later in WP Bakery.
- Ensure your design follows responsive principles. Test your design across different screen sizes and breakpoints to ensure it adapts well to various devices. This will make it easier to implement responsive behavior in WP Bakery.
- Consider creating separate artboards or frames for different viewport sizes (e.g., desktop, tablet, mobile) to make it easier to visualize and design for different screen sizes.
Also Read: WordPress Full Site Editing: Complete Beginner’s Guide
Step 2: Exporting Assets from Figma to WP Bakery
Once your design is polished and primed for conversion from from Figma to WP Bakery, it is time to export those assets like a boss. Do not worry. We will make sure nothing gets left behind!
- Identify and select all the exportable assets (images, icons, SVGs, you name it):
- Carefully review your design and make a list of all the assets you will need to export, such as images, icons, illustrations, and SVG graphics.
- Use Figma’s selection tools to select individual assets or group multiple assets together for export.
- Choose the right export settings and formats:
- Export images and icons in high-quality formats like PNG or JPG. Make sure to choose an appropriate level of quality and optimization to balance file size and image quality.
- Export SVGs and other vector elements for scalability. SVGs are great for icons, logos, and graphics that need to look sharp at any size.
- Consider exporting assets at multiple sizes or resolutions to accommodate different use cases (e.g., retina displays, large hero images, etc.).
- Use descriptive and consistent naming conventions for your exported assets to make them easier to identify and organize later.
- Optionally, you can use Figma’s export settings to generate assets based on specific parameters, such as frame or component names, layer names, or specific styles.
Keep Reading: Responsive WordPress Web Design: The Key to Converting Mobile Visitors
Step 3: Setting Up WP Bakery
Now that we have our assets ready, let’s get WP Bakery up and running like a well-oiled machine.
- Install and configure the WP Bakery plugin:
- Log in to your WordPress admin dashboard and navigate to the Plugins section.
- Click on Add New and search for WP Bakery Page Builder (formerly known as Visual Composer).
- Install and activate the plugin.
- Once activated, you may need to enter a valid purchase code or license key to unlock all features.
- Customize the plugin settings according to your preferences, such as enabling/disabling certain elements or setting default options.
- Get familiar with the WP Bakery interface and features:
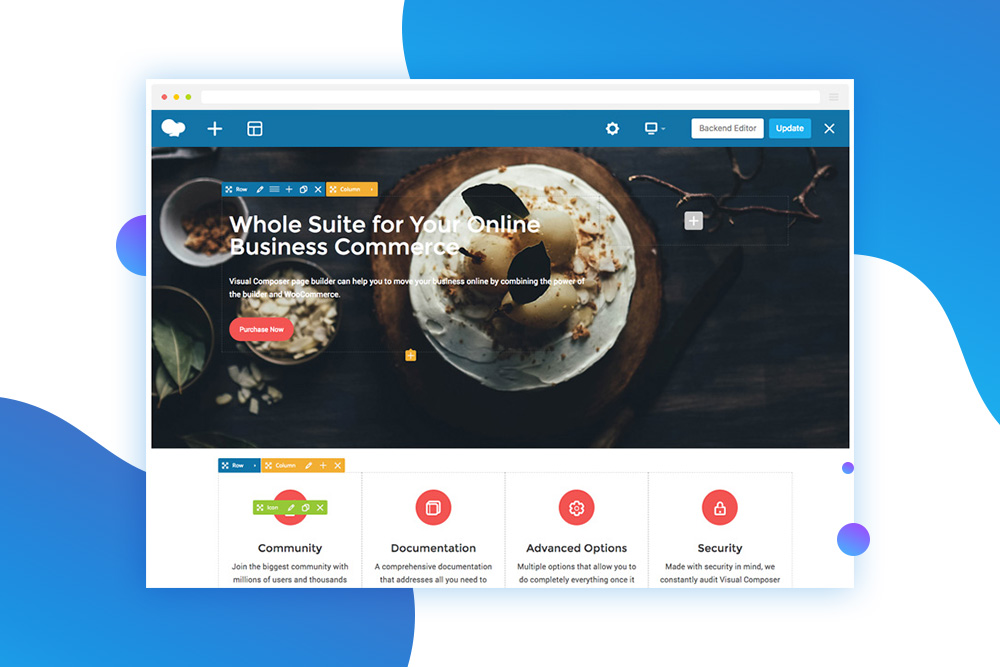
- WP Bakery adds a new editing experience to your WordPress posts and pages, allowing you to build layouts using a drag-and-drop interface.
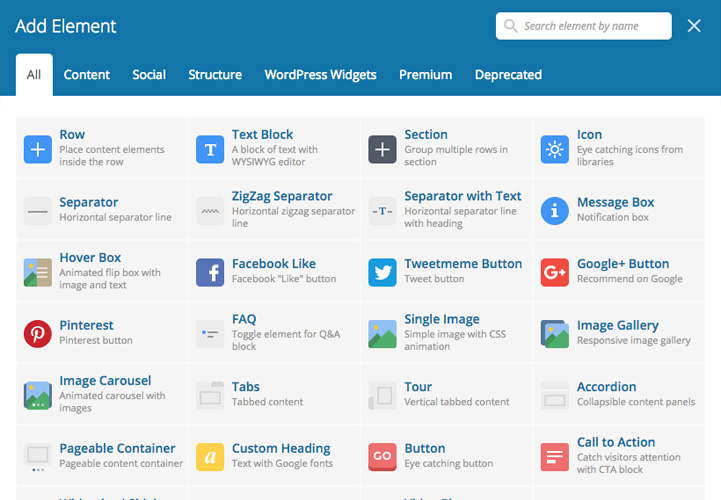
- Explore the different elements available in WP Bakery, such as rows, columns, text blocks, image galleries, and more.
- Familiarize yourself with the settings and options for each element, as well as the overall layout and styling options.
- Check out the documentation, tutorials, or community resources to learn more about advanced features and best practices.
Read More: Accessible Websites for All: ADA-Compliant Website Design Solutions
Step 4: Importing and Integrating Figma Designs into WP Bakery
Here is where the magic happens! It is time to bring your Figma designs to life in WP Bakery.

- Create a new page or post (or dust off an existing one):
- In your WordPress admin dashboard, navigate to “Pages” or “Posts” and create a new entry or open an existing one you want to convert.
- Choose the WP Bakery Page Builder or Backend Editor option to start building your layout.
- Use WP Bakery elements:
- Add and configure basic elements like rows and columns to create the overall structure of your design.
- Use text blocks, image elements, and other components to populate your layout with content.
- Customize layouts and grids to match your Figma designs by adjusting column widths, spacing, and other layout options.
- Upload and place your exported assets:
- In the WordPress media library, upload the assets you exported from Figma (images, icons, SVGs, etc.).
- Insert images and icons into your WP Bakery layout by adding image elements and selecting the appropriate assets from the media library.
- Embed SVGs and custom code by using the appropriate elements in WP Bakery, such as the “Raw HTML/JS” element.
Read More: Best Screen Sizes for Web Design: A Guide to Standard Website Sizes
Step 5: Styling and Customization
Now that your design is taking shape, let’s add some extra pizzazz by styling and customizing those elements.
- Apply Figma styles to WP Bakery elements:
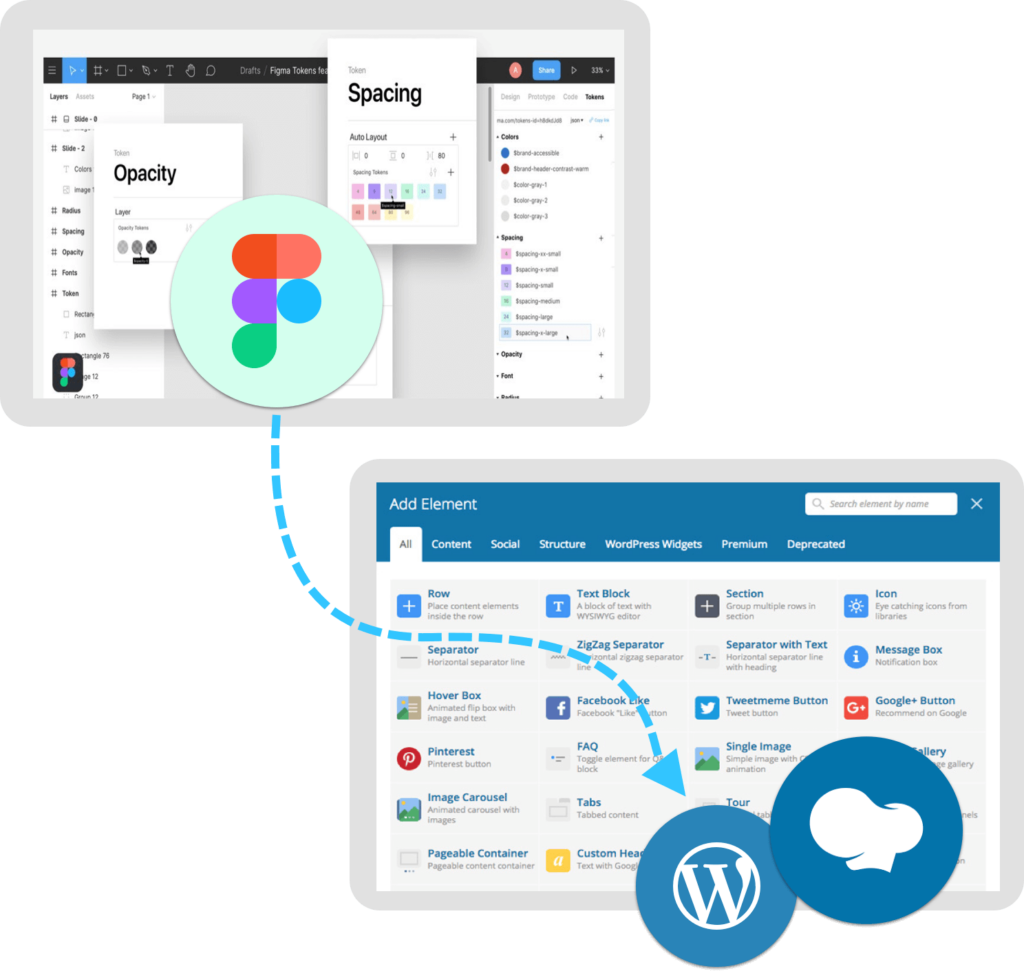
- Use the typography settings in WP Bakery to match the font styles, sizes, and weights defined in your Figma design.
- Apply color schemes by setting the appropriate hex codes or selecting colors from the built-in color picker.
- Adjust spacing and alignment options to ensure your elements are positioned and spaced correctly, just like in your Figma design.
- Unleash your inner CSS ninja for advanced customization:
- WP Bakery allows you to add custom CSS to individual elements or globally for the entire layout.
- Use custom CSS to fine-tune styles that can’t be easily achieved through the built-in options, such as complex hover effects, animations, or custom layouts.
- Override default WP Bakery styles if necessary by using more specific CSS selectors or !important declarations (with caution, of course).
Further Reading: Figma Design Conversions
- How to Convert Figma to Code: React, HTML, Vue, JS, CSS
- Figma to Shopify
- How to Export Figma to PDF Easily
- How to Convert Figma to Bricks Builder
- Figma Vs WebFlow
- How to Convert Figma to Webflow?
Step 6: Ensuring Responsiveness and Cross-Browser Compatibility
We are in the home stretch, but we cannot forget about those pesky responsiveness and compatibility issues!
- Test your design for responsiveness:
- WP Bakery includes built-in responsive options that allow you to adjust element visibility, sizing, and positioning for different screen sizes.
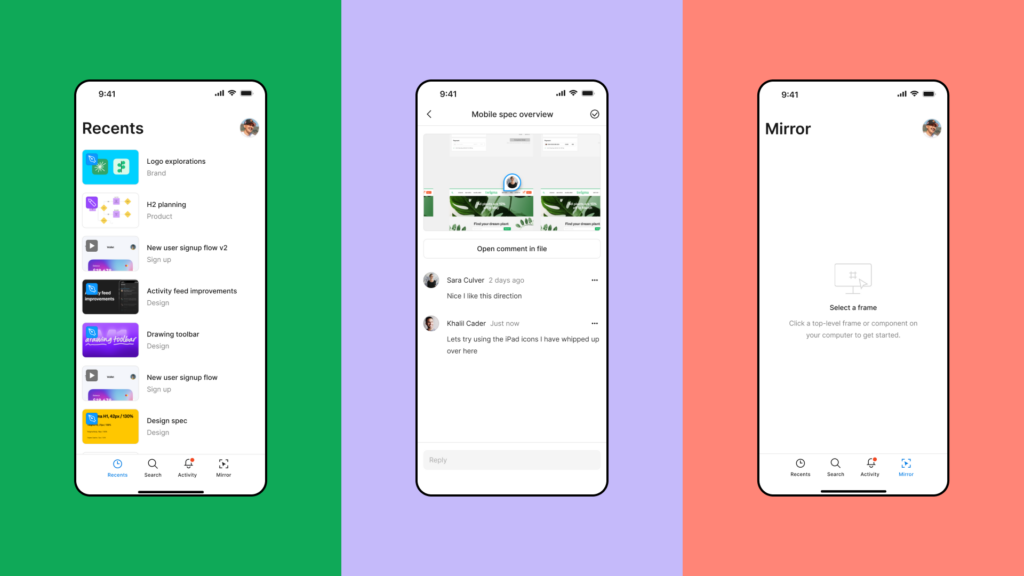
- Use the responsive preview mode to see how your layout looks on various devices and make adjustments as needed.
- Consider using browser developer tools or dedicated testing tools to simulate different viewport sizes and orientations.
- Conquer cross-browser compatibility challenges:
- While modern browsers have improved in terms of compatibility, there may still be some issues with certain CSS properties or JavaScript functionality.
- Identify browser-specific issues by testing your site across different browsers and versions (Chrome, Firefox, Safari, Edge, etc.).
- Implement fixes and workarounds, such as using vendor prefixes, feature detection, or polyfills, to ensure consistent behavior across browsers.
Know More: UX Tips & Tools That You Must Know About
Step 7: Finalizing and Publishing
You have made it this far, and your design is looking fabulous! Now, it is time to put the finishing touches and unveil your masterpiece to the world.

- Review the final design (with a critical eye, of course):
- Take a step back and look at your WP Bakery layout with fresh eyes. Examine every element, interaction, and transition to ensure it matches your Figma design intent.
- Check for any inconsistencies in styling, layout, or functionality that may have slipped through the cracks.
- Enlist the help of a colleague or friend for an objective review. Fresh perspectives can often catch issues you may have overlooked.
- Make any necessary adjustments (because perfection takes time):
- Based on your review, make a list of any tweaks, fixes, or enhancements that need to be addressed.
- Dive back into WP Bakery and make the required adjustments, whether it’s fine-tuning styles, fixing responsive issues, or optimizing website speed and performance.
- Do not be afraid to iterate and refine until you are completely satisfied with the final result.
- Publish the page or post (and bask in the glory of your hard work!):
- Once you are confident that your design is pixel-perfect and functioning as intended, it’s time to share your creation with the world.
- In your WordPress admin dashboard, review your page or post one last time, and then hit that Publish button with pride.
- Congratulate yourself on a job well done! You’ve successfully translated a Figma design into a fully functional WordPress page using WP Bakery.
Read More: Top Web Design Tools for Designers
Final Words: Additional Tips for Figma to WP Bakery Conversion
As you start converting Figma designs into WordPress with WP Bakery, remember that practice makes perfect. Each project will help you refine your skills and create a smoother workflow. Here are some extra tips to keep in mind:
- Stay organized: Keep a clear and consistent file structure for your Figma designs, exported assets, and WordPress files. This will save you a lot of time and frustration.
- Collaborate effectively: Maintain open communication between designers and developers. Encourage designers to add detailed annotations and specifications in their Figma designs for an easier conversion process.
- Automate when possible: Use tools and plugins to automate tasks like asset export, CSS generation, or code snippets. This will streamline your workflow and reduce errors.
- Learn from mistakes: Document any roadblocks or issues you encounter and learn from them. This will help you avoid similar problems in future projects.
- Embrace best practices: Keep up with the latest trends and techniques in web design and development. Attend workshops, read industry blogs, and participate in online communities to expand your knowledge.
- Prioritize performance: Ensure your site loads quickly by optimizing assets, minimizing HTTP requests, and considering various devices and network conditions.
Acing the Figma to WP Bakery conversion process enable designers and developers to collaborate seamlessly, creating visually stunning and functional websites with ease. This will not only streamline your workflow but also enhance your understanding of the synergy between design and development.


