Ever shared a blog post on Facebook or Twitter only to find that the preview image is missing or not quite right? You’re not alone—many social media users have encountered this issue.
Social media posts with images see 2.3 times more engagement than those without, making it crucial to get those previews right. Whether you want to showcase a new image, update an old one, or ensure your previews look perfect every time, knowing how to manage social media previews is essential.
This guide will walk you through the steps to add and update social image previews in WordPress, making your content more engaging and visually appealing on social media platforms.
Contents
ToggleUnderstanding Social Media Preview Images
When you share a link on social media, platforms like Facebook and Twitter display a preview that includes an image, title, and description. These previews, known as Open Graph images for Facebook and Twitter cards for Twitter, significantly impact how your content is perceived and engaged with by your audience. However, the process of setting these images isn’t always intuitive, especially for WordPress users.
Why Social Media Image Previews Matter
Social media image previews are crucial for several reasons:
- Attract Attention: Eye-catching images can significantly increase the likelihood of your post being noticed and clicked on. According to Buffer, tweets with images receive 150% more retweets than those without.
- Consistency: Ensuring your brand image is consistent across platforms helps build recognition and trust. This consistency makes your content easily identifiable to your audience, strengthening your brand’s presence.
Explore: Best Branding Ideas for Your Business
- Engagement: Posts with images receive higher engagement rates compared to those without. HubSpot reports that Facebook posts with images see 2.3 times more engagement than those without images.
- Improved Click-Through Rates (CTR): Properly optimized previews with compelling images and descriptions can significantly boost your CTR. This means more people visiting your site from social media.
- Professional Appearance: Using high-quality preview images helps present your content as polished and professional, which can enhance your credibility and the perceived value of your content.
Does Your Website Need Performance Optimization?
Don’t let slow speeds drive away your visitors. Let Seahawk enhance your website’s performance for a faster, smoother experience.
- Optimize My Site /ul>
Explore: Must-Have Social Media Tools
Adding Social Image Previews in WordPress

The most efficient way to add social media image previews in WordPress is by using an SEO plugin. These plugins not only help with search engine optimization but also provide tools to set social media previews. Here are the steps to use some of the most popular SEO plugins:
Read: Best WordPress SEO Agencies
All In One SEO Pack

- Install and Activate All In One SEO Pack: Available from the WordPress Plugin Repository.
- Navigate to Social Meta Settings: Go to All in One SEO > Social Meta.
- Configure Default Settings: Set default images for your posts. You can also customize settings for individual posts in the same way as with Yoast and Rank Math.
Yoast SEO

- Install and Activate Yoast SEO: If you haven’t already, install and activate the Yoast SEO plugin from the WordPress Plugin Repository.
- Access Social Settings: Navigate to SEO > Social from your WordPress dashboard.
- Set Default Images: Under the Facebook tab, you can set a default image for your posts. Repeat the process for the Twitter tab.
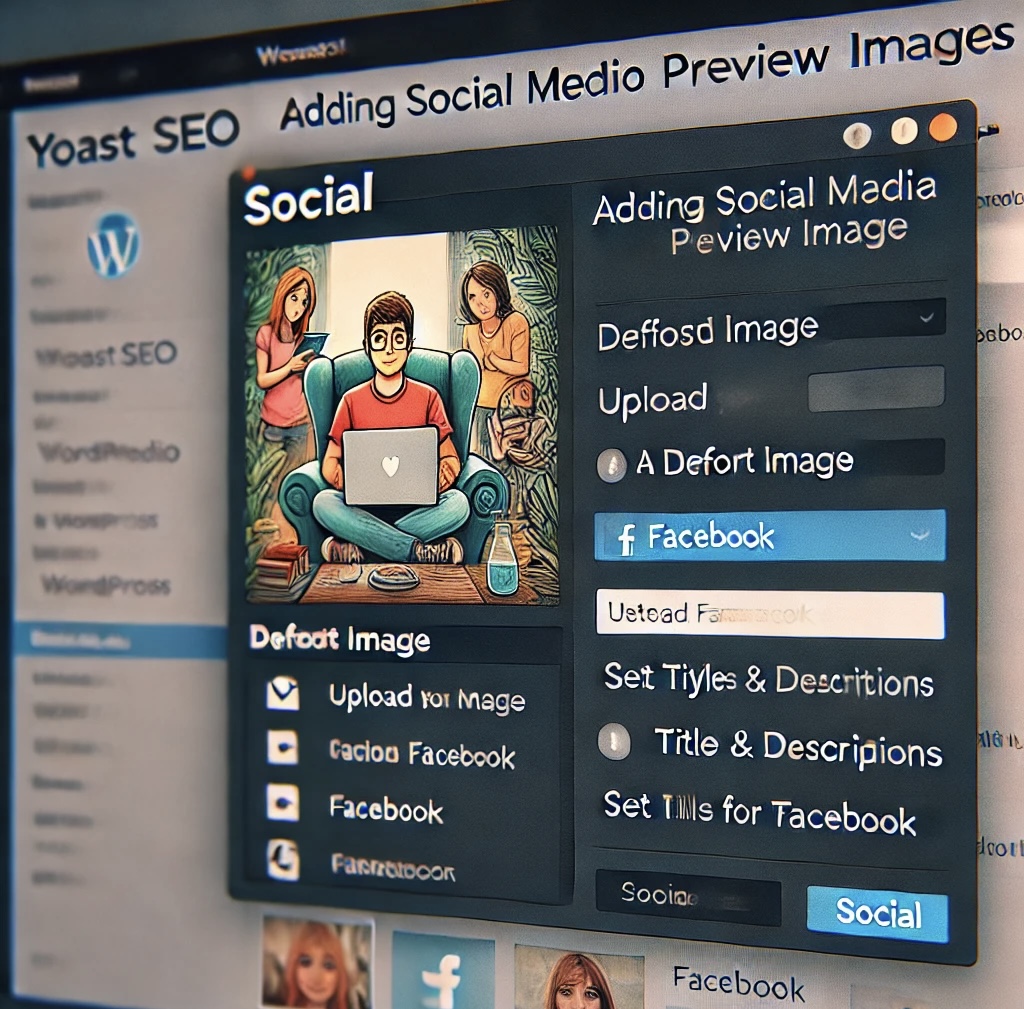
- Customize Individual Posts: When editing a post, scroll down to the Yoast SEO meta box and click on the “Social” tab. Here, you can set specific images, titles, and descriptions for Facebook and Twitter.
Rank Math

- Install and Activate Rank Math: Add Rank Math from the WordPress Plugin Repository.
- Access Social Meta Settings: Open the post or page you want to edit. Scroll down to the “Social” tab beneath the main content editor.
- Set Social Media Images: Upload your desired images and enter custom titles and descriptions for Facebook and Twitter.
Read: Rank Math vs Yoast: Which Is The Best SEO Plugin
SEOPress

- Install and Activate SEOPress: Find it in the WordPress Plugin Repository.
- Enable Social Meta: Go to SEO > Social Networks and enable the feature.
- Set Images for Facebook and Twitter: Check the “Enable OG data” box under the Facebook tab and set your image. Repeat for the Twitter tab.
Testing Your Image Previews
Once you’ve set your images, it’s crucial to test how they appear on social media platforms. Here’s how you can do it:
- Preview Without Posting: Create a post with your link but set the audience to “Only me” on your personal profile. This way, you can see how it looks without sharing it publicly.
- Facebook Debugger: Use the Facebook Debugger to enter your URL and see what Facebook is pulling. This tool also helps refresh Facebook’s cache if it shows old images.
Twitter Card Validator: Go to the Twitter Card Validator, paste your URL, and click “Preview card” to see how your link will appear.
Image Dimensions for Social Media

Social media platforms frequently change their image size requirements, making it challenging to keep up. However, adhering to some general guidelines can help ensure your images look great across platforms:
- Facebook: Images should ideally be 1200 x 630 pixels for link previews.
- Twitter: Use 1200 x 675 pixels for Twitter cards.
General Tip: A safe size for most platforms is around 1200 x 630 pixels. Ensure your images are high quality and avoid using too much text to prevent cropping issues.
Optimizing Images for Faster Loading
Large images can slow down your site, affecting user experience and SEO. To avoid this, follow these tips:
- Compress Images: Use tools like TinyPNG or plugins like WP Smush to reduce file sizes without losing quality. Compressing images can decrease load times by up to 80%, significantly improving site speed.
- Use Proper File Formats: JPEG is ideal for photographs and detailed images, while PNG works best for simple graphics with few colors. SVG is another great option for logos and icons as they are scalable without losing quality.
- Implement Lazy Loading: This technique delays the loading of images until they are actually needed (i.e., when they enter the viewport). Plugins like Lazy Load can help implement this easily.
- Optimize for Retina Displays: Use the srcset attribute in your HTML to provide multiple image resolutions, ensuring that your images look sharp on high-DPI displays without unnecessarily increasing file size for other users.
- Leverage Browser Caching: Set up your server to store images in the user’s browser cache for a specified duration. This reduces the number of HTTP requests and can drastically speed up page load times for returning visitors.
Forcing an Update to Social Previews
Sometimes, after updating an image or description, social media platforms may still display the old version due to caching. Here’s how to force an update:
- Use the Facebook Debugger: Go to the Facebook Debugger, enter your URL, and click “Debug.”
- Scrape Again: Click “Scrape Again” to refresh Facebook’s cache.
Twitter Card Validator: Open the Twitter Card Validator, paste your URL, and click “Preview card.”
Post Inspector: Use the LinkedIn Post Inspector, enter your URL, and click “Inspect” to refresh LinkedIn’s cache.
Best Practices for Social Media Previews
To ensure your social media previews are always on point, follow these best practices:
- Keep It Simple: Avoid cluttered images and excessive text. Clear, simple visuals perform best.
- Brand Consistency: Use images that align with your brand’s look and feel.
- Regular Updates: Periodically update your preview images to keep your content fresh and engaging.
- Test Regularly: Test your previews on different devices and platforms to ensure they display correctly.
Wrapping It Up: Mastering Social Media Previews
Setting and updating social media image previews in WordPress might seem daunting at first, but with the right tools and practices, it becomes a straightforward task. By using SEO plugins and following the steps outlined above, you can ensure your posts always look their best on social media, driving more engagement and traffic to your site.
Remember, social media is a dynamic environment where trends and best practices evolve quickly. Stay updated with the latest changes, test your images regularly, and don’t hesitate to tweak your strategies as needed. With these tips and tools, you’re well on your way to mastering the art of social media previews.


