


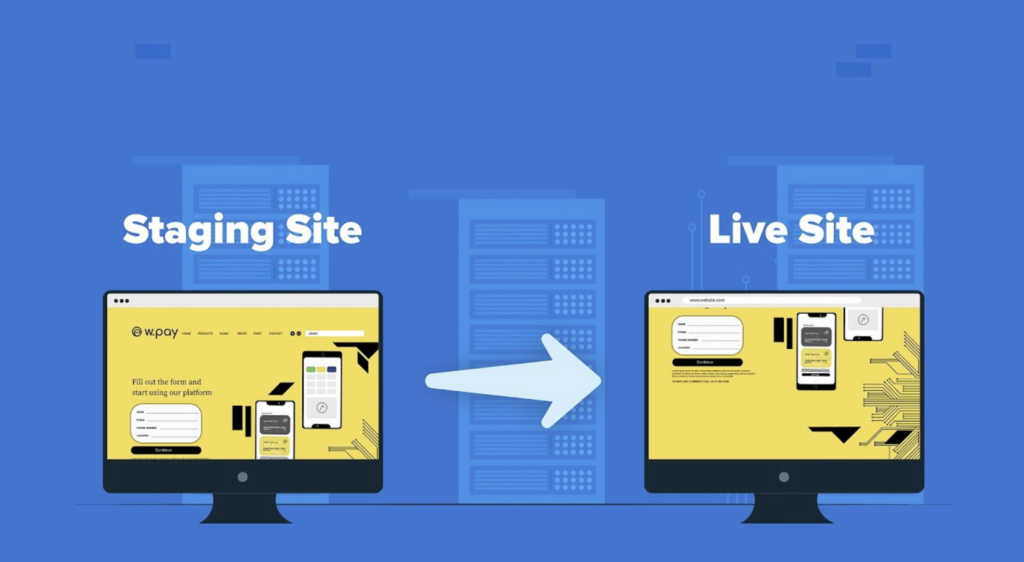
Pushing a staging site to live in WordPress is an important task for both developers and site owners. It lets you test and fine-tune changes in a safe space before they go live. However, a common mistake during this process is accidentally overwriting the live database, which can lead to losing user data, comments, and recent updates. Avoiding this mistake is key to keeping your live site intact.
To stop this from happening, WordPress developers need to use specific tools and techniques that allow them to migrate only the necessary content. This means carefully separating the site’s files from the database to make sure that only the intended changes are moved to the live site.
This guide will explain how to do this step by step, so you can push your staging site live while keeping your current live data safe.
By following our guide here, you can confidently update your WordPress site without losing any important information.
What Is a Staging Site?
A staging site in WordPress is like a playground where you can safely test changes, updates, or new features without affecting your live website. It’s a replica of your live site, letting you experiment with updates or edits before pushing them live. This helps avoid breaking your live site due to unexpected issues from new plugins, theme changes, or code tweaks.
How to Create a Staging Site
Here’s a simple guide to creating a staging site:
- Visit your Sites List: Head over to the dashboard of your hosting provider or WordPress management platform. Look for the list of your websites.
- Select the Site: Click on the website where you want to create a staging version.
- Navigate to the “Staging Site” Tab: Once you’re on your site’s dashboard, locate and click the “Staging Site” tab.
- Add a Staging Site: You’ll find an option to add a staging site. Click the “Add staging site” button.
Your host or plugin will automatically create a clone of your live site. From there, you can make changes, test features, and ensure everything works smoothly before deploying any updates to your live site.
Don’t Know How to Seamlessly Push Your Staging Site to Live?
Let us walk you through the drill! Our web dev experts are seasoned to the core to develop your WP site just as you want it, for just $59/hr.
Best Practices for Pushing Updates from a Staging Environment to a Live Website
Pushing updates from a staging environment to a live website is a delicate but essential process. One wrong move, and your live site could crash or show errors. But when done right, it ensures a smooth transition without any hiccups for your users.
Let’s dive into the best practices to make sure your updates are seamless, secure, and hassle-free:
Using a Two-Way Sync Option to Keep Your Staging and Live Sites Aligned
A two-way sync ensures that both your staging and live sites stay in sync throughout the development process. This way, any changes you make in the staging environment reflect in real-time on your live site without creating a mess of mismatched data.
How to do it:
- Look for a two-way sync feature in your hosting provider or staging tool.
- Enable two-way sync so changes automatically flow between the staging and live sites.
- Check if there are any conflicts between versions and resolve them before pushing the update live.
Also Check: Linux Backdoor Malware Targets Outdated WordPress Themes and Plugins
Ensuring You Create Proper Backups Before Pushing Changes Live
Even with the best plans in place, things can go wrong when moving from staging to live. Creating a backup of your live site is a must before pushing any updates to ensure you can quickly restore it if something breaks.
Steps to follow:
- Head to your hosting dashboard or use a backup plugin to create a full backup of your live site.
- Make sure the backup includes your database, media files, and theme settings.
- Test the backup by restoring it on a different environment, so you know it’s reliable.
Double-Checking All Your Changes to Avoid Errors on the Live Site
You’ve made your updates in the staging environment, but now it’s time to double-check everything. Missing a single change could cause bugs or break key functions on your live site.
What to do:
- Review the changes you made in staging one more time.
- Test all the critical features (forms, checkout, contact pages) to ensure they work smoothly.
- Use a checklist to confirm no details were missed before pushing the changes live.
Check This: Best WordPress Contact Form Plugins
Running a Performance Check to Ensure the Site Can Handle New Updates
Before pushing updates from your staging site to live, it’s crucial to ensure your site can handle the new changes without slowing down. Performance issues can lead to longer load times, which may frustrate visitors and hurt your site’s SEO.
How to do it:
- Use performance tools like GTmetrix or Pingdom to test the speed and performance of your staging site.
- Look out for issues like large files, unoptimized images, or slow-loading scripts.
- Fix any performance problems before pushing your changes live, ensuring your site runs smoothly for all visitors.
Clearing Cache to Ensure Visitors See the Latest Version of Your Site
Once you’ve pushed your updates live, clearing your site’s cache is essential. Without this step, visitors may still see the old version of your website, even though the new updates are live.
Steps to follow:
- Go to your caching plugin or hosting dashboard and clear all caches (including browser, server, and CDN caches).
- After clearing the cache, test your site on different devices to make sure the new changes are visible.
- Ask a few team members or users to check and confirm they’re seeing the latest version.
Check More: Google Cache Pages Removed? View Google Cache: Best Alternatives
Removing the Staging Site from Search Engines to Prevent Indexing Issues
You don’t want search engines to index your staging site, as it can cause duplicate content issues and confuse your site’s ranking. Always make sure your staging environment is hidden from search engines.
How to do it:
- Use a “noindex” tag in your staging environment to prevent search engines from indexing it.
- Alternatively, block search engines using your robots.txt file or through your hosting platform’s settings.
- Verify that your live site is the only version being crawled and indexed by search engines.
Implementing Access Control to Limit Who Can Push Changes Live
Not everyone on your team should have the power to push changes from staging to live. Limiting access ensures that only trusted, experienced users can make updates, reducing the risk of accidental errors or security issues.
How to do it:
- Set user roles and permissions in WordPress or through your hosting provider, allowing only certain roles (like admins) to push changes live.
- Use tools or plugins to track and log who makes changes, so you can easily spot any mistakes.
- Regularly review access permissions to ensure only the right people have the ability to move updates from staging to live.
Typical Obstacles and Remedies in WordPress Staging and Deployment
Imagine this: you’ve worked tirelessly on your staging site, making critical updates and exciting new changes. Everything looks perfect in the staging environment, but when it’s time to push those updates live, you hit roadblocks. Frustrating? Absolutely. But it’s not uncommon. Here are some of the most typical obstacles you might face when moving from staging to live, along with actionable fixes.
Database Conflicts Between Staging and Live Site
One of the most common issues is database conflicts. If the live site and staging site are not synced properly, changes made on the live site (like new posts or user comments) might not appear after you push the updates.
How to fix:
- Before pushing, manually export the live site’s database and import it into staging to ensure they are aligned.
- Use tools like WP Migrate DB Pro to sync databases easily between environments.
- After pushing the update, check for missing data and resolve any conflicts.
Broken Links or Missing Media Files After Deployment
When pushing a site live, you may find that some internal links or media files (like images) are broken. This can happen if paths aren’t updated correctly during the migration from staging to live.
How to fix:
- Use the Better Search Replace plugin to update URLs in your database, replacing staging links with live ones.
- Make sure you transfer all media files by checking the uploads directory.
- Test your site post-deployment to ensure that all links and images are working correctly.
Changes Not Reflecting Due to Caching Issues
You’ve pushed all your updates live, but visitors are still seeing the old version of your site. This happens when cache (on the browser, server, or CDN level) stores outdated versions of your website.
How to fix:
- Clear all caches—browser cache, CDN cache, and server cache—right after pushing the update live.
- Use a plugin like WP Super Cache or W3 Total Cache to manage caching and automate clearing.
- Test the live site using incognito mode or a cache-clearing tool to verify the changes are visible.
Compatibility Issues with Plugins or Themes
Sometimes, plugins or themes that worked perfectly in staging might conflict with the live site environment, causing crashes or broken functionality.
How to fix:
- Always update plugins and themes to the latest version before testing in staging.
- Test the site thoroughly in staging by activating each plugin one by one to spot any compatibility issues.
- If something breaks after deployment, deactivate the conflicting plugin/theme, and consult the developer or community for a fix.
More Insights: How to Repair and Fix WordPress Database?
Permissions and Role Conflicts After Push
User roles and permissions can get messed up when moving from staging to live, causing certain users to lose access to critical functions or giving unintended permissions to others.
How to fix:
- Use plugins like User Role Editor to manually set roles and permissions before pushing updates.
- After deployment, double-check user roles in the live environment to ensure nothing has changed.
- Test critical roles, like administrators and editors, to make sure they retain their correct permissions.
Slow Site Performance After Deployment
In some cases, pushing updates live may lead to unexpected slowdowns, especially if new scripts or plugins were added in staging.
How to fix:
- Run a performance check on the live site using tools like GTmetrix or PageSpeed Insights.
- Optimize newly added scripts, remove unnecessary plugins, and compress images.
- Consider upgrading your hosting plan if you consistently face slow site performance after each deployment.
Keep Reading: Best WordPress Image Optimization Plugins (Free)
Conclusion
Pushing your staging site to live doesn’t have to be scary. With the right steps, you can update your WordPress site smoothly and keep your data safe. Remember, it’s okay to take your time and double-check everything. Your visitors won’t notice the behind-the-scenes work, but they’ll enjoy the improvements you make.
So go ahead, make those changes, and watch your site grow. Just take it step by step, and you’ll do great.
Happy updating!