


Ever wondered how plugins can extend your WordPress website without ever touching the core code? Imagine having the power to add features, automate tasks, or enhance the user experience—all with just a few lines of code. This is the beauty of WordPress plugins.
But here’s the best part: You can create your very own WordPress plugin. Whether you’re a hobbyist or someone who runs a business, custom plugins offer you the freedom to modify WordPress exactly how you want.
In this guide, we’ll show you, step-by-step, how to create a plugin from scratch. Don’t worry, you won’t need to be a coding wizard—just follow along, and by the end, you’ll have a fully functional WordPress plugin ready for activation!
What You’ll Need to Create a WordPress Plugin
Before diving into WordPress plugin development, you’ll need a few tools:
- A text editor: Options like Notepad++, Visual Studio Code, or Sublime Text are great for writing your code.
- FTP access: To upload your plugin files to your WordPress installation, you’ll need access to your hosting account via an FTP client (like FileZilla).
- A WordPress installation: It can be local (on your computer) or live (on your hosting server).
- Basic knowledge of PHP: Understanding WordPress PHP basics will make your development process smoother.
- Familiarity with the WordPress REST API: The REST API allows your plugin to connect seamlessly with WordPress core components. This knowledge enables your plugin to communicate with WordPress functions, databases, and other plugins to manage more complex interactions.
- Database Concepts: WordPress stores its content and settings in a relational database. Understanding SQL and relational databases is key, especially when your plugin needs to interact with the WordPress database for storing or retrieving custom data.
Shape Your Site’s Future with Custom Plugins!
Imagine a site that adapts to your unique vision — custom plugins are the secret sauce! Add exciting new features, supercharge performance, and let your WordPress site do things others only dream about.
Explore: How to Rank Plugins and Themes to the Top in WordPress Director
Step-by-Step Guide to Create a WordPress Plugin
Creating a WordPress plugin may seem like a daunting task, but with the right approach, it becomes a fun and rewarding experience. Follow these steps, and you’ll have your own custom plugin up and running in no time!
Step 1: Setting the Stage – Create Your First Plugin File
Let’s start by laying the groundwork for your plugin.
1. Create a Plugin Folder
Every WordPress plugin lives in its own directory. Navigate to wp-content/plugins in your WordPress installation and create a new folder for your plugin. This folder name should be unique and descriptive—something like my-first-plugin will work fine.
Learn More: Free WordPress Directory Plugins to Start Your Business
2. Create the Plugin File
Inside your plugin folder, create a new PHP file. The name can be anything, but for simplicity, let’s call it my-first-plugin.php.
3. Add the Plugin Header
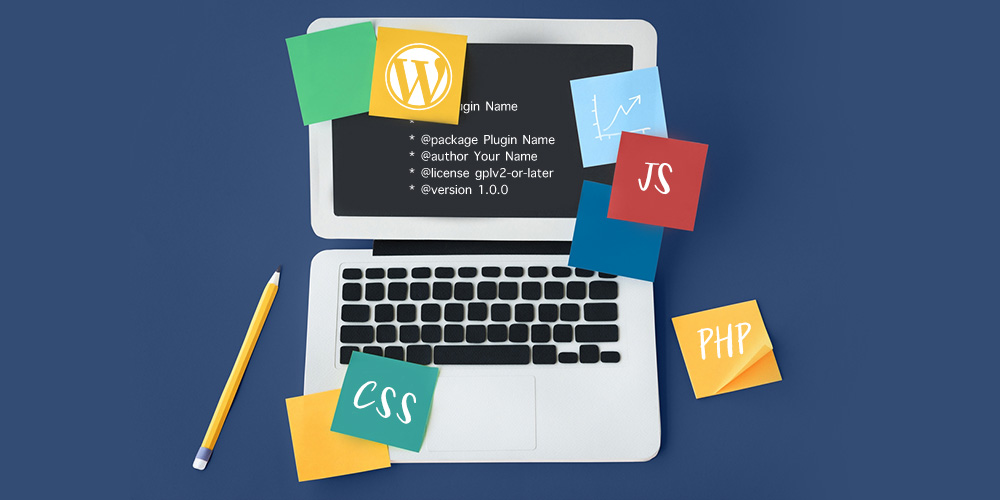
Every plugin file starts with a header that tells WordPress essential information about the plugin. Open your PHP file in your text editor and add the following block of code at the top:
<?php
/*
Plugin Name: My First Plugin
Plugin URI: https://yourwebsite.com
Description: This is a simple WordPress plugin to display a custom message.
Version: 1.0
Author: Your Name
Author URI: https://yourwebsite.com
License: GPL2
*/
?>
This header provides WordPress with necessary details like the plugin name, description, version, and author information. Without it, WordPress won’t recognize your plugin!
Learn: How to Seamlessly Edit and Customize Headers in WordPress?
Step 2: Adding Functionality – The Real Power of Hooks
Now that WordPress recognizes your plugin, it’s time to give it some functionality. Plugins interact with WordPress through hooks—magic triggers that let your code interact with the WordPress core without altering its main files.
What Are Hooks?
Hooks are like levers that allow plugins to “hook into” WordPress at certain points and run your custom code. There are two main types of hooks: Action Hooks and Filter Hooks.
- Action Hooks: These allow you to add functionality at specific points. Think of them as moments in time when WordPress says, “Hey, do you want to do something right here?”
- Filter Hooks: These allow you to modify data before it’s displayed on your site, like changing the content of a post before WordPress sends it to the browser.
Find More Insights: How to Promote Your WordPress Plugin or Theme to Increase Sales
Step 3: Filters and Fine-Tuning – Adjusting Your Plugin’s Behavior
Filters allow you to modify data before it’s displayed on your site. Let’s dive deeper into how you can fine-tune your plugin using filters.
Example: Modify Post Excerpts
WordPress has a function called get_the_excerpt() that retrieves the post’s excerpt. Let’s modify the excerpt by adding some text before using a filter.
<?php
function myplugin_modify_excerpt($excerpt) {
    return '<strong>Preview:</strong> ' . $excerpt;
}
add_filter('get_the_excerpt', 'myplugin_modify_excerpt');
?>
Now, every excerpt displayed on your site will have the word “Preview:” in front of it. Filters like this give you full control over how WordPress outputs content.
Explore: Best WordPress Tools and Plugins Every Creative Designer Needs
Step 4: Building a Plugin Admin Page
Most powerful plugins offer users the ability to configure settings through an admin page. In this step, we’ll add a custom page to the WordPress admin dashboard.
1. Create a New Admin Menu
We’ll add a custom menu item in the WordPress dashboard that links to our plugin’s admin page.
<?php
function myplugin_add_admin_page() {
    add_menu_page(
        'My Plugin Settings',       // Page Title
        'My Plugin',                // Menu Title
        'manage_options',           // Capability
        'myplugin-settings',        // Slug
        'myplugin_settings_page'    // Callback function
    );
}
add_action('admin_menu', 'myplugin_add_admin_page');
?>
2. Create the Settings Page
Now, let’s define what the settings page will display.
<?php
function myplugin_settings_page() {
    echo '<h1>My Plugin Settings</h1>';
    echo '<p>Here you can configure the settings for My First Plugin.</p>';
}
?>
Now, when you log into your WordPress dashboard, you’ll see a new “My Plugin” menu item that leads to the settings page.
Find: Best WordPress Website Design Services
Step 5: Test and Install Your Plugin
It’s essential to test your plugin before installing it on a live website. Here’s how to do that:
- WordPress Local Development Environment: Use a tool like Local by Flywheel or XAMPP to set up a local WordPress installation on your computer. This way, you can test the plugin without affecting a live website.
- Compress the Plugin Folder: Once your plugin is ready, compress the folder into a .zip file. Right-click the plugin folder and choose “Compress.”
- Upload and Install the Plugin: In your WordPress dashboard, go to Plugins > Add New, click Upload Plugin, and choose the .zip file. Click Install Now and then Activate.
Now your plugin is live, and you can see it in action!
Bonus: Adding Artwork to Your Plugin – Make It Pop! 🎨
Design plays a crucial role in making your plugin stand out in the crowded WordPress repository. When users browse through the thousands of plugins available, a well-designed banner and icon can make a world of difference in catching their attention. A professional-looking plugin not only boosts your credibility but also increases the likelihood of downloads. It’s your chance to make a strong first impression!
Artwork Folder Structure:
Create an assets folder in your plugin’s root directory to store artwork files such as banners and icons.
Example structure:
/my-first-plugin
    /assets
        banner-772x250.jpg
        icon-128x128.jpg
    my-first-plugin.php
    readme.txt
Naming Conventions
- Banner Images: banner-772×250.jpg or banner-1544×500.jpg
- Icons: icon-128×128.jpg or icon-256×256.jpg
Security and Best Practices for WordPress Plugins
Ensuring that your plugin follows security best practices is essential. WordPress plugins are vulnerable to attacks if the code is not secured.
Example of Sanitizing User Input:
function myplugin_sanitize_input( $input ) {
   return sanitize_text_field( $input );
}
Sanitizing user input protects your plugin from malicious code. Always sanitize data before processing or storing it.
Adding Translations/Internationalization (i18n)
To make your plugin accessible globally, support multiple languages by using WordPress’s built-in translation functions. This makes it easier for users to localize your plugin.
Example:
echo __( 'Hello, World!', 'my-first-plugin' );

Use the __() and _e() functions to make strings translatable in your plugin.
Advanced Hooks and Custom Post Types
For users who want to extend the functionality of their plugins, you can create custom post types using hooks. This adds more depth and control to your WordPress plugins.
Example of Custom Post Types:
function create_custom_post_type() {
  register_post_type('custom_post',
    array(
      'labels' => array(
        'name' => __( 'Custom Posts' ),
        'singular_name' => __( 'Custom Post' )
      ),
      'public' => true,
      'has_archive' => true,
    )
  );
}
add_action('init', 'create_custom_post_type');
Debugging and Logging
Debugging is crucial to ensure your plugin works properly. Enable WordPress debugging to catch any errors during development.
Example:
define( 'WP_DEBUG', true );
define( 'WP_DEBUG_LOG', true );
This will log errors and warnings to a debug.log file in the wp-content directory.
Explore: Best WordPress Customization Services
Step 6: Submitting Your Plugin to WordPress.org
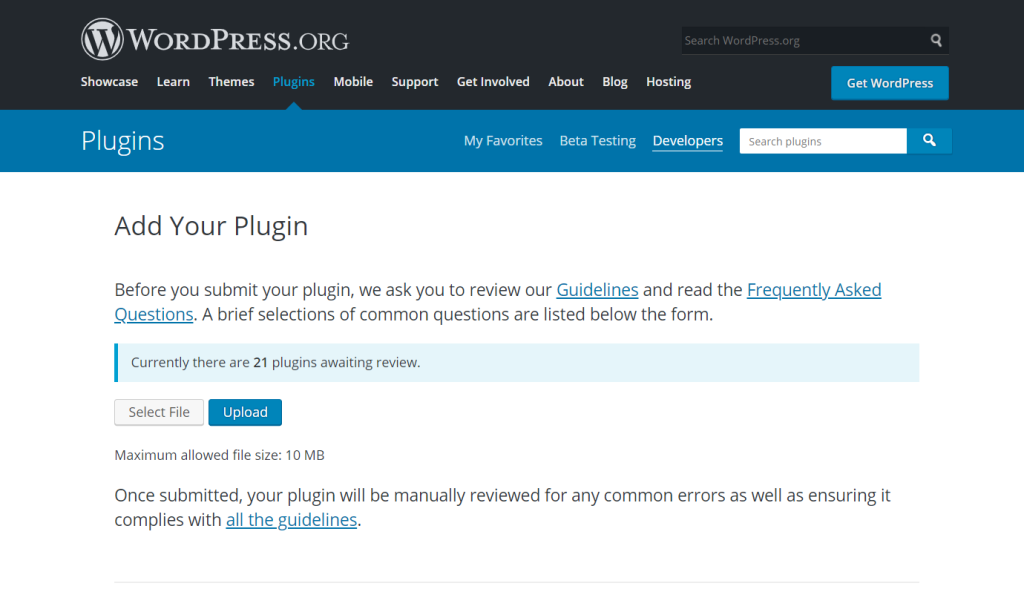
Want to share your plugin with the world? You can submit it to the WordPress.org plugin repository.
1. Create a Readme File
The WordPress plugin directory requires a specific format for the readme file. Here’s a simple template:
=== Plugin Name ===
Contributors: yourusername
Tags: example, plugin
Requires at least: 5.0
Tested up to: 6.2
Stable tag: 1.0
License: GPL2
License URI: https://www.gnu.org/licenses/gpl-2.0.html

== Description ==
A brief description of what the plugin does.

== Installation ==
1. Upload the plugin files to the /wp-content/plugins/ directory.
2. Activate the plugin through the 'Plugins' menu in WordPress.

== Changelog ==
= 1.0 =
Initial release.
2. Submit Your Plugin
Visit the WordPress Plugin Directory and follow the steps to submit your plugin for review. The WordPress team will check your code for security issues, and once approved, your plugin will be available for anyone to download!
Read More: The Financial Upside of Outsourcing WordPress Services
Conclusion: You’ve Built Your First WordPress Plugin – What’s Next?
And just like that, you’ve crossed a major milestone—your first WordPress plugin is complete! Now, think about what this accomplishment means: you’ve not only expanded your technical skills but also unlocked the ability to tailor WordPress to fit your exact needs. It’s like having a superpower that lets you shape your website however you imagine.
The journey doesn’t stop here. This first plugin is just the beginning, opening up endless possibilities to create even more functionality, solve unique problems, and perhaps even share your plugins with the world. Whether you choose to refine this plugin, build something entirely new, or contribute to the WordPress ecosystem, you’re now part of a vibrant community of developers pushing the boundaries of what’s possible online. So, where will your next plugin take you?
Frequently Asked Questions About WordPress Plugin Creation
Can anyone build a plugin?
Absolutely! You don’t need to be a coding expert to create a basic plugin. Start simple and build up your skills over time.
Is it possible to make money from plugins?
Yes! Many developers monetize plugins by offering premium versions, add-ons, or support services.
How much time does it take to create a WordPress plugin?
A basic plugin might take just a few hours, while a more complex plugin could take days or weeks, depending on your experience and the features required.
Do I need to know PHP to build a plugin?
Having some PHP knowledge will certainly help, but with the right resources and tutorials, even beginners can create functional plugins.
Can plugins slow down my WordPress site?
Poorly coded plugins can affect site performance, but if you follow best practices, your plugin should run smoothly without causing any issues.


