


If you are anything like me, you have a lot of ideas for your website that you want to see come to life. And although Elementor makes it easy to create unique designs with drag-and-drop features and pre-built elements, sometimes nothing can replace the power of pure CSS. In this article, we will cover how to add custom CSS in Elementor so that you can take your website design even further!
3 popular ways to add custom CSS in Elementor
There are various ways to add custom CSS in Elementor. Let’s have a look at our top 3 ways to do so.
- Use the WordPress customizer
- Use a CSS plugin
- Using HTML widget
Use the WordPress customizer.
To add custom CSS code in Elementor, follow these steps:
- Go to Appearance > Customize
- In the WordPress customizer, click on Additional CSS.
- The Additional CSS section will open up. You can add code here by pasting it into the text box or clicking on the Add Custom CSS button to browse for your file from your computer.
Use a CSS Plugin
There are various plugins available in the market, like Simple CSS, Custom CSS Pro, and CSS Hero, that allow you to add custom CSS to Elementor.
To start, go to Custom CSS & JS > Add Custom CSS and click on Add CSS Code.
A basic CSS editor will appear to the left. You can choose to load the CSS code internally or in an external stylesheet using the configuration options on the right. Additionally, you may choose whether the code belongs in the header or the footer:
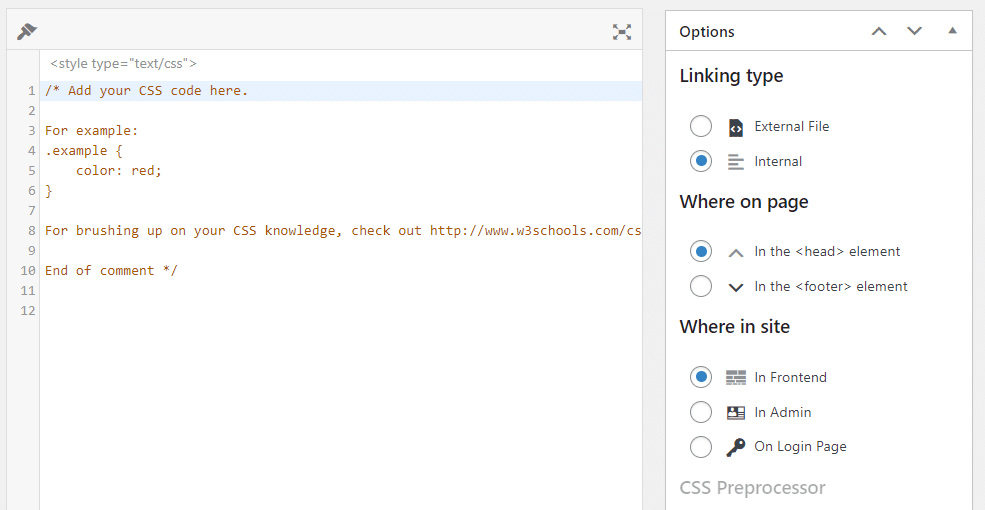
Once you’re done editing the CSS code, hit the Publish button.
Note: Switch to a front-end view to see the code in action.
Using HTML widget
You can use an HTML widget to add custom CSS to Elementor. All you need to do for this option is drag and drop the HTML widget and add your CSS code within a Style tag.
Custom CSS is a way to add custom code to your website. It can be used for many things, from changing the look and feel of your website to adding extra functionality.
Now that you know how to add custom CSS, you can use it on your websites by following these steps:
- Open up Elementor’s editor window and click on the top left ‘+’ icon
- Click ‘Custom Code’ and then paste in this piece of code: `.elementor-custom-css{display:none;}`. You can find this under Settings > Custom CSS or Appearance > Theme Options > Custom CSS (depending on which version of WordPress you have).
Conclusion
Now that you know how to add custom CSS, you can take advantage of Elementor’s flexibility. The next time something isn’t behaving as expected, try adding some CSS code instead of fixing it with a plugin or theme change, try adding some CSS code!


