Photoshop-to-Figma workflows are becoming essential for modern design teams seeking faster collaboration and smoother UI design processes. Static PSD files often slow down feedback, editing, and prototyping.
Figma changes that with real-time collaboration and cloud-based access. Whether you are redesigning a website, updating app screens, or modernizing old assets, converting PSD files correctly can save hours of work.
In this guide, you will learn simple conversion methods, useful tools, and best practices to move your designs efficiently without losing quality or structure.
Converting PSD files to Figma involves transferring design layers, assets, and visual elements into an editable Figma workspace. The process typically includes importing files, organizing layers, adjusting components, and checking design consistency. Since PSD and Figma use different structures, some elements may require manual adjustments after conversion. Reviewing layouts, fonts, and assets helps maintain design accuracy during the transition.
Why Move from Photoshop to Figma?
While Photoshop has long been a favorite for graphic and web designers, Figma has quickly become the go-to tool for modern interface design, and for good reason.
- Real-Time Collaboration: Unlike Photoshop, which is mostly a solo tool, Figma allows multiple people to work on the same design at the same time.
- Cloud-Based Design: With Figma, your projects are stored in the cloud. That means no saving files locally or worrying about losing changes. You can access your designs from any device, anywhere, perfect for remote teams and freelancers who work on the go.
- Powerful Design Workflow: Figma supports modern features like components, auto-layout, and shared libraries. This allows you to build consistent, reusable design systems that save time and effort, especially on larger projects.
- Seamless Developer Handoff: Figma makes it easy for developers to inspect elements, grab code snippets, and export assets directly, with no need for separate specs or redlining.
Switching from Photoshop to Figma is not just a trend; it’s a strategic move for any designer or team wanting to improve collaboration, speed, and design consistency.
Whether you’re redesigning a website or building a new product, moving from Photoshop to Figma can significantly streamline your creative process.
How to Convert Photoshop to Figma: 3 Simple Methods
Switching from Photoshop to Figma is a smart move for modern designers looking to streamline collaboration and design efficiency. Whether you’re migrating a simple UI or a full design system, there are a few effective methods to make the Photoshop-to-Figma transition smooth.
Method 1: Convert Manually
The manual conversion from Photoshop to Figma requires a meticulous approach that combines technical skills with an eye for detail.
This method, while time-consuming, offers precise control over every element of your design, ensuring a faithful recreation in Figma.
Step 1: Export Assets from Photoshop
Begin by opening your PSD file in Adobe Photoshop. This critical first step allows you to access all the layers and components that make up your design.
With the file open, carefully identify the key elements that need to be exported individually. These might include logos, icons, images, or any other discrete visual elements.
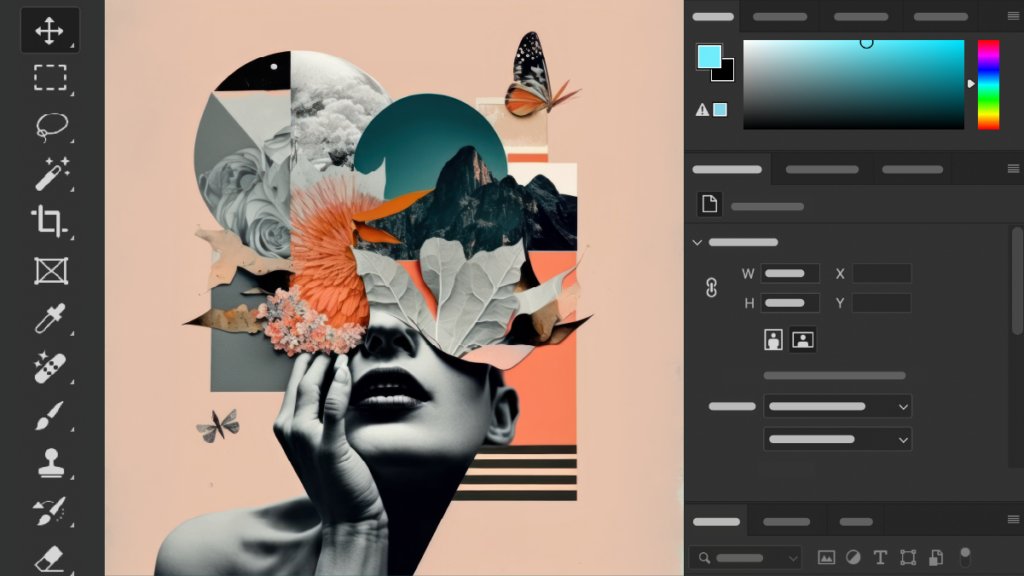
Using Photoshop’s export tools, save these elements as PNG files for raster graphics or SVG files for vector graphics. The choice between PNG and SVG depends on the asset’s nature and its intended use in the final Figma design.
Read Another Figma Guide: From Design to Document: Figma to PDF Made Easy
Step 2: Prepare the Figma Project
Launch Figma and create a new project dedicated to your PSD conversion. This clean slate will be the canvas for rebuilding your design. Within this project, set up frames that precisely match the dimensions of your original PSD file.
This step is crucial for maintaining the scale and proportions of your design. Figma’s frame tool makes it easy to create these containers, which will serve as the foundation for your reconstructed layout.
Need Help Migrating Your Designs to Figma?
Streamline your design workflow with expert PSD to Figma conversion services for faster collaboration and modern UI design.
Step 3: Import Assets into Figma
With your Figma project ready, it’s time to add the assets you exported from Photoshop. Utilize Figma’s import feature to upload your PNG and SVG files into the project.
Once imported, carefully place each asset into its corresponding position within the frames you’ve set up. This process requires attention to detail to ensure that each element is positioned correctly, mirroring its location in the original PSD file.
More Design Resources: Best Consulting Website Design Examples to Inspire You
Step 4: Recreate Layout and Styles
Now comes the intricate task of rebuilding your design’s structure and aesthetics in Figma. Start by positioning your imported assets according to the original layout. Pay close attention to spacing, alignment, and grouping of elements.
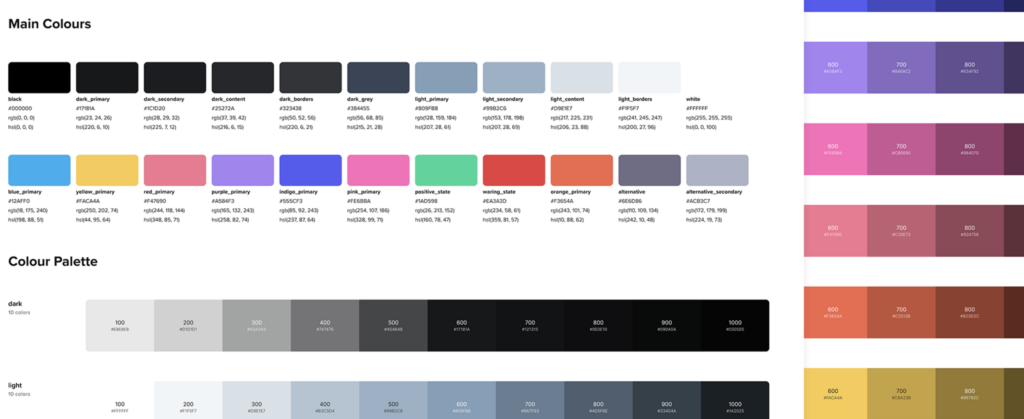
Next, focus on reapplying styles to match the Photoshop version. This includes setting correct colors, adjusting typography to match the original fonts and text styles, and recreating any effects or layer styles used in Photoshop.
Figma’s powerful styling tools let you precisely control these elements, enabling you to closely match your PSD design.
Read More: How to Convert PSD to WordPress: Ultimate Guide with Video Tutorial
Step 5: Verify and Adjust
The final step in the manual conversion process is a thorough comparison between your new Figma file and the original PSD. Place them side by side and scrutinize every detail. Look for any discrepancies in layout, color, typography, or effects.
This meticulous review process is essential for identifying areas that may need adjustment. Make any necessary tweaks to ensure your Figma version accurately represents the original design. This step may require several iterations of fine-tuning to achieve the desired level of fidelity.
Method 2: Using Plugin Tools
Using plugin tools to convert Photoshop files to Figma offers a streamlined approach that can significantly reduce the time and effort required for the conversion.
This method leverages specialized software to automate much of the transfer, making it an attractive option for designers working with complex files or facing tight deadlines. Here’s a comprehensive guide to using plugin tools for PSD to Figma conversion:
Read More: How to Get Web Design Clients Fast
Step 1: Select a Plugin
Begin by researching available plugins that specialize in converting from Photoshop to Figma. One popular option is Figma to PSD by Photopea, known for its reliability and comprehensive feature set.
When selecting a plugin, consider factors such as compatibility with your Photoshop version, feature set, user reviews, and update frequency. Look for plugins that support layer preservation, text conversion, and style transfer to ensure the most accurate conversion possible.
Step 2: Install the Plugin
Once you’ve chosen your plugin, install it in Figma. Navigate to the Figma Community or Plugin section, search for your selected plugin, and click the “Install” button.
Follow any additional prompts to complete the installation process. Some plugins may require you to restart Figma or provide additional permissions before they become fully functional.
Check This: Best Free WordPress Plugins to Use
Step 3: Import the PSD File
With the plugin installed, you’re ready to import your PSD file. Launch the plugin within Figma and use its interface to select and upload your Photoshop file.
The plugin will then process the file, converting layers, groups, and styles into Figma-compatible elements. This step may take a few moments, depending on the complexity and size of your PSD file.
During this process, the plugin works to preserve the structure and appearance of your original design as accurately as possible.
Step 4: Verify the Conversion
After the import is complete, carefully examine the converted design within Figma. Compare it side-by-side with your original PSD file to verify that layout, colors, typography, and effects are accurate.
Pay special attention to complex elements such as layer styles, masks, and blending modes, as these can sometimes be challenging to convert accurately. Make note of any discrepancies or errors that need to be addressed.
Step 5: Refine and Optimize
The final step involves refining the imported design and optimizing it for Figma’s environment. Start by adjusting any elements that didn’t convert perfectly, such as reapplying certain effects or fine-tuning text styles. Take advantage of Figma’s native features to further enhance your design.
This might include converting certain elements to components for better reusability, setting up auto-layout for responsive designs, or utilizing Figma’s powerful constraints system for more flexible layouts.
Additionally, organize your layers and frames to align with Figma best practices, ensuring your file is clean, efficient, and easy for team members to navigate and collaborate on.
Also Relevant: Why PSD to WordPress is Better Than Using a Theme for Your Fashion Brand
Method 3: Third-Party Conversion Services
Third-party conversion services offer a compelling solution for designers looking to transition their work from Photoshop to Figma without the manual labor or potential inconsistencies of Figma plugins.
These services combine expert knowledge with specialized tools to deliver high-quality conversions, often with additional benefits like quality assurance and customer support.
Here’s a comprehensive guide on utilizing third-party services for PSD to Figma conversion:
Step 1: Choose a Service Provider
When selecting a third-party conversion service, consider the following criteria:
- Expertise in both Photoshop and Figma
- Track record of accurate conversions
- Quick turnaround times
- Competitive pricing
- Strong customer support
- Positive reviews and testimonials
- Confidentiality and data security measures
Seahawk stands out as a service provider that meets these criteria exceptionally well. Known for its expertise in design tool transitions, Seahawk offers a seamless PSD-to-Figma conversion service.
We have a team of experienced designers who understand the intricacies of both platforms, ensuring high-fidelity conversions.
Our service is characterized by quick turnarounds, competitive pricing, and a commitment to customer satisfaction, making us a strong choice for designers and agencies looking for reliable conversion solutions.
Step 2: Submit the PSD File
Once you’ve chosen your service provider, submit your PSD file for conversion. This typically involves:
- Creating an account on the service provider’s platform
- Navigating to the file upload section
- Selecting and uploading your PSD file
- Providing any specific instructions or requirements for the conversion
Seahawk, for instance, offers a user-friendly interface for file submission and allows clients to include detailed notes about their conversion needs, ensuring that the final Figma file meets their exact specifications.
Step 3: Receive the Converted File
After processing your PSD file, the service provider will make the converted Figma file available for download. The timeframe for this can vary depending on the complexity of your design and the service provider’s workload.
Seahawk, known for its efficient processes, typically delivers conversions with a quick turnaround time, allowing you to continue your design workflow without significant delays.
Also Read: The Importance of User Context: Why it Matters for Web Performance and UX
Step 4: Review and Adjust
Upon receiving the converted file:
- Open the file in Figma
- Conduct a thorough review, comparing it to your original PSD
- Check for accuracy in layout, colors, typography, and effects
- Identify any elements that may require further adjustment
While services like Seahawk strive for perfect conversions, it’s always wise to review the file personally to ensure it meets your specific needs and standards.
Step 5: Final Adjustments
Even with high-quality conversions, you might want to make some final tweaks to optimize the design for Figma:
- Adjust any elements that didn’t convert perfectly
- Optimize the use of Figma-specific features like auto-layout or components
- Ensure all layers and frames are properly organized
- Make any final stylistic adjustments to align with your design vision
Services like ours at Seahawk often provide support during this phase, offering guidance or even assistance with these final adjustments to ensure your complete satisfaction with the converted design.
Best Practices for Figma to PSD Conversion
Making the switch from Photoshop to Figma opens up a world of possibilities for your design projects. Converting PSD files to Figma lets you tap into its advanced features and collaborative tools. Maximize Figma’s capabilities and streamline your workflow, resulting in smoother, high-quality conversions with these practices:
- Collaborate with Your Team in Real Time: Enjoy seamless teamwork with Figma’s real-time collaboration. Multiple designers can work on the same file simultaneously, making it easy to share feedback and make instant updates.
- Utilize Figma’s Powerful Design Features: Take advantage of Figma’s robust design tools to enhance your projects. From vector networks to advanced prototyping, Figma offers a range of features that can elevate your design process.
- Maintain Organized Projects: Keep your designs tidy and accessible. Use Figma’s intuitive file management system to organize your layers, components, and assets, ensuring everything is easy to find and update.
- Ensure High-Fidelity Design Transfer: Convert your PSD files without losing quality due to image compression. Figma supports high-resolution images and complex design elements, so your designs will look just as good in Figma as they do in Photoshop.
- Leverage Figma’s Component System: Use Figma’s components to create reusable design elements. This not only saves time but also ensures consistency across your projects, making updates easier and faster.
- Optimize for Speed and Efficiency: Learn shortcuts and best practices to speed up your workflow. Figma’s cloud-based platform means no more waiting for files to sync or worrying about integrating GitHub for version control.
Also Check: How to Optimize Images and Improve Website Speed
Parting Thoughts
Switching from Photoshop to Figma opens up a world of possibilities for your design projects. However, it’s not uncommon to encounter some issues during the conversion process. Addressing these common problems can ensure a smoother transition:
- Layer Misalignment: Double-check your layers and adjust them manually if needed to maintain the original layout.
- Missing Fonts: Ensure all fonts used in your PSD are available and correctly installed in Figma.
- Color Inconsistencies: Compare color values between the two platforms and adjust to match the original design.
- Blurry Images: Use high-resolution images and check the export settings to preserve image quality.
- Unconverted Effects: Reapply complex effects manually in Figma to achieve the desired look.
Ready to take your designs to the next level? Implement these troubleshoots and enjoy a smoother, more efficient conversion from Photoshop to Figma.
FAQs About Photoshop to Figma Conversion
Can I directly import PSD files into Figma?
Yes, but Figma does not natively support PSD imports perfectly. You may need plugins or third-party tools to accurately preserve layers, fonts, and effects.
What is the best method to convert Photoshop files into Figma?
The best method depends on your project. Manual conversion offers better control, while plugins and conversion services save time for large or complex files.
Will I lose design quality during the conversion process?
You can maintain high quality if you organize layers properly and use reliable conversion tools. However, some effects or smart objects may need manual adjustments.
Are Figma plugins safe for PSD conversion?
Most popular plugins are safe when downloaded from trusted sources inside the Figma community. Always check reviews, ratings, and permissions before installing any plugin.
Why are designers shifting from Photoshop to Figma?
Designers prefer Figma because it supports real-time collaboration, cloud-based access, faster prototyping, and easier developer handoff compared to traditional design workflows.