


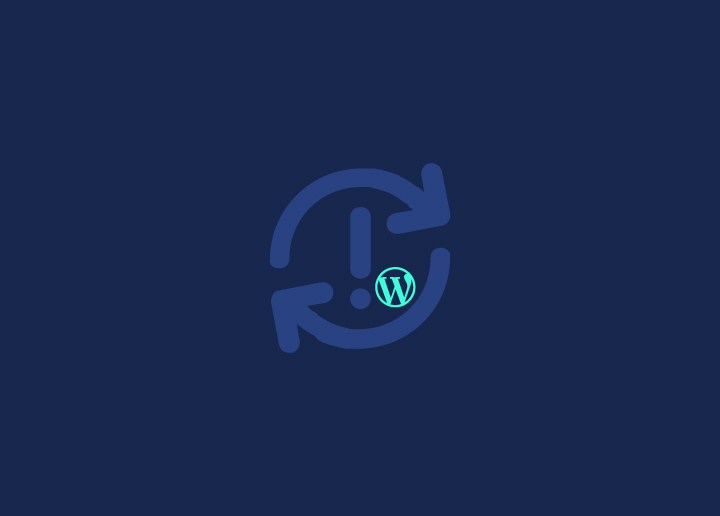


404 errors happen when visitors attempt to access a page on your website that no longer exists. It creates a bad experience for the visitors and can be a nightmare for your search engine rankings. If you have an eCommerce website and your site is showing 404 errors, you can expect lower sales.
The solution to this is quite easy. In this blog, we will explain how to monitor 404 pages and redirect them in WordPress.
Contents
ToggleWhat is a 404 Error?
In technical terms, a 404 error means that the server couldn’t reach the web page when you are trying to visit. In simple terms, if you enter an URL of a web page that does not exist, you’ll see a 404 page not found error. A 404 error is very normal, but the URL is removed from Google’s search index when it happens.
Why Do You Need To Track 404 Pages and Redirect Them?
In short, it isn’t suitable for your site’s visitors. If your visitors can’t find the page they are looking for, they look for it somewhere else. You don’t want your visitors to land on your competitor’s websites. The result will be awful. You’ll lose potential customers and clients and miss an opportunity to convert your visitors into subscribers. Aside from that, 404 errors have a severe effect on your WordPress SEO rankings. You can also expect penalization from search engine ranking algorithms. And the worst part is that these pages will result in the loss of valuable backlinks, lower domain authority, and a significant drop in rankings.
Redirecting 404 Pages
Method 1: Using All in One SEO Plugin
The easiest way to redirect 404 pages on your WordPress website is to use AIOSE or the All in One SEO plugin. The plugin helps you find pages with broken links very quickly. Once you find the broken links using the plugin, you have to make a few clicks to fix them. The AIOSEO plugin also helps you set up faster 301 redirects resulting in improved search engine rankings.
Steps:
- Install and activate the AIOSEO plugin.
- Go to All in One SEO » Redirects and click on ‘Activate Redirects.’
- Go to the ‘Settings’ tab under Redirects, enable 404 logs, and track pages with broken links.
- Scroll down to the ‘Logs’ enable ‘404 Logs’. Select a time (e.g., one month).
- Click on the ‘Save Changes.’ Now you will see a list of ‘404 Logs’.
- Identify the pages with broken links and click on the ‘Add Redirect’ to redirect them.
- Enter a target URL, select the redirection type from the drop-down menu, and click on the ‘Add Redirect’ button to redirect the broken link to a new target URL.
Method 2: Using Redirection Plugin
The second method of redirecting 404 pages is to use the Redirection Plugin for WordPress.
Steps:
- Install and activate the Redirection plugin.
- Go to Tools » Redirection, scroll down and click on ‘Start Setup.’
- The plugin will ask if you want to keep track of redirects and 404 errors in WordPress and whether you want to monitor permalink changes.
- Select the checkbox and click on ‘Continue Setup.’
- After clicking ‘Continue Setup,’ the plugin will test the rest API status. Click on ‘Finish Setup’ when it’s done.
- Now, start adding new redirections for your 404 pages. Enter the URL (which you want to redirect) of the page in the Source URL column.
- From the Query Parameter drop-down option, choose whether you want to match the query parameter, ignore it, or send it to the destination URL.
- Enter the Target URL, keep the Group option to ‘Redirection,’ and click on ‘Add Redirect.’
- Click the ‘gear icon’ If you want more options to set up the redirection. Select the Match option from the drop-down to include URL only, URL and user agent, URL and referrer, login status, etc.
Most of the time, you want to use URL and referrer because if you notice a lot of 404 requests for a single page, it’s almost certainly not a user error, but rather someone pointing to the wrong URL. It will now automatically redirect anyone who links to the broken URL or a post you relocated to the new site.
- Ensure that your action is ‘Redirect to URL.’
- Enter a target URL in the Matched Target column and click on ‘Add Redirect.’
- To ensure that the redirection is operating properly, go to the new URL and test it.
Most visitors are not loyal, and if they get a 404 page, they will leave. This is common for a web developer, and you should be prepared to set up a redirect if it happens. Redirects are an important aspect of any website’s maintenance. There are numerous items of content that are no longer required and will be removed. What matters is how quickly you react. For more information, contact seahawk.


