Converting a Claude-generated website to WordPress is one of the smartest moves a web developer can make. Claude AI produces clean, structured code quickly, but WordPress gives you the content management, scalability, and plugin ecosystem needed for real production websites.
This guide walks you through every step of the conversion process. From cleaning up raw AI output to deploying a fully functional WordPress website, you will learn exactly how to do it right.
TL;DR: AI Code Meets a Real CMS
- Claude outputs static HTML, CSS, JS, or React code that needs restructuring to work inside WordPress
- You convert the static layout into a custom WordPress theme using PHP files and template tags
- WP-CLI commands automate WordPress setup and save significant manual work
- Post-conversion steps, SEO plugins, security, and performance testing make your site production-ready
What is a Claude-Generated Website: Claude AI Output Explained
Claude AI is an incredibly powerful large language model built by Anthropic. When you use Claude to build a website, it generates front-end code based on your prompts.
The output typically includes structured HTML, styled CSS, and interactive JavaScript. Understanding what Claude produces is the first step before you begin any conversion.
AI-Generated Frontend Code in HTML, CSS, and JavaScript
Claude generates clean, readable code. For a basic landing page, it outputs a full HTML file with linked CSS and JavaScript. The layout structure is usually well-organized.
However, the result is entirely static. It has no server-side logic, no database connection, and no built-in dynamic content system.
Whether you are working with AI web design templates or starting from scratch, Claude provides a solid visual foundation to build on.
Frameworks in Claude Output: Like React, Vue, or Static HTML
The output type depends on how you prompt Claude AI. If you ask for a modern UI, it may generate a React component. If you want a simple webpage, it outputs static HTML. Some prompts produce Vue.js or Tailwind CSS-based layouts. Each framework type requires a different approach during the WordPress conversion workflow.
Limitations of Claude-Generated Websites for Production
Claude-generated websites have real limitations for live production use. They lack a login system, a content management area, and a database.
They cannot manage blog posts, user roles, or dynamic pages. There is no built-in SEO layer, no plugin support, and no easy way to update content without manually editing code.
These are exactly the gaps that WordPress fills. Learning how AI supports the web design process helps you understand where Claude fits best in the overall workflow.
Why Convert a Claude-Generated Website to WordPress?
WordPress gives you a full content management system, plugin ecosystem, and a familiar WordPress admin panel, all without requiring ongoing manual code edits.
- When you convert a Claude-generated website to WordPress, you gain a dynamic CMS to manage posts, pages, and media.
- You also get SEO tools to optimize every page, a scalable plugin library for forms, eCommerce, and analytics, and built-in user roles, including a complete WordPress user profile system.
- The conversion also makes your site easier to hand off to non-technical teams. Editors can log in to the WordPress admin panel and update content without writing a single line of code.
For businesses of all sizes, this is a major advantage. WordPress for local businesses is especially powerful because it removes the need for ongoing developer involvement to publish content.
If you are evaluating platforms, comparing Shopify vs WordPress can help you confirm that WordPress is the right long-term choice for your project type.
Pre-Conversion Checklist for Claude Website to WordPress
Before you begin the conversion, verify the following items. A complete checklist prevents errors during the process.
- Download or export all AI-generated website files, including HTML, CSS, JS, and image assets. Audit your project structure, noting every file and its location from the project root.
- Set up a local development environment using LocalWP or XAMPP. Install a fresh WordPress instance locally. Confirm you have access to a live URL or staging domain for deployment.
- Back up all files using version control. Git is the recommended tool for this step.
- Have your WordPress hosting credentials ready. A reliable host matters for performance. Review the fastest WordPress hosting companies if you have not chosen a host yet.
- Also, plan your custom post types if your content structure requires them.
- A clean project root and clear file structure save hours of troubleshooting later.
How to Use Claude AI and Claude Code for WordPress Conversion?
Claude Code is a command-line tool that extends Claude AI’s capabilities directly into your development workflow. You can use Claude Code to generate PHP template files, write WordPress functions, and create theme configuration files from scratch.
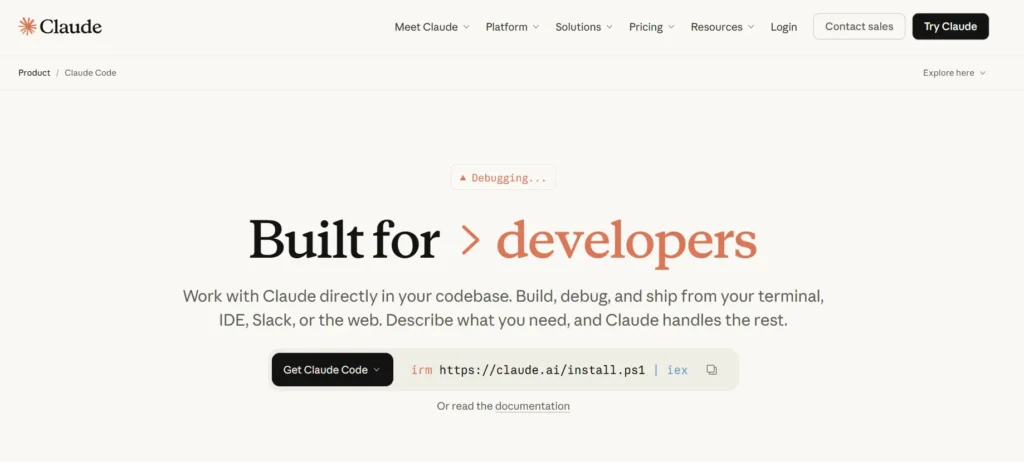
Here is how to use Claude effectively for conversion tasks.
- Use Claude to generate a functions.php file for your WordPress theme. Paste your existing HTML layout into Claude and ask it to restructure the content into WordPress template hierarchy files.
- Claude can write PHP logic for the WordPress Loop, generate custom post type registration code, and configure WordPress REST API endpoints.
- The WordPress REST API is particularly useful during this workflow. You can use Claude to write scripts that push content to WordPress automatically via the REST API, bypassing manual entry entirely. Always keep your API key secure and never expose it in public repositories or configuration files.
Claude AI is incredibly powerful when used as a coding assistant throughout this entire process. Think of it as your pair programmer for every conversion step.
Steps to Convert a Claude-Generated Website to WordPress
Follow this practical workflow to turn your Claude-generated frontend into a fully functional, scalable WordPress website.
Step 1: Export and Clean AI-Generated Website Files
Start by downloading all the files Claude generated. Organize them into a clear folder structure on your local machine.
- Remove any placeholder content, test comments, or debugging scripts Claude may have left in the code.
- Clean HTML is significantly easier to convert into WordPress template files.
If you need to export all posts from an existing site as part of this process, WordPress provides a native export tool under Tools → Export.
Step 2: Organize Assets and Normalize Layout Structure
Move all images to the /images folder and all stylesheets to the /css folder. JavaScript goes into a /js folder. This mirrors the layout structure you will use inside your WordPress theme.
Identify the main layout sections: header, footer, sidebar, content area, and navigation. These will map directly to WordPress template files.
Pay close attention to any hardcoded widths or positioning in the Claude-generated layout. Normalize these to relative units during this step to avoid responsive issues later.
Step 3: Create a Custom WordPress Theme from Static Files
This is the core step of the entire conversion. Create a new folder inside wp-content/themes/ and give it your theme name. For a solid starting point, consider building your WordPress site using the Underscores theme as a starter scaffold.
You will need these essential PHP files at a minimum:
- style.css: Includes theme metadata in the header comment block
- index.php: The main template file
- header.php: Contains your site’s <head> and navigation markup
- footer.php: Wraps the closing tags and footer content
- functions.php: Registers assets, menus, and theme supports
Copy the relevant HTML sections from your Claude-generated file into each PHP file. Replace static text with WordPress template tags like <?php the_title(); ?> and <?php the_content(); ?>.
Enqueue your CSS and JS files in functions.php rather than hardcoding them in HTML. For a deeper dive into this process, the complete guide to custom WordPress theme development covers every essential file and function.
Step 4: Integrate Dynamic Content Using WordPress Loop
The WordPress Loop is how WordPress fetches and displays posts and pages dynamically. Replace any static blog post sections in your HTML with the Loop.
A basic loop looks like this:
<?php if ( have_posts() ) : while ( have_posts() ) : the_post(); ?>
  <h2><?php the_title(); ?></h2>
  <?php the_content(); ?>
<?php endwhile; endif; ?>
Use this pattern in your index.php and any custom page templates. Add support for featured images using add_theme_support( ‘post-thumbnails’ ) in your functions.php.
You can also register custom post types here to match your original site’s content structure.
Step 5: Install and Activate the Converted WordPress Theme
Once your theme files are ready, compress the theme folder into a ZIP file. Log in to the WordPress admin panel, go to Appearance → Themes, and click Add New.
Upload the ZIP file and activate the theme. Check your site on the front end immediately. Fix any PHP errors or missing assets before moving forward.
If you are modernizing to block themes as part of this migration, this step is where you decide whether to stick with a classic PHP theme or transition to a full-site editing block theme.
Step 6: Import Content into WordPress (Posts, Pages, Media)
You can import content using the WordPress built-in importer under Tools → Import, or you can automate this using the WordPress REST API.
- To manually add content, go to Pages → Add New or Posts → Add New in the WordPress admin panel.
- Paste your static content into the Gutenberg blocks editor. Use Gutenberg blocks to recreate your original layout sections as reusable content blocks.
If you are migrating from a page builder and need to convert your existing pages, a guide on migrating from Divi to the Gutenberg block editor explains the transition in detail.
- To upload images, go to Media → Add New.
- Set a featured image for each post from the right sidebar panel.
- Make sure to add alt text and proper metadata for SEO purposes.
If your featured image is not displaying correctly after upload, check out how to fix it not showing to resolve common theme support issues.
Step 7: Install Essential WordPress Plugins for SEO and Performance
Install these core plugins after theme activation:
- Rank Math: For on-page SEO metadata, XML sitemaps, and schema markup
- FastPixel: For caching and performance optimization
- Wordfence: For security scanning and firewall protection
- BlogVault: For automated backups
- WP Migrate DB: For moving your site from local to live URL
Go to Plugins → Add New in the WordPress admin panel and search for each plugin by name. Install and activate them one at a time.
Configure each using its setup wizard. For forms, email marketing, and lead capture, you may also want to review marketing automation tools that integrate natively with WordPress.
If you prefer using a visual page builder instead of Gutenberg for layout work, compare the best WordPress page builders to find the right fit.
Step 8: Test Responsiveness, Performance, and Functionality
Before you publish, run a full test across all device sizes. Check every page on mobile, tablet, and desktop using browser developer tools.
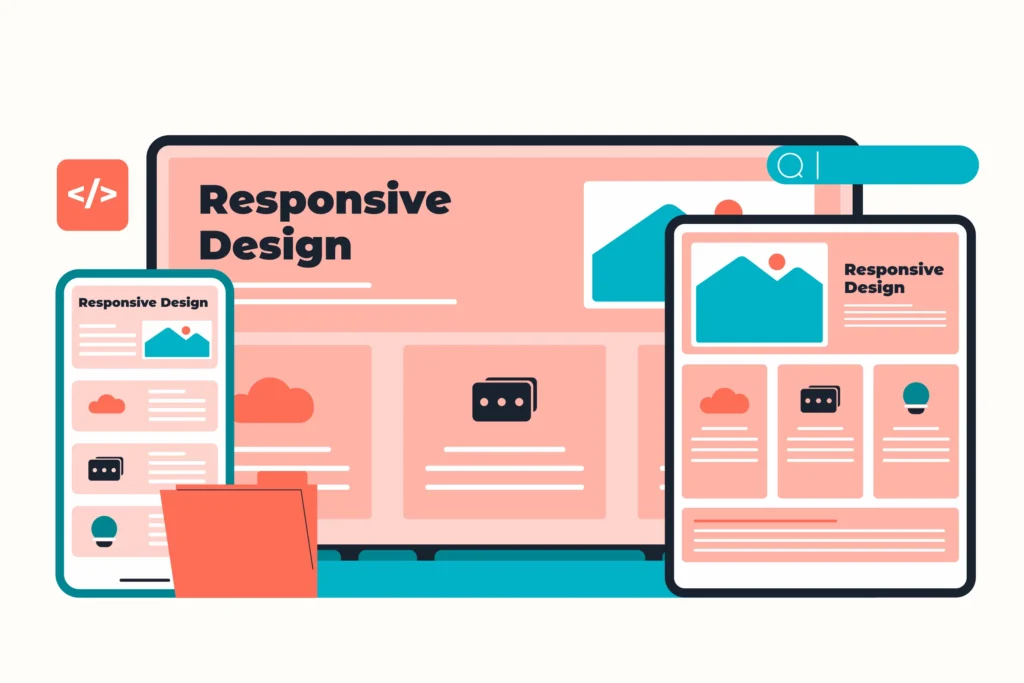
Run your live URL through Google PageSpeed Insights to measure Core Web Vitals scores. Test all navigation links, contact forms, and any dynamic features, such as the search posts functionality.
If you notice any navigation issues on mobile, follow these steps to fix responsive menu issues in WordPress. Fix all issues before going live.
WP-CLI Commands to Speed Up Claude to WordPress Conversion
WP-CLI is a command-line tool for managing WordPress without using the WordPress admin panel. It dramatically speeds up repetitive tasks during migration and is an essential part of an efficient conversion workflow.
Here are the most useful WP-CLI commands for this process:
# Install WordPress core
wp core install --url=yoursite.com --title="Site Title" --admin_user=admin --admin_password=secret --admin_email=you@example.com
# Install and activate a plugin
wp plugin install yoast-seo --activate
# Create a new page
wp post create --post_type=page --post_title="About" --post_status=publish
# Import a WordPress export file (WXR format)
wp import content.xml --authors=create
# Scaffold a starter theme using Underscores
wp scaffold _s my-theme --activate
# Delete a default placeholder post
wp post delete 1 --force
# Search posts by keyword
wp post list --post_type=post --s="keyword" --fields=ID,post_title
These WP-CLI commands save significant time when setting up a WordPress site from scratch. Run them in your terminal from the project root directory to automate tasks that would otherwise require manual work inside the admin panel.
WP-CLI works for everything from plugin management to database operations and content imports.
Post-Conversion Checklist: Optimize Your WordPress Website
Once your site is live, complete these optimization steps to ensure performance and security:
- Set your permalink structure under Settings → Permalinks to a clean URL format such as /%postname%/. Submit your XML sitemap to Google Search Console. Configure caching and minification in your performance plugin. Test page load speed and compress oversized images before publishing.
- Activate SSL and force HTTPS across your entire WordPress site. Refer to the guide on forcing HTTPS in WordPress for the exact steps. Set up automated backups to run daily. Review all custom post types and confirm they display correctly on the front end.
- Run a full SEO audit using the SEO plugin you installed. Check that the WordPress REST API returns correct data at /wp-json/wp/v2/posts. Enable Google Analytics or a Google Analytics alternative for traffic tracking without privacy concerns.
- For sites expecting high traffic after launch, explore load balancing solutions for high-traffic WordPress websites to prepare your infrastructure in advance.
Troubleshooting Common Issues in Claude-Generated Website Conversion
Identify and resolve common issues in structure, assets, and functionality to ensure a smooth, accurate WordPress conversion.
- White screen of death: Usually caused by a PHP syntax error in your theme files. Enable WordPress debug mode in wp-config.php by setting WP_DEBUG to true. This will surface the exact line and file causing the problem.
- Styles not loading: Your CSS may not be properly enqueued in functions.php. Check that wp_enqueue_style() points to the correct file path using get_template_directory_uri().
- Images not displaying: Confirm image paths are relative and correctly referenced. Use the Media Library to re-upload any images that break on the live URL.
- Featured image not appearing: Make sure you added add_theme_support( ‘post-thumbnails’ ) in your functions.php and that your template file calls the_post_thumbnail() in the correct location.
- REST API errors: Verify your API key is valid and that your server allows REST API requests. Check for plugin conflicts that may block the WordPress REST API endpoint. A WordPress security consultant can also help you diagnose server-level restrictions that interfere with the API.
- Layout breaks on mobile: Review your CSS media queries carefully. Normalize any hardcoded widths from the Claude-generated layout that do not scale responsively.
- Content migration complexity: If you are coming from another CMS and also incorporating Claude output, a full migration to WordPress guide covers every scenario, from legacy systems to static site generators. For professional help, you can also work with a WordPress website migration service provider.
Final Thoughts
Converting a Claude-generated website to WordPress is a smart, practical workflow for developers, agencies, and solo builders. Claude AI handles design and code generation quickly and efficiently. WordPress handles content management, SEO, scalability, and long-term site maintenance.
The process requires careful attention at each step.
- From cleaning up files and structuring a custom WordPress theme to importing content and installing essential plugins, every stage has a clear purpose.
- Use Claude Code to speed up repetitive coding tasks.
- Use WP-CLI commands to automate WordPress setup and configuration. Utilize the WordPress REST API for bulk content migration when manual work would take too long.
Once your converted WordPress website is live, focus on performance optimization, security hardening, and SEO. A well-structured WordPress site gives you the foundation to grow without being locked into static files that require developer updates for every change.
The combination of Claude AI for rapid prototyping and WordPress for production content management is one of the most efficient development workflows available today.
Start with a clean project, follow each step carefully, and your site will be live and optimized faster than you expect.
FAQs on Claude Website to WordPress Conversion
Can a Claude-generated website be converted into a full WordPress site?
Yes. You can convert a Claude-generated frontend into a fully functional WordPress site. You need to restructure the code into a proper project structure and create theme files. Then you can add dynamic WordPress content.
Do I need coding skills to convert a WordPress Claude project?
Basic knowledge of HTML, CSS, and PHP helps. However, you can use tools, templates, and AI prompts to simplify the process. Start with a simple example and do a test run before scaling.
How do I manage WordPress content after conversion?
Once converted, you can manage WordPress content from the dashboard. You can edit pages, posts, and media without touching code. This makes it easy for teams and clients.
What files are required to convert a Claude project to WordPress?
You need HTML, CSS, JavaScript files, and assets. You also need a functions file and template files. Keep a clean project structure and document everything in an MD file for clarity.
What are the best tips for a smooth transition from Claude to WordPress?
Start with a clean project structure. Test each step with a test run. Use reusable templates. Keep a clear document of changes. Follow proven ideas to avoid errors and speed up delivery.