Planning on migrating from Webflow to WordPress? You are right where you need to be. Moving any website or online store can seem daunting, but it doesn’t have to. And if you are choosing to migrate Webflow to WordPress, we are here to make it easy for you.
Both Webflow and WordPress are great website-building platforms. However, you will need more features and functionality as your website grows. WordPress is an advanced CMS platform that allows you to build your site with several features and plugins. So, let’s start and check how to migrate from Webflow to WordPress seamlessly.
Contents
ToggleWhy Migrate from Webflow to WordPress?

Webflow is relatively new, best-suited for people in website design or development, and easy for beginners. Building a new site or eCommerce store with Webflow is easy but can be outdated quickly with your growing business needs. If you have outgrown the functionality of Webflow, consider shifting to a much more powerful and open-source CMS platform i.e., WordPress.
WordPress is built to deliver exceptional functionality with its top-notch features, hundreds of free and premium plugins, and the flexibility to customize your website. It is a platform that gives you the power to migrate or build your website without any technical knowledge. So, if you are looking for a more advanced solution for your website, then you might consider migrating from Webflow to WordPress.
Webflow vs WordPress: Quick Comparison
Let’s look at a quick comparison between Webflow and WordPress for better clarity of both Webflow and WordPress features:
| Factors | Webflow | WordPress |
| Pricing | Starts from $14/mo | A free and open-source platform |
| Web Hosting | Hosting is included | Need to buy a separate hosting service |
| SEO Tools | Built-in SEO Tools | A wide variety of best SEO plugins are available |
| Site Editor | Visual | Visual and Coding |
| Blogging | Limited blogging features | Began as a blogging platform itself and is best for creating blogs |
| eCommerce | No Free plugin is available to set up an eCommerce platform. The paid version starts from $29 | Free and paid plugins to set up an e-commerce platform. |
| Customer support | AI Chatbot for common issues, customer support available at regular hours | Offers WordPress help, community forums and support guides |
| Security | Comes with in-built security features | Security can be added through integrations and various security plugins available |
How to Migrate from Webflow to WordPress?
To migrate your blog or website from Webflow to WordPress follow the steps below:
Step 1: Get a Web Hosting and Install WordPress
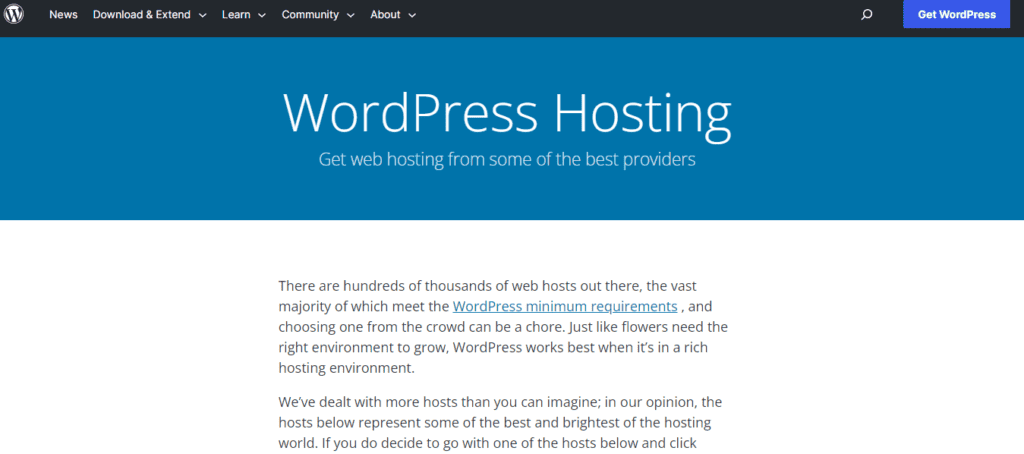
Since WordPress is an open-source CMS platform, it provides you with the freedom of complete customization of your website. However, there are a few things you need to take care of when migrating to WordPress. Unlike Webflow, WordPress does not come with a self-host and you will require a new web host for your website. So, you’ll need to get the following done:
- Get a web host provider for your WordPress websites like Dreamhost and WP Engine. You can also check Seahawk Web Host Rankings to know about the top web hosting providers for your WordPress website
- In order for WordPress to work, you’ll need to make changes to your DNS and update your existing domain records on WordPress. If you are functioning on a domain registrar, you can log in to its settings and manage the DNS there. You can also use a web host service and update your domain records from your hosting control panel.
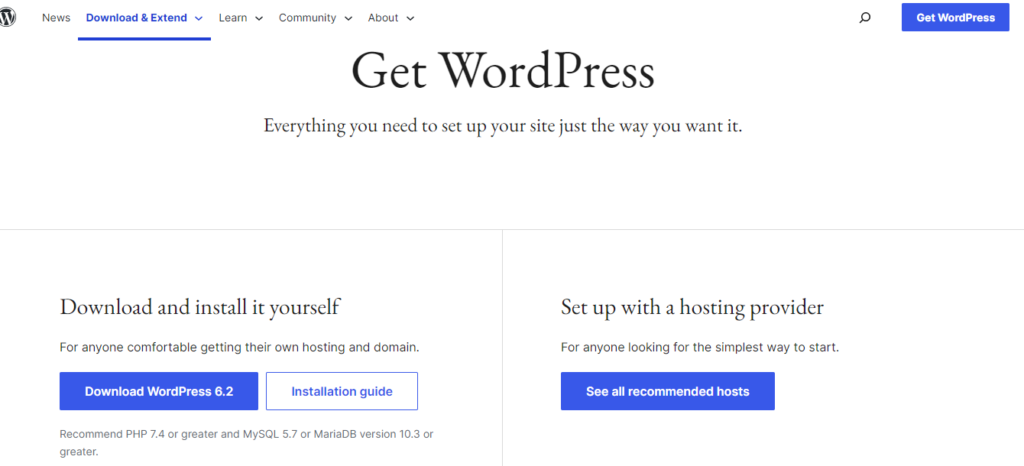
- Now download the core software from WordPress.org and install it on your hosting server
- Install an SSL certificate for added security
- Once you have selected your hosting server and changed your DNS setting you can now access the main WordPress admin dashboard
- You can access it by going to the URL yourdomain.com/wp-admin from the browsers address bar and begin with your migration process
Step 2: Export Your Content From Webflow to WordPress
Once you are done with the WordPress set-up you can now export the content and web files from your Webflow dashboard.
- Go to Webflow Designer> Collections panel where all your website data and files are stored
- Now select and transfer any of your Webflow projects using the CMS export feature
- With you can automatically export content like standard web pages, blog posts, gallery pages, embedded blocks, texts, and images
Note: There are a few content pieces that you cannot export automatically and will need to do the manual work for it. It includes event pages, product pages, video blocks, audio files, custom CMS, album pages, and index pages.
Need help with it? You can choose Seahawk’s WordPress migration services.
Step 3: Import Content to WordPress
Now that you have created a backup of your content from Webflow, you can import that content into WordPress.
- Go to your WordPress admin dashboard
- To import files, go to Tools> Import and select WordPress from the import options
- Once your plugin is installed you need to activate it
- You can now import and upload all your exported files from Webflow to WordPress
- Once you have completed the above steps, go to the import settings and pick a username for your files. This can be your name as you are the administrator but you can always choose a different name too
Step 4: Pick a WordPress Theme
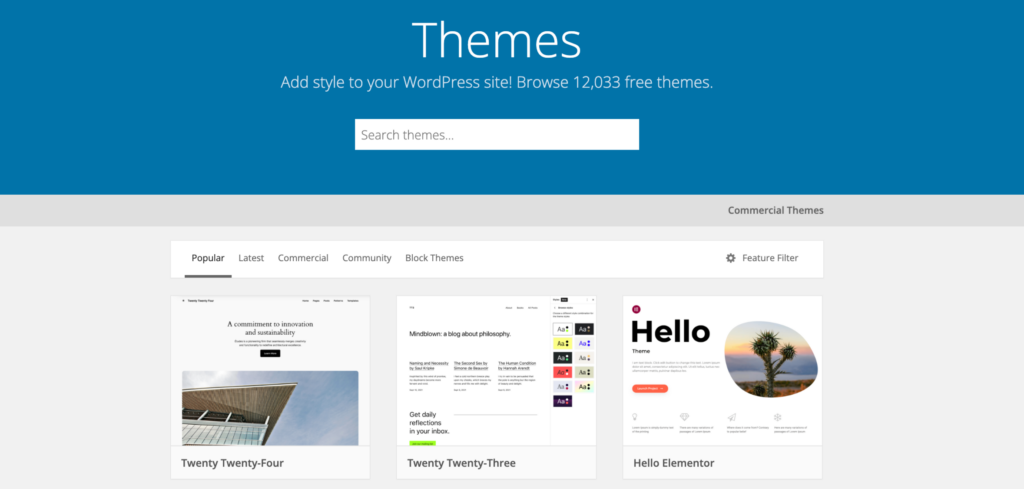
When migrating from Webflow to WordPress, you must note that direct design transfers aren’t possible. But do not worry—WordPress boasts an impressive array of themes, ready to bring your site to life.
The beauty of WordPress themes lies in their flexibility. Each theme offers plenty of customization options, allowing you to tweak and tune the aesthetics to match your vision. What’s more, the vast majority of these themes come without a price tag, though premium options are also available that won’t break the bank.
Step 5: Setting Up Your WordPress Permalinks
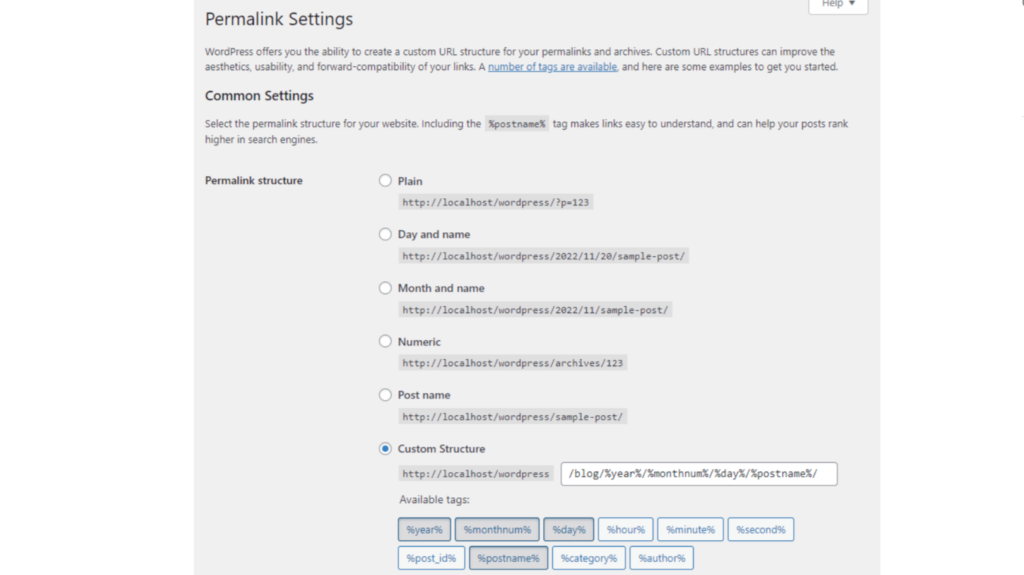
The next step here involves customizing your WordPress permalinks, the architects behind your site’s URL structure. Navigate to Settings > Permalinks within your WordPress control panel to dive into permalink settings.
Within this section, you’ll see a variety of structuring options. Opting for the “Post name” configuration comes highly recommended. This ensures your URLs neatly consist of your domain followed by a specific page or post slugs. It helps you streamline your site’s navigation and enhance its SEO friendliness.
Once you’ve selected, hit the “Save Changes” button. With that, you’re all set to progress to the concluding phase of your setup.
Step 6: Link Your Domain Name to Your New WordPress Site
After moving your website to WordPress, your website address or domain name (like “mysite.com”) might still be taking people to your old site on Webflow. To fix this, you need to update a few settings so that your domain name points to your new site hosted on WordPress.
Here’s how you do it in simple steps:
Find Your New Hosting Nameservers: Your new web hosting company will give you a couple of nameserver addresses. They usually look something like this:
- ns1.yournewhost.com
- ns2.yournewhost.com
Log In to Your Domain Registrar: This is where you bought your domain name (like “mysite.com”). You might have done this through Webflow or another company.
Update DNS Settings: Once you’re logged in, look for a place to update your DNS settings or nameservers. Replace the existing nameserver addresses with the new ones provided by your WordPress hosting company.
Wait for the Changes to Take Effect: It can take a little while (sometimes up to 48 hours) for these changes to spread across the internet. During this time, your domain will start pointing to your new WordPress site.
Want To Migrate From Webflow To WordPress?
Connect with us for WordPress migration services and enjoy a seamless migration from one platform to another.
Things to Check After the Webflow to WordPress Migration
Post Webflow to WordPress migration, here are a few things that you should check:
Import Images to WordPress Website (Use a WordPress Plugin)
WordPress does not support the automatic import of images from other website builders. In this case, you will need to manually upload all your images or use a WordPress plugin to complete the progress.
Review All Your Content
To make sure you have completed a successful migration process, you always need to double-check all your migrated content. So, make sure to review all the files on your new website thoroughly and check if all the important data is successfully migrated from Webflow to WordPress.
Making Your Site Public
Before you can welcome visitors to your site, you must remove any maintenance mode or under-construction pages. In WordPress, this is typically done through your site’s settings or with the help of a maintenance mode plugin.
Ensure that all essential pages are in place, such as the homepage, about page, contact page, and any other crucial content relevant to your site’s purpose.
Monitoring After Launch
Launching your WordPress site is just the beginning of the process. You must regularly check its performance and user engagement to ensure its success. Here are some tools and strategies to help you:
- Google Analytics: Get Google Analytics going on the site to track visitor behavior, traffic sources, and other valuable insights. This free tool provides invaluable data to help you understand how users interact with your site.
- WordPress Plugins: Explore WordPress plugins designed to monitor site performance and user engagement. Plugins like Jetpack offer features such as site stats, security monitoring, and downtime alerts.
- SEO Tools: Utilize SEO tools to track your site’s search engine rankings and identify areas for improvement. Plugins like Yoast SEO provide comprehensive SEO analysis and optimization recommendations.
- Performance Testing: Regularly assess your site’s performance using tools like GTmetrix or Pingdom. These tools examine all the factors, such as page load speed, server response time, and overview performance optimization.
Know: How To Migrate From Joomla To WordPress
Conclusion
We hope we made the entire process of how to migrate from Webflow to WordPress quite seamless and easy. Now that you are done with the migration, you can focus on familiarizing yourself with your new partner in crime – WordPress! Learn about its amazing features, plugins, and premium plans. Both WebFlow and WordPress have their different approaches and pros- cons. However, moving to WordPress can help you grow your website, blog, business, or any other website with added flexibility. So, get set and go!
Webflow to WordPress Migration FAQs
Can I transfer Webflow to WordPress?
Yes, you can transfer Webflow to WordPress. You can do this by exporting the code from Webflow site and importing it into WordPress. Or better yet, you can hire an expert for Webflow to WordPress migration.
Can you integrate Webflow With WordPress?
Yes, you can integrate Webflow with WordPress. Webflow has an official plugin available in the WordPress repository, which allows you to embed code and content from the Webflow pages into your WordPress website.
Is Webflow better than WordPress for beginners?
It depends on the user’s experience level. WordPress is the better choice for those with no experience in web development as it provides a more intuitive user interface.
How do I combine WordPress and Webflow?
Combining WordPress and Webflow will depend on the type of website you are building. You can use Webflow to design the website and use WordPress as the content management system (CMS) to manage and update content. You can also embed code from Webflow into your WordPress website.


