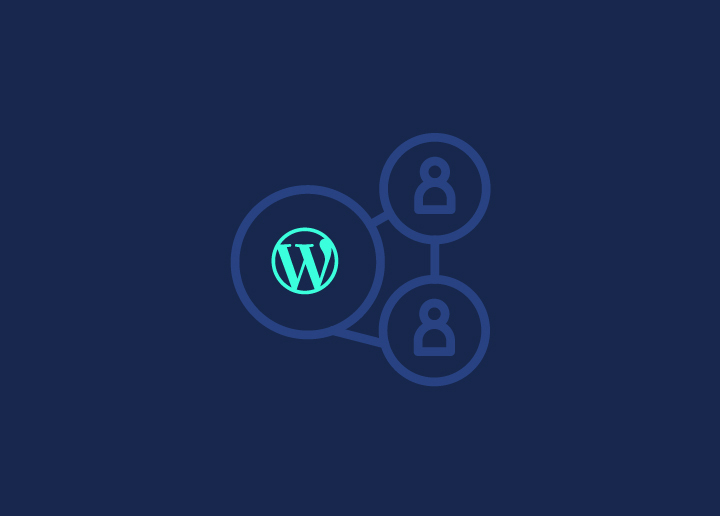


WordPress de marca blanca es una forma de personalizar un sitio web para que refleje tu marca en lugar de la marca del proveedor original. Puedes ofrecer una experiencia web personalizada a tus clientes sin que sepan que utilizas WordPress.
WordPress de marca blanca simplemente significa eliminar la marca de WordPress y reemplazarla con su marca o la de su cliente.
Por ejemplo, según la estética de tu negocio, puedes decorar diferentes páginas y áreas de tu sitio web WordPress, desde la página de inicio de sesión hasta el panel de control o tu logotipo. Seguirás utilizando WordPress con todas sus funciones y utilidad, pero ahora aparecerá a tu nombre.
Profundicemos en cómo hacer una marca blanca de WordPress para tus clientes. Desde la personalización de la apariencia de su sitio web con complementos hasta la asociación con empresas de desarrollo de WordPress de marca blanca , lo tenemos cubierto.
Ventajas de la marca blanca de WordPress
La marca blanca de WordPress tiene muchas ventajas para sus clientes. En primer lugar, te permite ofrecer una experiencia web totalmente personalizada que se ajusta a la identidad de marca de tu cliente.
La marca blanca de WordPress da acceso a la hiper-personalización para sus clientes, haciéndola profesional y fácil de usar para ellos. Es una práctica de altos ingresos y bajos gastos que ahorra tiempo y dinero.
Aprenda: ¿Por qué su empresa necesita externalizar WordPress en marca blanca?
También le ayuda a crear una identidad de marca coherente en los extremos frontal y posterior de un sitio. Como se mencionó anteriormente, los usuarios verán el logotipo de su marca en lugar del logotipo predeterminado de WordPress.
Relacionado: ¿Cómo arreglar el backend lento de WordPress?
Otra ventaja de utilizar WordPress como marca blanca es que puede ahorrarle tiempo y dinero. En lugar de crear un sitio web desde cero, puedes utilizar WordPress como base y personalizarlo para adaptarlo a las necesidades de tu cliente. Esto puede acelerar el proceso de desarrollo y permitirle aceptar más clientes.
WordPress de marca blanca sólo con expertos
Deje que los experimentados y profesionales expertos en WordPress de Seahawk le ayuden con WordPress de marca blanca y lleve su negocio a nuevas cotas.
Leer: Desarrollo de WordPress de marca blanca: todo lo que necesitas saber
Los clientes no quieren tener que lidiar con temas, plugins, actualizaciones, seguridad y aprender a usar WordPress. La marca blanca de WordPress también ayuda a impresionar a los clientes con tus habilidades en WordPress y a construir tu reputación profesional.
Con la marca blanca de WordPress, tanto usted como sus clientes salen ganando.
¿Cómo utilizar la marca blanca en WordPress de diferentes maneras?
Tiene varias opciones para crear una marca blanca en WordPress: puede utilizar plugins o cambiar manualmente los archivos PHP e insertar códigos en los lugares donde su sitio web necesite una nueva identidad.
WordPress de marca blanca usando temas y plugins
Una de las mejores formas de personalizar WordPress es utilizar plugins de marca blanca. Estos plugins permiten personalizar varios aspectos de WordPress, como la pantalla de inicio de sesión, el panel de control y los elementos del menú.
Plugin CMS de marca blanca
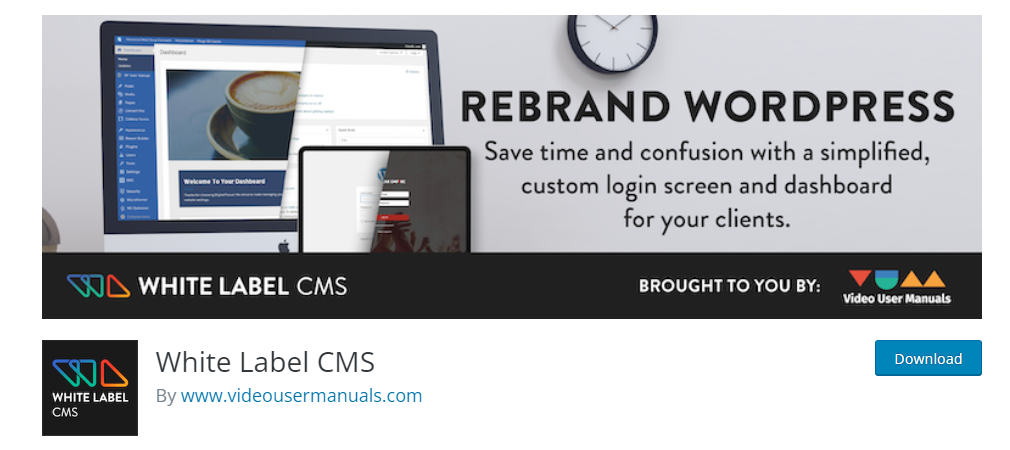
La mejor manera de etiquetar en blanco el área de administración de su sitio es utilizar el plugin White Label CMS. Este plugin ofrece una configuración sencilla para empezar.
- Paso 1: Vaya a plugins; en la barra de búsqueda, escriba White Label CMS plugin y haga clic en instalar. Una vez completada la instalación, haga clic en Activar.
- Paso 2: Una vez activado el plugin, vaya a Configuración > Panel de control del CMS de Marca Blanca para configurar los ajustes del plugin.
- Paso 3: Puede añadir una URL de desarrollador, un texto a pie de página y un canal RSS. Tras añadir estos datos, haz clic en "Siguiente".
- Paso 4: Puedes personalizarlo aún más añadiendo el nombre y el logotipo de tu cliente. Una vez que haya terminado, haga clic en "Guardar".
En este plugin, se puede personalizar más en cinco opciones:
- Marca: Puedes reemplazar la marca de WordPress con la marca de negocio personalizada de tu cliente.
Conozca los componentes de la marca
- Inicio de sesión: Aquí puedes cambiar la apariencia de la página de inicio de sesión. Cargue un logotipo de inicio de sesión y personalícelo cambiando la altura, el ancho, el color/imagen de fondo y los márgenes. Guarde los cambios después de la vista previa en vivo.
- Tablero de mandos: Despeja la pantalla principal de administración (dashboard) haciendo una sección personalizada según tu cliente. Haga clic en el 'Tablero', y verá las opciones para mostrar y ocultar cada panel. Añade iconos, cambia los encabezados o activa la opción 'Añadir tu propio panel de bienvenida'.
- Menús: Aquí puedes ocultar los elementos del menú activando la opción "Quiero ocultar los menús para tus clientes". Para ocultar un menú, haga clic en la flecha hacia abajo para ocultarlo a diferentes usuarios.
- Configuración: En esta sección, puedes desactivar otras ubicaciones para ocultarlas a los clientes y hacer las cosas más fáciles de usar.
Cuadro de mandos definitivo
A veces, el cliente no es técnicamente consciente de ciertas cosas. En este caso, ver demasiadas opciones en el cuadro de mandos puede resultar bastante intimidante. Puedes eliminar permanentemente elementos de menú o widgets innecesarios en el cuadro de mandos para crear una experiencia personalizada para tu cliente.
Cómo arreglar el panel de widgets que no se carga en Elementor
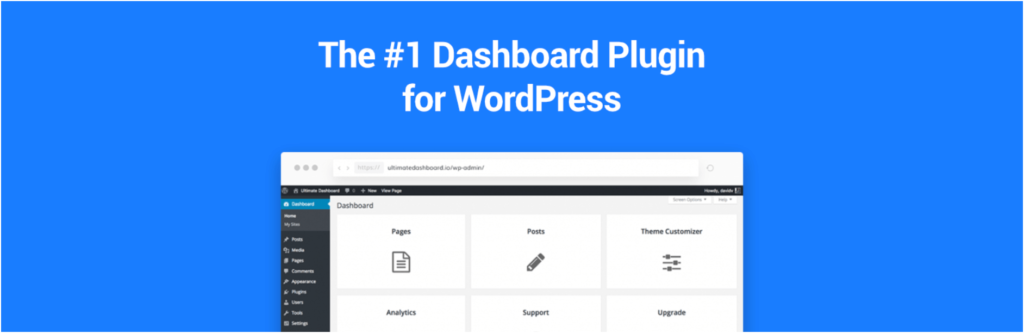
Una forma sencilla de editar tu panel de control es utilizar el plugin Ultimate dashboard. Este plugin puede personalizar fácilmente los elementos del menú o los widgets según los requisitos empresariales de su cliente.
Pizarra
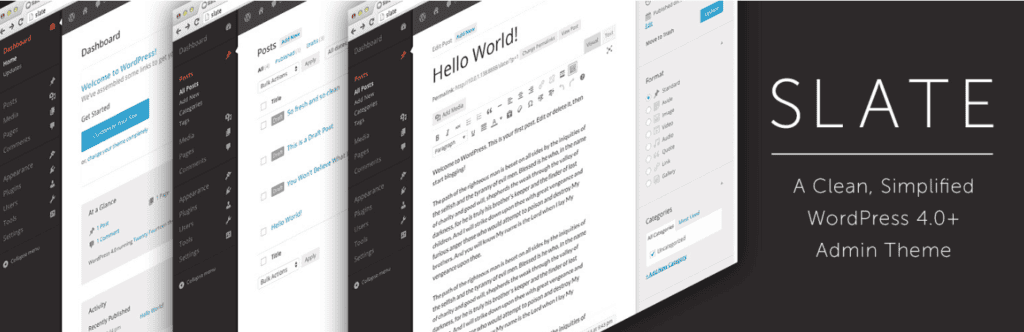
Slate es un popular plugin de marca blanca para WordPress que le permite crear un tema de administración personalizado para el sitio web de su cliente. Este plugin viene con varios esquemas de color pre-construidos, así como la capacidad de crear sus propios esquemas de color personalizados.
Con su intuitiva interfaz, puede cambiar rápida y fácilmente el aspecto del área de administración de WordPress, incluida la pantalla de inicio de sesión, el panel de control y los elementos de menú.
Administración personalizada AG
AG Custom Admin es un potente plugin de marca blanca para WordPress que le permite personalizar completamente el área de administración de WordPress. Puede añadir su propio logotipo, cambiar el fondo de la página de inicio de sesión e incluso crear un favicon personalizado para el sitio web de su cliente.
Además de la marca, AG Custom Admin también permite personalizar varios aspectos del área de administración, como los widgets del panel de control, el texto del pie de página y la combinación de colores.
Editor del menú Admin
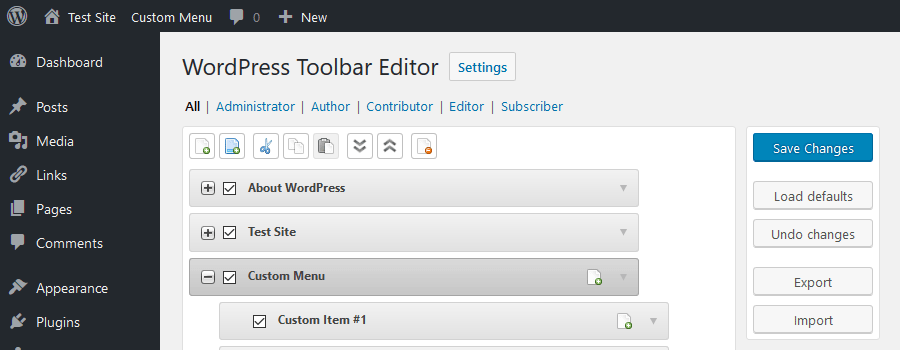
Admin Menu Editor es un versátil plugin de marca blanca para WordPress que permite personalizar fácilmente el menú de administración. Con este plugin, puedes ocultar, reorganizar o renombrar los elementos del menú para crear una experiencia más personalizada para tus clientes.
Otra característica útil de Admin Menu Editor es la posibilidad de crear menús personalizados basados en roles de usuario. Esto significa que puede dar a sus clientes acceso sólo a los elementos de menú que necesitan, ocultando los aspectos más técnicos o complejos de WordPress.
Si quieres asegurarte de que los clientes no ven ningún archivo de edición, abre wp-config.php, y añade:
define ( 'DISALLOW_FILE_EDIT', true );
y pulsa guardar.
Personalización de la página de inicio de sesión
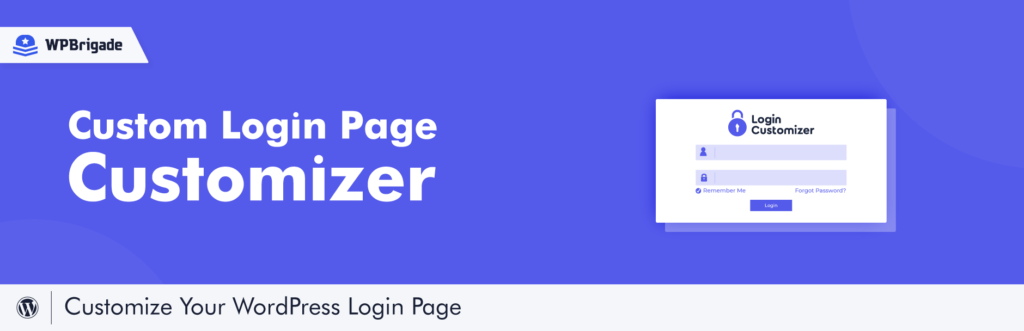
El plugin Custom Login Page Customizer le permite crear su página de inicio de sesión sin esfuerzo utilizando el personalizador de WordPress en vivo, eliminando la necesidad de conocimientos de codificación. La versión gratuita proporciona acceso a una amplia gama de funciones de personalización, lo que le permite modificar los colores, fondos, estilos de formulario, y mucho más.
Para mayor seguridad, la versión Premium incorpora un mecanismo de verificación reCAPTCHA. Disfrute de la libertad de personalizar sin coste alguno.
WpAlter: Plugins WordPress de marca blanca
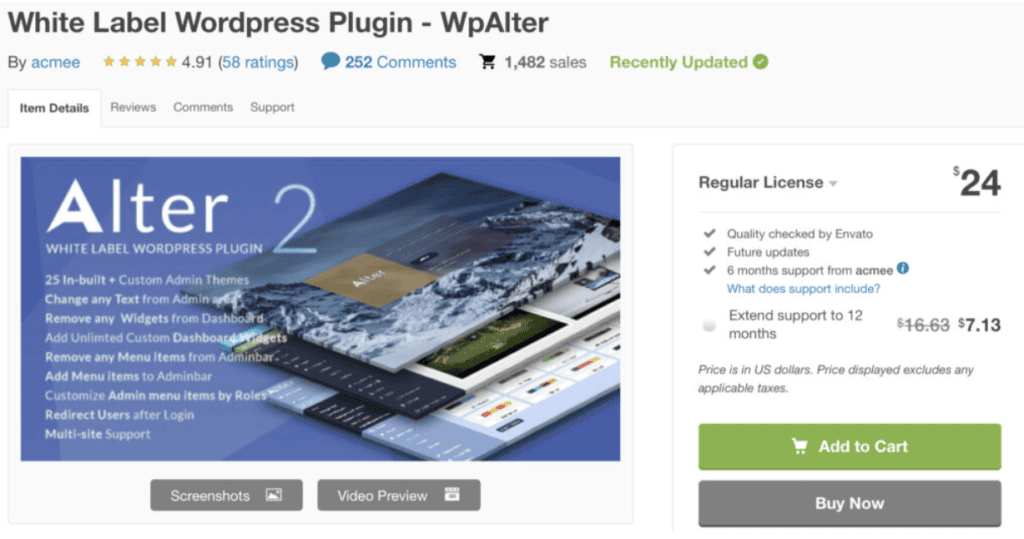
El plugin para WordPress de marca blanca WpAlter destaca como una opción de primera entre los plugins para el panel de control de WordPress, ya que ofrece un control exhaustivo sobre varios componentes del panel de administración de WordPress.
A diferencia de esto, el plugin Adjust ofrece la flexibilidad de remodelar por completo el diseño del panel de administración de WordPress, alineándolo con su tema y esquema de color preferidos, al tiempo que modifica numerosas funciones de WordPress.
Sin embargo, discernir las disparidades entre el Admin Menu Editor y el Admin Menu Editor Pro puede ser desconcertante, dada su funcionalidad de personalización de menús compartida con WpAlter. Cada uno de estos plugins posee cierto grado de autoridad sobre los demás, aunque su compatibilidad no siempre está garantizada.
El solapamiento de las funciones de estos plugins puede llevar a confusión al usuario. Por ejemplo, si un usuario utiliza el plugin Alter para personalizar cualquier texto del menú, el código del plugin Admin Menu Editor puede reconstruir el menú con contenido predeterminado, haciendo que el texto personalizado no se tenga en cuenta.
Legacy Admin - Marca blanca WordPress Admin Tema
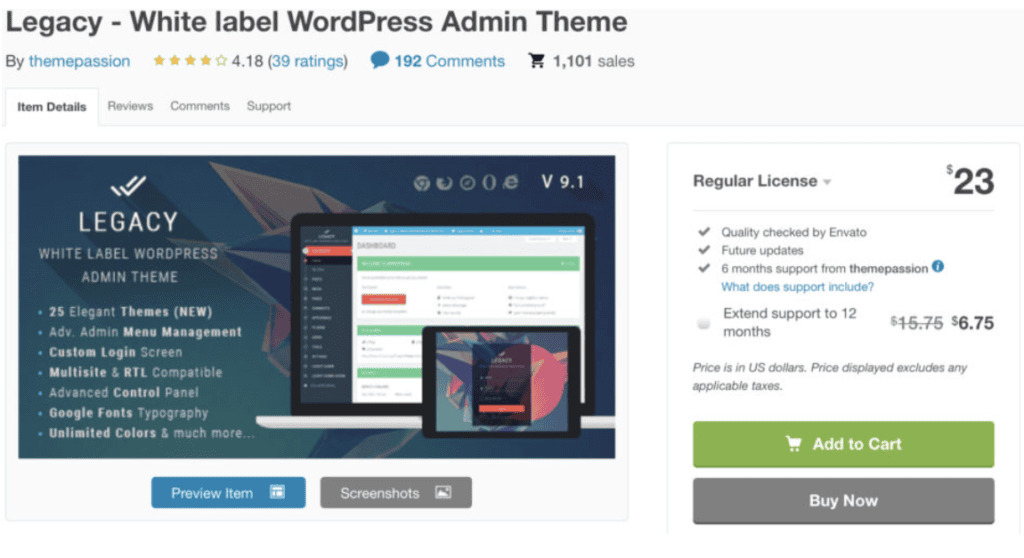
El Legacy Admin es un tema de administración de WordPress de marca blanca amplio y potente, que ofrece 20 diseños totalmente configurables, un control exhaustivo del menú de administración y un tema de pantalla de inicio de sesión visualmente impactante.
Este tema cuenta con compatibilidad de traducción, acomodando los modos RTL y LTR para atender a las preferencias de diversos idiomas. Además, Legacy Admin es compatible con múltiples sitios, lo que garantiza una instalación y usabilidad perfectas en una red multisitio.
Pros
- Adapte la interfaz de administración a los requisitos de su marca.
- Controla el menú de administración para disfrutar de una experiencia personalizada.
- Incorpore un logotipo y un favicon personalizados para mejorar la identidad visual del panel de administración.
Contras
- El código no se ajusta a las directrices de WordPress y carece de idoneidad para la traducción.
- Los tiempos de respuesta del servicio de atención al cliente son prolongados.
Precio: Licencia normal - £23
Material - White Label WordPress Admin Theme
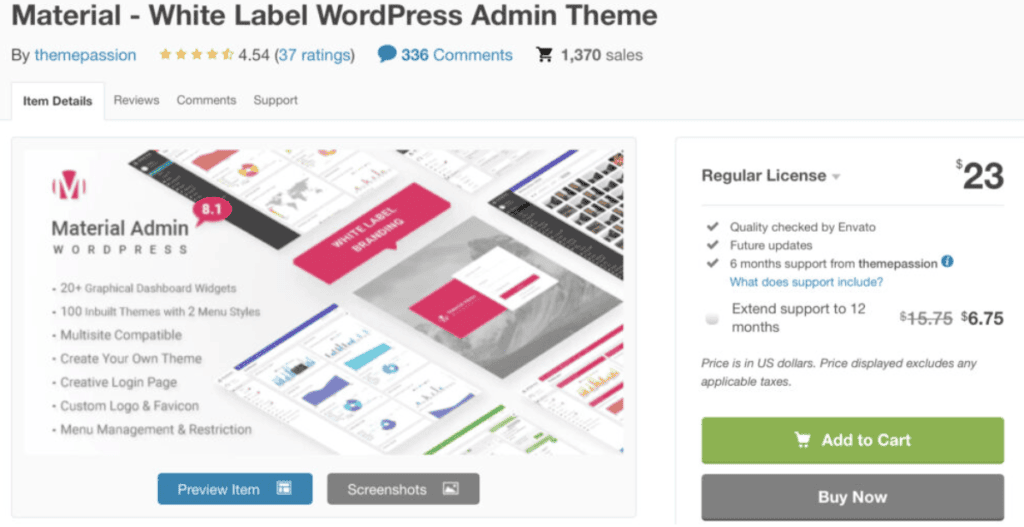
El Material - White Label WordPress Admin Theme ofrece una amplia gama de más de 20 Widgets de Dashboard distintivos diseñados específicamente para los clientes, mejorando la experiencia del usuario.
Este tema de Marca Blanca es versátil y se adapta tanto a los idiomas de izquierda a derecha (LTR) como a los de derecha a izquierda (RTL), por lo que es compatible con Multisitio para una aplicación universal.
Para agilizar las tareas administrativas, este tema simplifica el proceso de modificación de nombres, reordenación de menús, ajuste de elementos de submenú, cambio de iconos de menú y activación o desactivación de elementos de menú con la ayuda de prácticos complementos.
Sus funciones fáciles de usar hacen que la personalización de la interfaz de administración de WordPress sea una experiencia fluida y eficaz.
WordPress de marca blanca manual
Etiquetar manualmente WordPress significa editar el archivo functions.php de su instalación. Con este método, puede controlar todos los aspectos de los cambios que desee realizar. Por ejemplo, si solo quieres cambiar el logotipo, puedes hacerlo.
Aunque esto puede parecer genial, hacerlo sin experiencia puede causar daños en el sitio web.
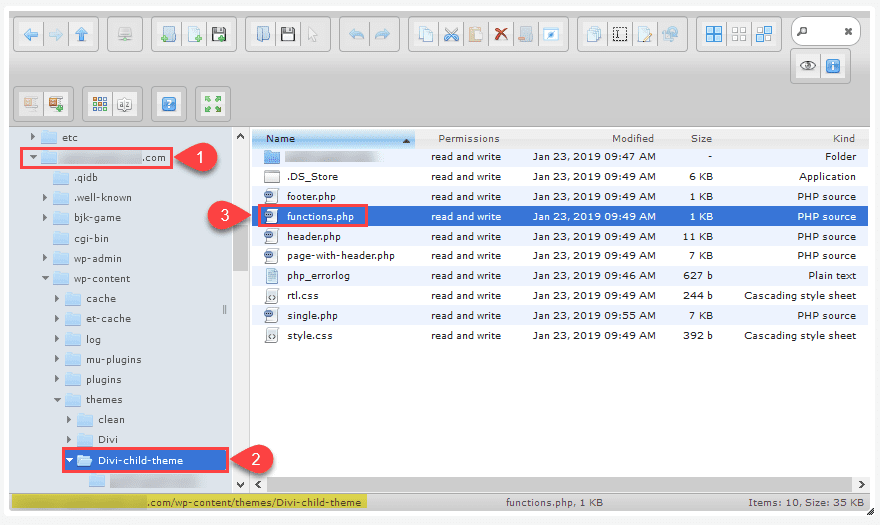
¿Cómo editar el archivo Functions.php?
- Antes de editar el archivo functions.php, asegúrese de hacer una copia de seguridad de su sitio web y sus archivos para evitar cualquier pérdida de datos.
- Para editar los archivos functions.php, puedes hacerlo desde el gestor de archivos de CPanelo desde un plugin de WordPress como WP File Manager.
- También puede encontrar su archivo functions.php en su directorio /public_html/example.com/wp-content/theme-name.
Etiquetar manualmente la página de inicio de sesión de WordPress
La pantalla de acceso es la primera impresión de su profesionalidad, ya que es lo primero que ven sus clientes.
- Comience por cambiar la URL de inicio de sesión a una personalizada por su cliente.
- A continuación, puede cambiar el logotipo predeterminado de WordPress con la marca de su cliente.
Una manera fácil de hacerlo es con el plugin Custom Login Page Customizer de LoginPress. Con la ayuda de este plugin, puede cambiar la URL, el color de fondo, el logotipo, etc., para dar a sus clientes un efecto personalizado según su negocio.
Empresas de desarrollo de WordPress de marca blanca
¿Busca servicios de marca blanca para WordPress? Estás en el lugar adecuado. Echa un vistazo a esta lista de las mejores empresas de desarrollo de WordPress en marca blanca.
Seahawk: Servicios de marca blanca de WordPress

Como líder del sector en servicios de WordPress, Seahawk ofrece servicios de marca blanca de WordPress para ayudar a las empresas a escalar. Con nuestro servicio de marca blanca de WordPress, podrá ofrecer a sus clientes un sitio web totalmente personalizado y con su marca, sin complicaciones ni conocimientos técnicos.
Nuestros servicios de marca blanca para WordPress incluyen:
- Desarrollo de WordPress
- Mantenimiento y asistencia del sitio web
- Conversión de WordPress
- Desarrollo de comercio electrónico
- Reparación de sitios pirateados
- Optimización del sitio
Contamos con un equipo de diseñadores y desarrolladores de WordPress experimentados que pueden ayudarle a crear un sitio web totalmente personalizado y funcional que satisfaga las necesidades de su cliente, a la vez que le proporcionan asistencia y mantenimiento continuos.
Agencia profesional de marca blanca WordPress
Servicio WordPress de marca blanca fiable y sin complicaciones para que sus clientes estén contentos
10xwhitelabel: Desarrollo de WordPress en marca blanca
En 10X White Label, destacan en los servicios de desarrollo de WordPress de marca blanca. Con un equipo experimentado de diseñadores y desarrolladores de WordPress cualificados, su amplia experiencia abarca la creación de sitios web de WordPress personalizados.
Como socio de marca blanca, ofrecen una amplia gama de servicios, entre los que se incluyen el desarrollo de temas personalizados para WordPress, soluciones de comercio electrónico para WordPress, desarrollo de plugins personalizados, diseño de sitios web multirred y multilingües e integración de API.
Su meticuloso proceso de desarrollo de WordPress en marca blanca implica un análisis en profundidad de la marca, una extensa tormenta de ideas y una comunicación transparente de la ideación y los conceptos. A esto le sigue un diseño y desarrollo exhaustivos, optimización para motores de búsqueda y análisis continuos para un perfeccionamiento constante.
RelyWP: Soporte WordPress de marca blanca
RelyWP ofrece una solución perfecta para las agencias que buscan externalizar los servicios de mantenimiento, alojamiento y soporte de WordPress en marca blanca para sus clientes. A través de su programa de partners, las agencias pueden ofrecer atención y soporte profesionales sin necesidad de recursos adicionales.
Los servicios, que incluyen asistencia experta en WordPress, tareas y ediciones del sitio web y mantenimiento continuo, son 100% de marca blanca.
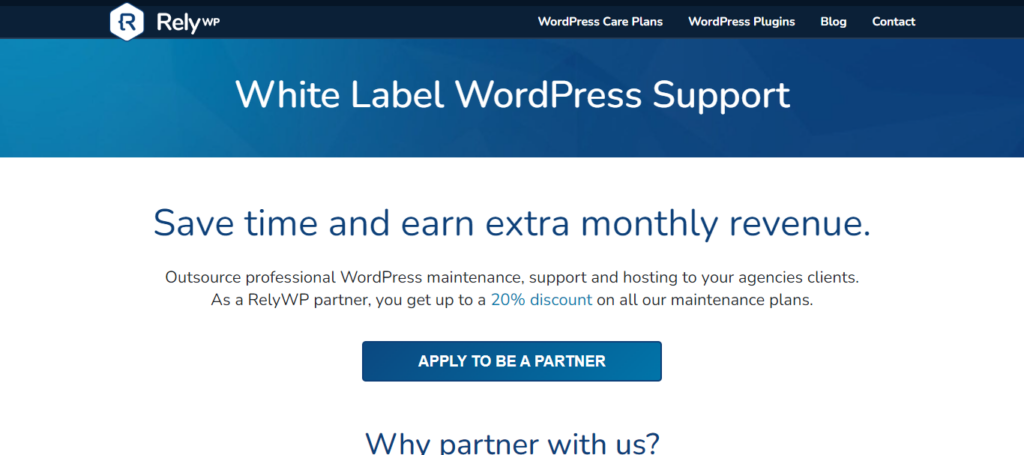
Esta empresa de marca blanca también integra directamente una herramienta de asistencia por chat en directo en los paneles de control de los sitios de los clientes, lo que garantiza una experiencia personalizada y de marca.
Con las tareas y ediciones enviadas a través de una herramienta de soporte visual de marca blanca, las agencias pueden centrarse en aspectos más amplios mientras RelyWP se encarga de cuestiones menores, actualizaciones, copias de seguridad, seguridad y alojamiento gestionado de WordPress opcional.
Fatlabwebsupport: Desarrollo de WP en marca blanca para agencias
FatLabWebSupport ofrece desarrollo de WordPress en marca blanca adaptado a agencias y estudios, lo que les permite crecer de forma eficiente. Su servicio de asistencia web especializado ofrece mantenimiento en marca blanca y servicios de creación personalizada, lo que permite a las agencias centrarse en entregas más amplias.
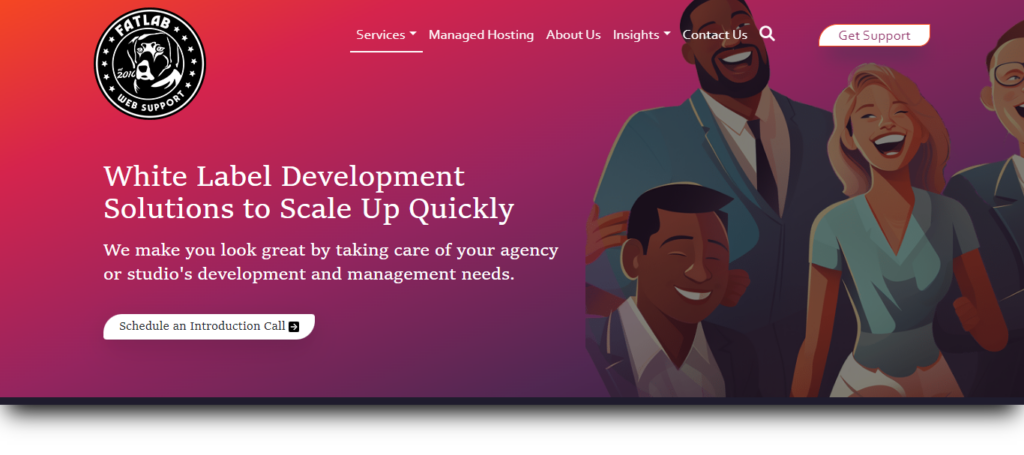
Con servicios que incluyen el desarrollo web, el soporte y el alojamiento gestionado, FatLabWebSupport garantiza que las agencias puedan mantener su identidad de marca al marcar las tarifas de los servicios. También colaboran directamente con los clientes o a través de la agencia, lo que garantiza que el cliente siga siendo de la agencia a la vez que mejora su reputación.
Muteweb Technologies: Diseño de WordPress en marca blanca
Muteweb Technologies potencia a las empresas con el desarrollo de WordPress en marca blanca, ofreciendo una solución escalable tanto para pequeñas agencias digitales como para empresas de nivel empresarial. Mediante la externalización de servicios de WordPress, las empresas pueden expandirse rápidamente sin recursos adicionales.
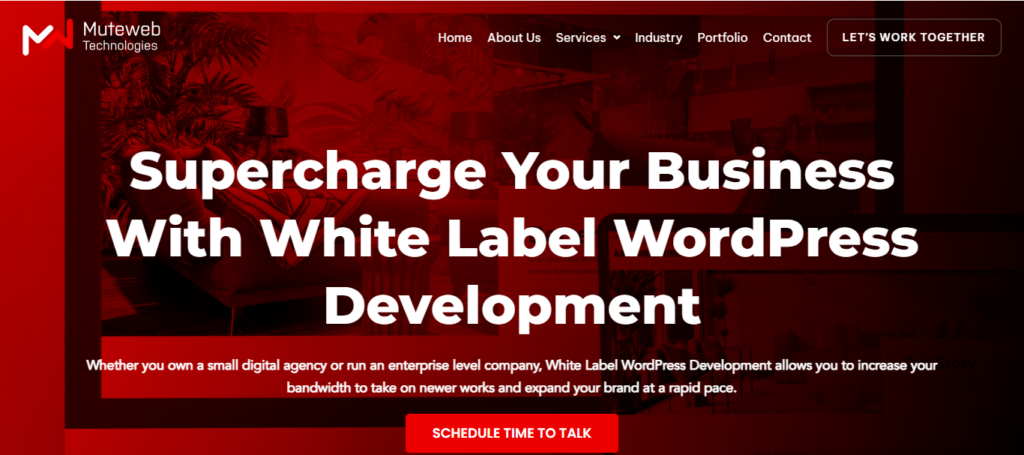
La experiencia de Muteweb abarca todos los aspectos del desarrollo de sitios web en WordPress, incluida la planificación y la consultoría, el diseño y el desarrollo de sitios web, la captación y fidelización de clientes y el aprovechamiento de la potencia de los plugins. Con un equipo cualificado, los proyectos también se completan de manera eficiente, mejorando la credibilidad y profesionalidad de la agencia.
WP Depend: Mantenimiento y soporte de WordPress en marca blanca
WP Depend ofrece mantenimiento y soporte de WordPress de marca blanca de confianza, lo que permite a las agencias reducir la carga de trabajo y centrarse en el crecimiento del negocio. Sus planes de soporte de marca blanca garantizan asistencia 24/7 bajo la marca de la agencia, proporcionando un servicio al cliente sin fisuras.
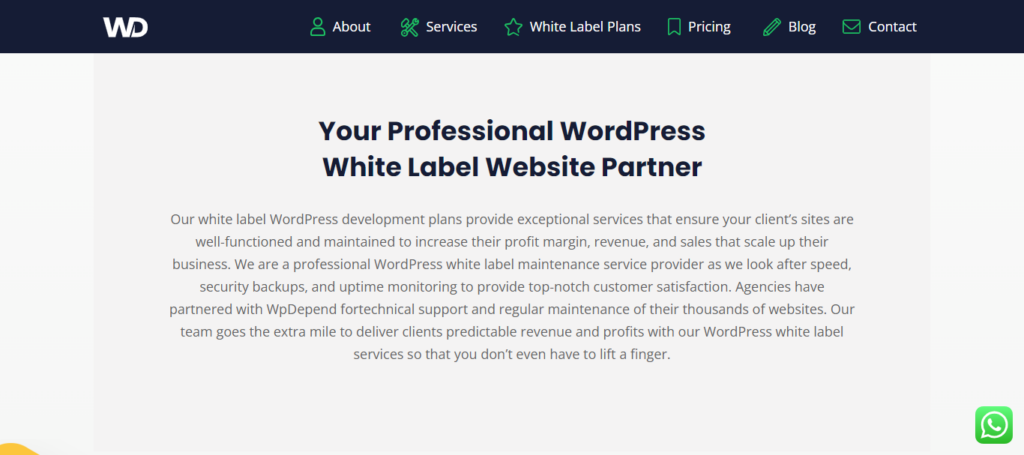
Utilizando las herramientas del sistema de soporte de WP Depend, las agencias y los clientes pueden acceder al Tablero de Tickets, que ofrece un control completo y transparencia sobre las solicitudes de tickets. Los informes semanales de marca blanca, que detallan las actualizaciones y las tareas de mantenimiento del sitio web, mantienen a las agencias y a los clientes informados.
Por su parte, la función de soporte por correo electrónico mejora aún más la comunicación, lo que convierte a WP Depend en un socio estratégico para las agencias que buscan soluciones de soporte de WordPress fiables.
GloryWebs: Desarrollo de WordPress en marca blanca
GloryWebs ofrece servicios de desarrollo de WordPress de marca blanca, aprovechando un equipo reputado y experimentado. Con esta empresa, puede acceder a un conjunto completo de conocimientos de marketing digital a precios competitivos, garantizando una atención excepcional, soluciones innovadoras y resultados al 100%.
Sus servicios incluyen desarrollo personalizado de WordPress, migración de WordPress, desarrollo de PSD a WordPress, optimización de sitios y mucho más.
Pueden ayudarle a reducir costes consolidando varias necesidades de marketing de sitios web bajo un mismo techo, eliminando la dependencia de múltiples agencias. GloryWebs también ofrece la oportunidad de seleccionar expertos en marketing digital, lo que facilita la retención de clientes y satisface las diversas necesidades de crecimiento empresarial, centrándose en la satisfacción del cliente.
Acclaim.agency: Desarrollo de WordPress en marca blanca
Acclaim.agency ofrece servicios integrales de desarrollo de WordPress en marca blanca adaptados a agencias que buscan mejorar la capacidad de sus proyectos. Centrado en el diseño, el desarrollo y el mantenimiento, su equipo especializado atiende a diversas agencias digitales, como empresas de desarrollo web, SEO, marketing y diseño.
Al hacer hincapié en la rentabilidad y la flexibilidad, sus soluciones garantizan la entrega puntual de los proyectos y el cumplimiento de las limitaciones presupuestarias. Con la confianza de las agencias que buscan la excelencia, los expertos desarrolladores de WordPress de Acclaim.agency también se comprometen a llevar a buen puerto los proyectos de sus clientes.
Saber más: Las mejores empresas de desarrollo web de Londres
Parrot Creative: Desarrollo de WordPress de marca blanca
Parrot Creative ofrece excepcionales servicios de desarrollo de WordPress en marca blanca adaptados a las agencias de diseño web. Con un fuerte enfoque en la calidad de desarrollo superior, proporcionan experiencia sin los gastos generales de la contratación de desarrolladores senior a tiempo completo.
Especializados en el desarrollo de WordPress, tiendas WooCommerce, desarrollo de plugins a medida e integración de API, permiten a las agencias satisfacer sin problemas los requisitos más exigentes de sus clientes. Esta asociación estratégica amplía las capacidades de las agencias sin necesidad de contar con expertos internos, lo que garantiza una situación beneficiosa tanto para las agencias como para los clientes.
Themelocation: Agencia de desarrollo de WordPress de marca blanca
Themelocation es una agencia de desarrollo de WordPress de marca blanca de confianza dedicada a ayudar a las agencias web a prosperar. Con servicios a partir de 15 $/hora, permiten a las agencias captar más clientes y centrarse en el crecimiento del negocio. Gracias a sus expertos desarrolladores de WordPress y a sus gestores de proyectos especializados, garantizan una calidad de primera y una entrega rápida de todas las tareas, independientemente de la zona horaria.
Sus servicios integrales de desarrollo de WordPress abarcan codificación personalizada, temas, correcciones rápidas y mantenimiento. Priorizan la satisfacción del cliente y de la agencia por encima de todo. En pocas palabras, podrían ser su socio de confianza en la creación de agencias web de éxito.
Aprender: Las mejores agencias de diseño web de marca blanca
Nice Digitals: Empresa de desarrollo de WordPress de marca blanca
Nice Digitals refuerza la presencia digital de sus clientes con servicios de marca blanca personalizados. Su equipo de expertos se especializa en el desarrollo de WordPress y se centra en mejorar los negocios en línea de los clientes sin buscar crédito.
Al priorizar las necesidades del cliente e implementar elementos de desarrollo integrales, se aseguran de que los sitios web sean seguros, estén controlados y cuenten con muchas funciones, lo que atrae clientes potenciales y fomenta la participación positiva de los usuarios. El compromiso de Nice Digitals es ayudar a sus clientes a destacar en marketing digital a través de soluciones WordPress personalizadas.
Más información: Ventajas de externalizar WordPress
Proveedores de alojamiento WordPress de marca blanca
¿Está buscando proveedores de alojamiento de WordPress de marca blanca fiables para mejorar sus servicios de alojamiento? No busque más. Estas son algunas de las principales empresas que ofrecen soluciones de alojamiento de WordPress de marca blanca, lo que le permite ofrecer servicios de alojamiento bajo su marca.
Vendasta: Alojamiento web de marca blanca
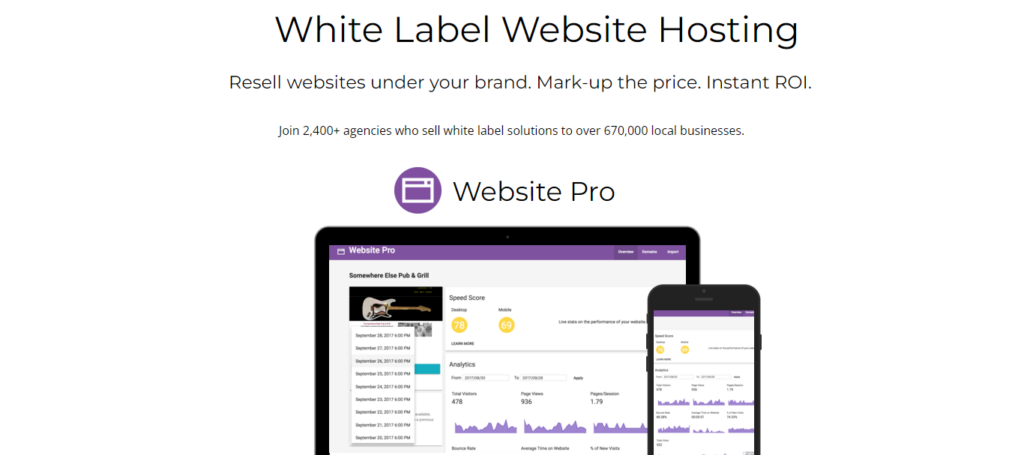
Vendasta ofrece alojamiento de sitios web de marca blanca, lo que permite a las agencias revender sitios web bajo su marca con precios personalizables para un retorno de la inversión instantáneo. Al asociarse con Google Cloud Platform, garantizan que los sitios web de los clientes sean seguros, rápidos y escalables.
Con funciones como copias de seguridad diarias, certificados SSL gratuitos y páginas vistas ilimitadas, la solución Website Pro de Vendasta garantiza una gestión de sitios web perfecta con especificaciones técnicas avanzadas, incluidos Docker Containers y Kubernetes, todo ello bajo la infraestructura de confianza de Google.
Leer: Los mejores proveedores de hosting gratuito para WordPress en Estados Unidos
MilesWeb: Alojamiento de marca blanca para revendedores
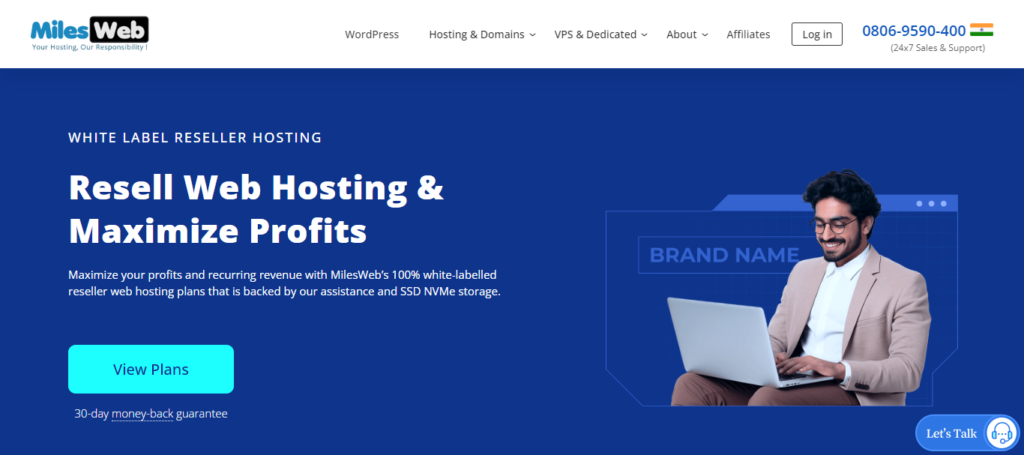
MilesWeb ofrece lucrativas soluciones de alojamiento de marca blanca para revendedores, lo que permite a las empresas maximizar los beneficios y los ingresos recurrentes. Con planes 100 % de marca blanca respaldados por almacenamiento SSD NVMe y asistencia las 24 horas del día, MilesWeb garantiza experiencias de alojamiento perfectas.
Sus ofertas incluyen alojamiento ilimitado de dominios, ancho de banda ilimitado, acceso a cPanel y otras características atractivas. Además, los clientes se benefician de una garantía de devolución del dinero de 30 días, soporte 24/7/365, compromiso de tiempo de actividad del 99,95% y servicios de migración gratuitos, lo que convierte a MilesWeb en una opción fiable para las necesidades de alojamiento de revendedores.
Aprenda: DreamHost vs HostGator
GetDollie: Alojamiento de marca blanca de WordPress
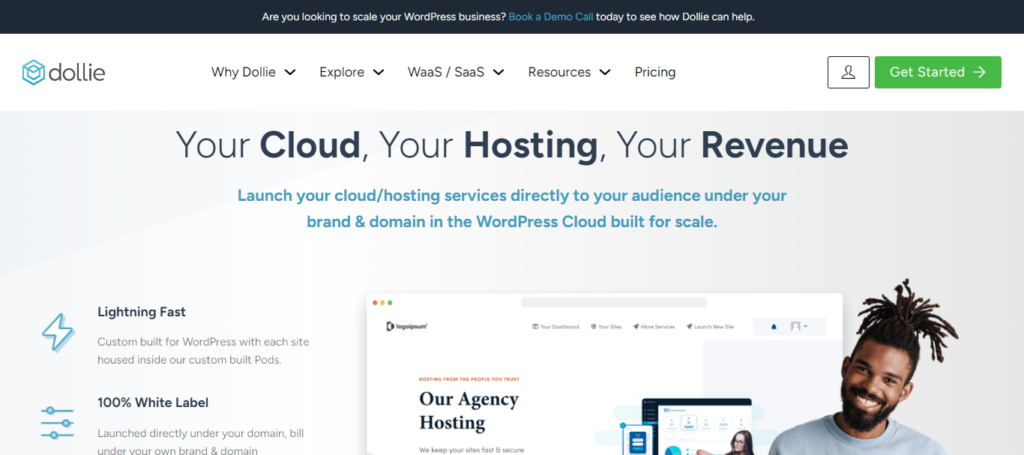
GetDollie ofrece soluciones de alojamiento de marca blanca de WordPress, lo que permite a las empresas lanzar sus servicios de alojamiento en la nube directamente bajo su marca y dominio. Su infraestructura de WordPress Cloud está diseñada a medida para ofrecer escalabilidad y velocidad, con cada sitio alojado dentro de Pods personalizados para un rendimiento ultrarrápido.
Con una capacidad 100% de marca blanca, los clientes pueden facturar bajo su propia marca y dominio sin problemas. La plataforma de Dollie también incluye herramientas de gestión de clientes y sitios web, lo que permite a las empresas vender servicios recurrentes sin esfuerzo y manteniendo el control total.
Más información: Empresas de alojamiento de WordPress más rápidas
Faaaster: Alojamiento WordPress de marca blanca
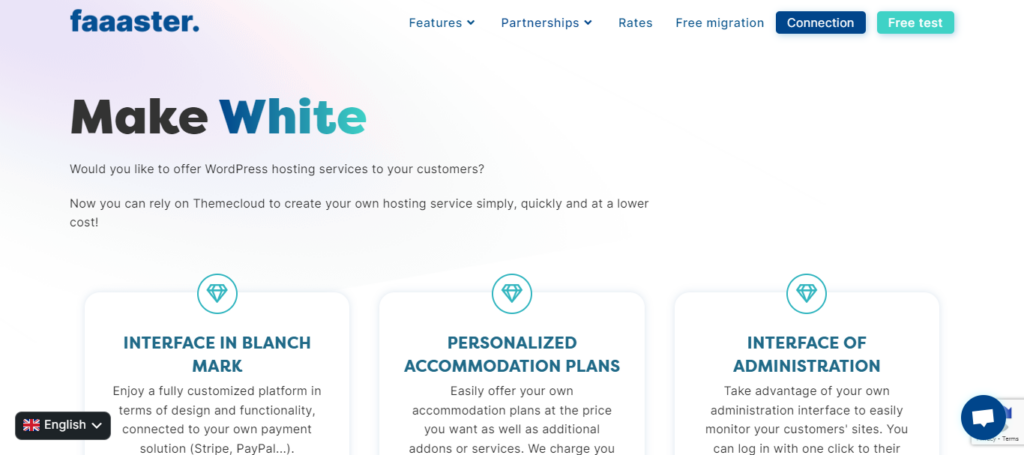
Faaaster proporciona soluciones de alojamiento de marca blanca, lo que permite a las empresas ofrecer servicios de alojamiento a sus clientes sin esfuerzo. Impulsada por Themecloud, su plataforma simplifica la gestión del sitio con la instalación de WordPress con un solo clic y capacidades de clonación. Copias de seguridad diarias, HTTPS gratuito y Astra Security Pro garantizan la seguridad y fiabilidad del sitio.
Con funciones optimizadas y soluciones rentables, Faaaster permite a las empresas crear rápida y eficazmente su propio servicio de alojamiento. También garantizan entornos aislados, colaboración segura y soporte gratuito para migraciones a WordPress.
Lea también: Los mejores proveedores de alojamiento para WordPress
Conclusión
En resumen, la marca blanca de WordPress puede ser una excelente forma de añadir valor a los sitios web de sus clientes y crear una experiencia más personalizada para ellos.
Mediante el uso de plugins de marca blanca, puede personalizar fácilmente el aspecto del área de administración de WordPress para que coincida con la marca y las preferencias de su cliente. Además de utilizar plugins, también puedes personalizar WordPress manualmente mediante los procesos mencionados anteriormente.
Sin embargo, si busca una solución más completa y sin complicaciones, puede considerar la posibilidad de utilizar WordPress en marca blanca de Seahawk. Póngase en contacto con nosotros para empezar.
Preguntas frecuentes sobre WordPress en marca blanca
¿Por qué debería usar WordPress como marca blanca?
La marca blanca de WordPress te permite ofrecer una solución personalizada a tus clientes, lo que facilita la promoción y venta de tus servicios. También ayuda a establecer la identidad y credibilidad de su marca en el mercado, al tiempo que ofrece una experiencia fluida a sus clientes.
¿Cómo puedo utilizar WordPress en marca blanca?
La marca blanca de WordPress consiste en personalizar el panel de WordPress con su marca, como su logotipo, combinación de colores y otros elementos de diseño. Esto se puede hacer utilizando una variedad de métodos, incluyendo código personalizado, plugins o servicios de terceros.
¿Existe algún plugin que pueda ayudar con la marca blanca de WordPress?
Sí, hay varios plugins disponibles que pueden ayudar con WordPress de marca blanca. Hemos mencionado detalles sobre plugins como White label CMS, Ultimate dashboard y, Slate para ayudarle a entender cómo estos plugins ayudan con WordPress de marca blanca.
¿Afectará la marca blanca a la funcionalidad de WordPress?
No, la marca blanca de WordPress no afecta a su funcionalidad ni a su rendimiento. Los cambios realizados en la apariencia y la marca de la plataforma no alteran su funcionalidad básica.
¿Cuál es la diferencia entre marca blanca y rebranding en WordPress?
Mientras que la marca blanca consiste en personalizar la plataforma WordPress para que parezca creada por el distribuidor, el rebranding implica cambiar por completo la marca de un producto o servicio, incluidos su nombre y logotipo.